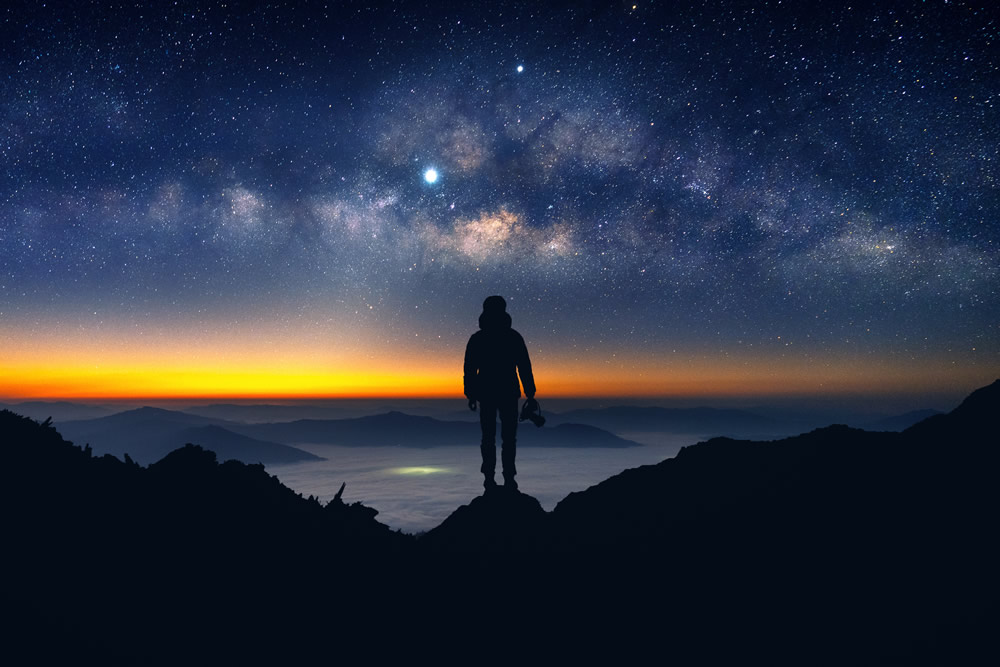
The Milky Way is the galaxy in which we live. Our galaxy is visible in the night sky and is truly awesome. Gazing at the night sky is a great pastime. It would be great if captured in an image. A photograph of the Milky Way would be an awesome addition to your collection of photos.
Whether you are an amateur photographer taking pictures for your own enjoyment or a professional photographer producing commission work or stock photos, capturing an image of the Milky Way is something you must not miss out on. If you want to know how to get pictures of the Milky Way and where to get it, then we have useful info for you.
Our guide tells you all you want to know about taking pictures of the Milky Way. Follow the tips provided and get great pictures of the night sky and our galaxy.
Tips to Take Pictures of the Milky Way
1. Finding the Milky Way
When you observe the night sky carefully on a clear day, you can spot the Milky Way. It is visible as a band of light that stretches across the sky. Obviously, you cannot see the entire galaxy because you are in it. What you are seeing is the core that is towards the Sagittarius constellation.
If you live in the Northern Hemisphere, then May to August is when you get to see the Milky Way in all its beauty. In other months, you can still spot the Milky Way, but it appears faintly in the sky. There are many apps available for iOS and Android (Sky View Lite, Star Walk 2, Sky Guide, etc). These apps will help you locate the Milky Way.
2. Wait for a dark sky
To get the best photograph of the Milky Way, you need a dark sky. Unfortunately, pollution in cites can prevent you from getting the best photograph. Also, the city lights affect your view of the galaxy.
If you are serious about getting a really good photo, then you should travel outside the city. Go out of the city where the sky is free of pollution and artificial lights. This is the best place from where you can take a photo of the Milky Way. Choose a night when the sky is clear and there are no clouds obstructing the view.
3. Have a good camera
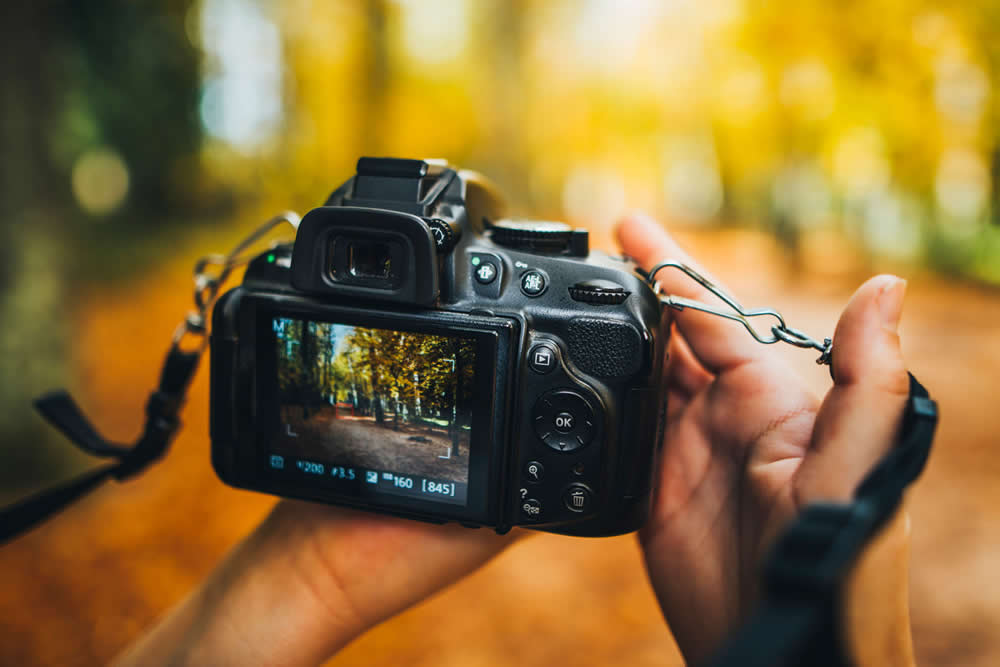
If you want a professional photograph, you need a good camera that can give you results. A DSLR camera will be apt for astrophotography. An entry-level camera lens is sufficient. You don’t need a very expensive lens.
A fast wide-angle lens is the best option. Look for a lens with an aperture of at least f/2.8. You need to focus on the 14 to 24 mm range focal length. If your camera lens supports 15 to 35 mm focal length, you can expect the best images.
4. You need a Tripod
Photographing the Milky Way can’t be done within a few seconds. You need to wait for the right opportunity. You also need to focus, re-focus, and adjust your lens before you are ready to shoot. One photo will not do; you need to take as many as possible so you can later choose the best one.
To do all this, the camera must be fixed on a tripod. Using a tripod ensures the stability of the image. If you can have a remote shutter release, then it is recommended since it prevents any camera shake.
5. The use of a filter
To get the best photograph, you need the right location with a dark sky and a perfect view of the sky. Under such circumstances, you don’t need to use a filter. The camera lens will do fine. But unfortunately, not everyone will get such a view.
This is when you may need a filter. A light pollution filter can help you get a good image of the galaxy, even in a city. The filter will help reduce the artificial glow from the city lights and the effects of pollution.
6. The Best Settings
If you want the best photo that looks professional, then here are some recommended camera settings to use:
- Focal length of 24 mm.
- Manual focus mode.
- F/2 F stop.
- ISO 3200.
- Daylight white balance.
- Exposure 120 seconds.
- Sidereal tracking.
7. Include the foreground
The best photo need not focus only on the Milky Way. Try to include some of the details in the foreground, like the landscape. You can create a composite image combining foreground shots with images of the Milky Way.


