You’ve captured stunning photos, edited them to perfection, and now you’re ready to bring them into the physical world. But printing your work isn’t as simple as hitting Ctrl+P. Without the right approach, you might waste paper, ink, and money—or worse, end up with prints that don’t match your vision.
That’s where print management solutions come in. Whether you’re a hobbyist or an aspiring pro, managing your fleet of printers efficiently ensures high-quality results every time. This post will walk you through the essentials—from choosing the right tools to optimizing your workflow. Read on.
Why Print Management Matters for Photographers
Printing isn’t just about putting ink on paper. It’s about color accuracy, paper selection, ink efficiency, and cost control. Poor print management leads to faded or inaccurate colors in a print job, wasted supplies from test prints, storage headaches from disorganized files, and higher long-term printing costs.
A structured photo or document management approach helps you avoid these pitfalls while keeping your printing environments’ workflow as smooth and professional as possible.
Essential Tools for Effective Print Workflow Management
If you want effective printing processes for your pictures, you need to consider the following:
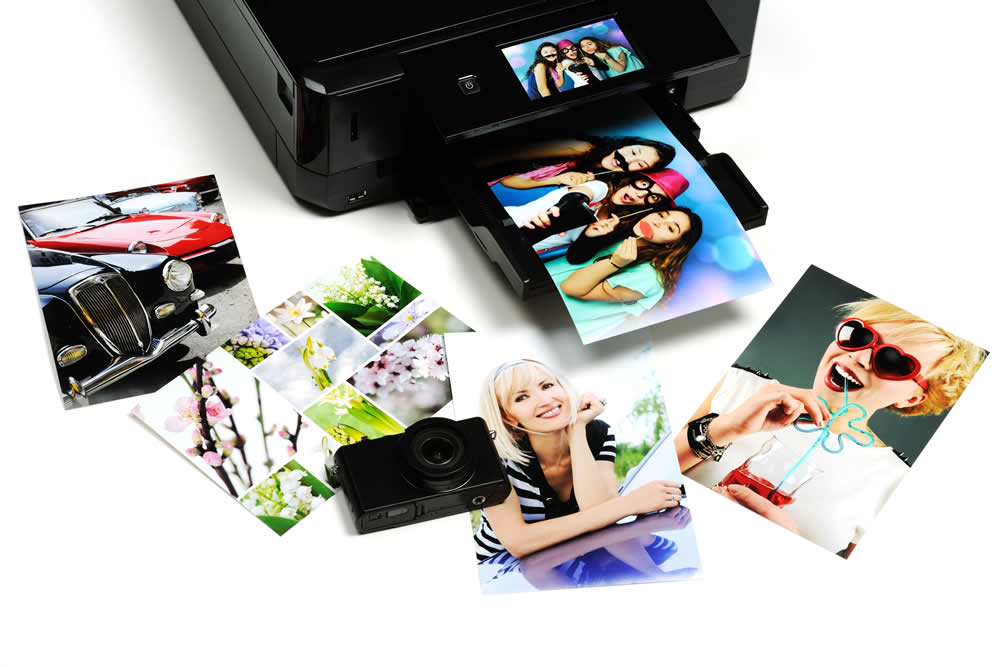
1. A Reliable Photo Printer
Not all printers are created equal. For photography, you need one that handles high resolution, wide color gamut, and archival-quality inks. Remember to invest in a printer that matches your volume (print quotas and print activity) and quality needs (control print output and so on).
2. Color Calibration Tools
Your monitor and printer must speak the same color language. A direct print color calibrator ensures what you see on-screen matches the final print.
3. Print Management Software
Basic printer drivers won’t cut it these days. Dedicated print services software helps with batch printing (saving time on multiple images), color profiling (keeping hues consistent), and layout optimization (reducing paper waste). Look into different print management software and their features to find the best fit for your needs.
4. High-Quality Paper and Ink
Using the wrong paper can ruin even the best photo. Match your paper to your subject. Glossy is perfect for vibrant colors and is ideal for portraits. Meanwhile, matte is great for subtle tones and for landscapes. Finally, fine art rag is great for textured, museum-grade finish.
As a golden rule, always use manufacturer-recommended inks to avoid clogs and color shifts.
Aside from the abovementioned, you need to optimize your print infrastructure workflow. Learn more about it below.
Optimizing Your Printing Workflow
Did you know that you can take steps to optimize your print environment? To know how, keep reading.
Step 1: Organize Your Files
Before printing, sort your images into folders (e.g., Portraits, Landscapes, Prints Ready). Use metadata and keywords in your document or file folder for quick access.
Step 2: Soft Proofing
Most editing software lets you soft proof—simulating how colors will look when printed. Enable this feature to catch issues before wasting ink.
Step 3: Test Prints (And Why They are Worth it)
Always print a small test strip or low-res version first. Check for color accuracy, sharpness, and contrast levels of the print. Then, adjust as needed before committing to a full high-definition print.
Step 4: Choose the Right Print Settings
Don’t rely on defaults when doing your prints. Manually select the correct paper type (choose from glossy, matte, and so on), highest quality mode (for fine details), and borderless printing (if needed).
Step 5: Store Prints Properly
Prints can fade or warp if stored incorrectly. Keep them in acid-free sleeves, flat storage boxes, and climate-controlled spaces (away from any levels of humidity).
After optimizing your print workflow, you need to learn about how to save money. Want to find out how? You can lear about it in the following section.
Cost-Saving Tips for Printing at Home
Printing can get expensive fast. Here’s how to save without sacrificing quality:
- Buy ink in bulk because larger cartridges cost less per ml;
- Use third-party software to maximize ink efficiency;
- Print in batches to reduce nozzle clogs and warm-up cycles;
- Repurpose misprints as test sheets or scrap paper; and so on.
The money that you’ve saved on your prints can then be used on other aspects of your hobby i.e. extra money to buy new photo equipment, boost branding, and others.
When to Use Professional Printing Services
While printing at home gives you control, sometimes outsourcing is better. Consider professional labs for:
- Large-format prints (bigger than your printer handles);
- Specialty finishes (metallic, canvas, etc.);
- High-volume orders (weddings, galleries); and so on.
Different photo print services offer exceptional quality with less hassle.
Troubleshooting Common Print Problems
Problems can spring out of nowhere when you’re producing your prints. Worry not; you can easily troubleshoot them.
For band lines or streaks, do the following: first, clean printer nozzles; next, check ink levels, and use higher-quality paper.
If your prints’ colors look dull or off, recalibrate monitor and printer, check for clogged ink channels, and switch to a different paper profile.
Finally, say your printer isn’t recognizing paper. If that’s the case, ensure paper is loaded correctly, update printer drivers, and manually select paper type in settings.
Final Thoughts
Great photography doesn’t end on a screen—it shines when held in your hands. With the right print management solutions, you’ll produce stunning, gallery-worthy prints every time. Start by investing in quality tools, refining your workflow, and learning from small test runs.
Remember, even the best photographers started somewhere. Each print teaches you something new. So, take your time, experiment, and most importantly—enjoy the process.


