Every animation creates the illusion of motion by taking a series of still shots and stringing them together in quick succession.
You don’t need to work at Disney to create animated content, and in fact, it has never been easier to do this as an amateur thanks to digital tools and techniques.
Let’s discuss a few of the options you have for converting your photos into coherent animation and cover some tips to ensure you get the best results.
Take a class
While you can piece together the skills needed to start animating on your own, it’s more efficient and less frustrating to receive tuition from an expert.
With the help of VFX classes, you’ll quickly get to grips with the basics, saving yourself the time that might otherwise be spent on trial-and-error attempts at animation.
Even if you’re already somewhat experienced in things like photo editing, it’s worth brushing up on your abilities under the guidance of a pro.
Use an app
The easiest way to transform pics into videos is with a mobile app, of which there are many examples that offer this functionality.
One of the top-rated apps in this category is Motionleap, and it’s worth paying for the premium version rather than just sticking with the free edition because of all the benefits that this unlocks.
For instance, as well as being able to stitch together photos in whatever way you choose, applying effects and transitions as required, you can also use this app to create GIFs that are great for sharing to social platforms, as well as standard video files.
There are also web-friendly apps like Werble and ImgPlay that do a decent job without costing a penny; just be prepared to put up with having watermarks automatically applied to your creations unless you fork out to disable this.

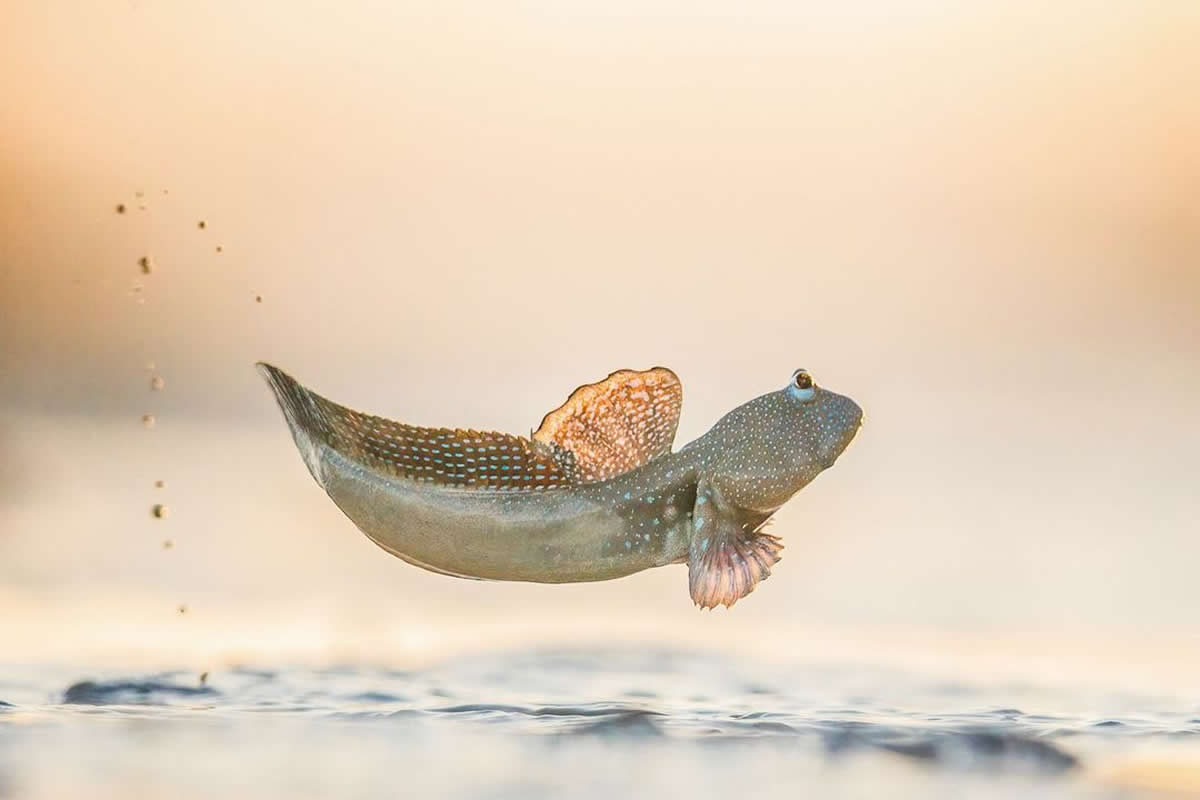
Consider the impact of motion
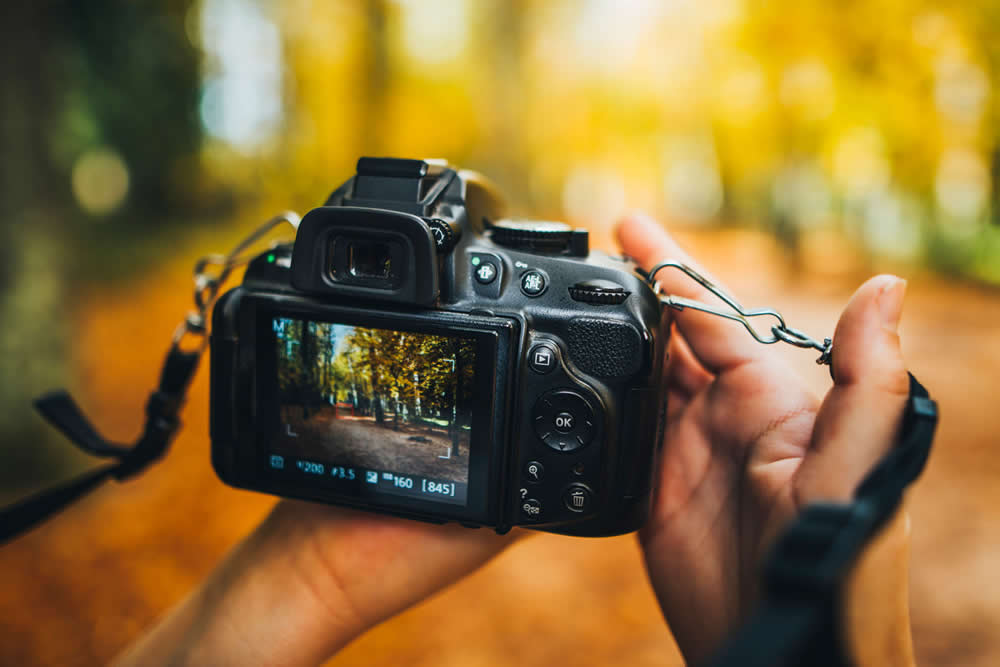
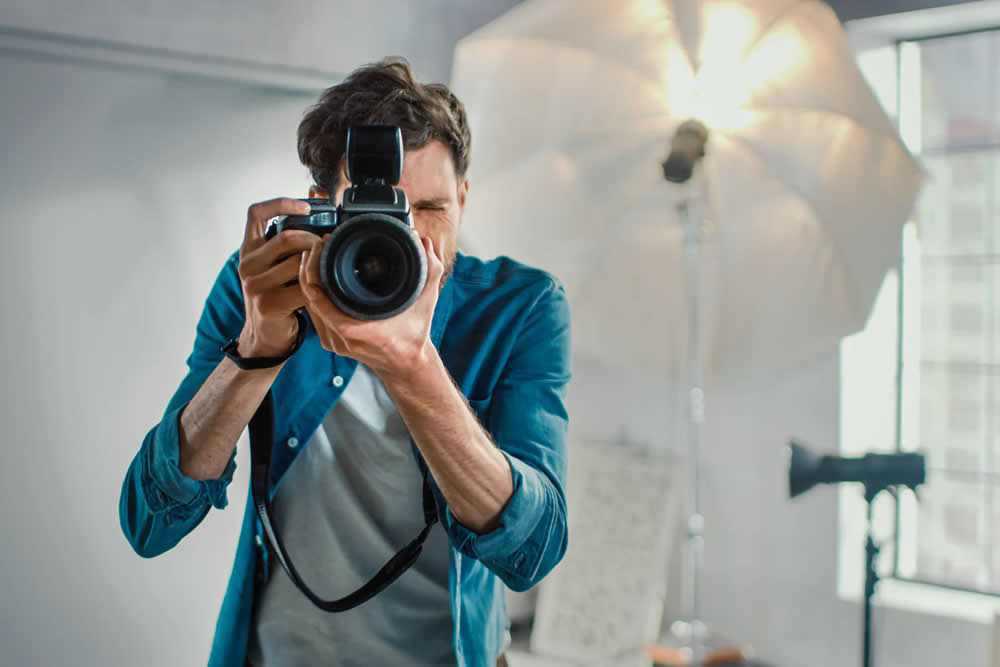
When capturing the still photos that you intend to animate, it’s vital to remember that this is a very different process to the one you’ll use if you’re only focusing on getting that single, perfect shot.
You need to be aware not only of the composition of each frame in isolation but also of how they relate to one another.
If the camera’s position remains static, in the case of a time-lapse type clip, then this is less relevant. But when the camera is in motion and the subjects being captured are also moving, taking this into account is crucial.
It’s worth experimenting and getting a feel for what works best, and of course, it’s possible to smooth this out to a degree with software.
Professionals will plot out every last fractional change in the camera’s position ahead of time, effectively storyboarding each sequence. You don’t necessarily need to go this far, but that really depends on the scope of your ambition.
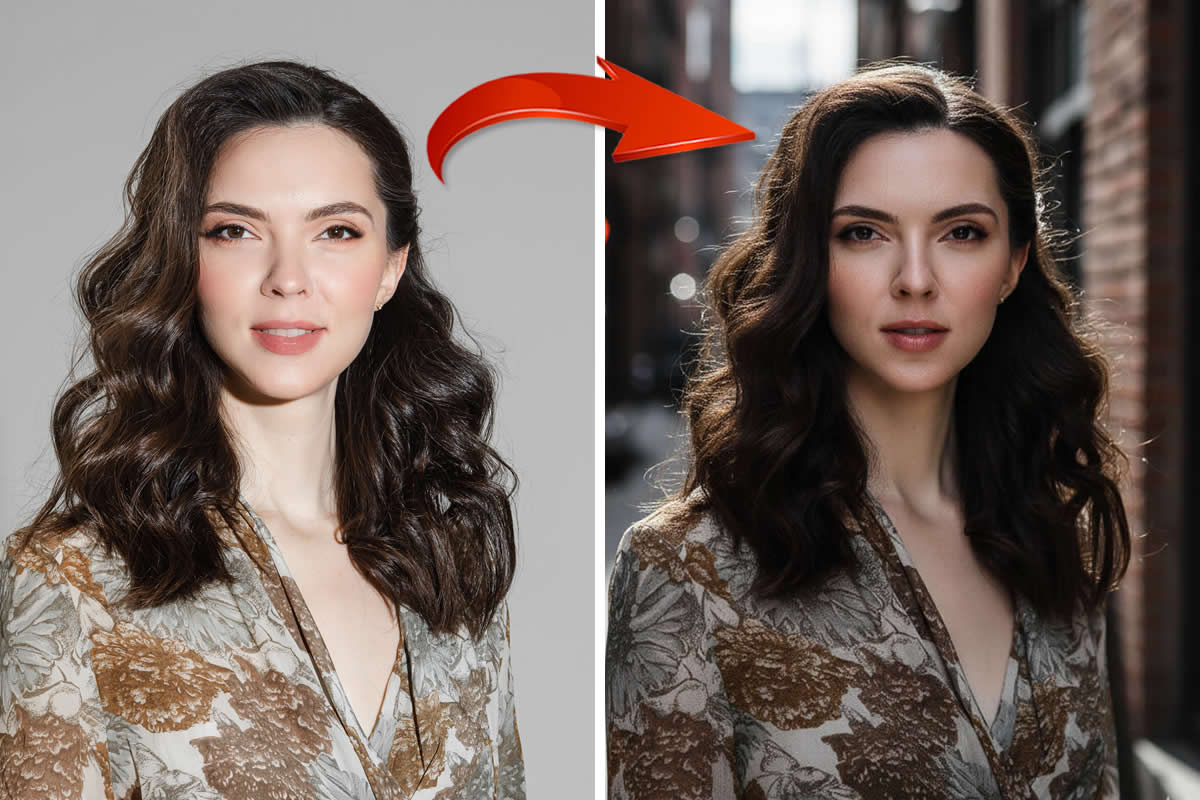
Explore the potential of an individual photo
You don’t need to snap hundreds of stills to create a compelling animated addition to a project. Just one picture can be manipulated to make something poignant.
You’ll often see stills used in documentaries, but they are rarely left front and center with no adornments. Cropping, zooming, panning, transforming, adding texture with post-processing effects, and many other techniques can bring stills to life and emphasize whatever point you want to make at the moment.

Final thoughts
All that remains is for you to get started on your photo animation journey. For the most flexibility and control, taking classes will give you the best results, although even the simple apps mentioned can produce quality clips.


