Digitizing old photos is a great way to preserve and share your memories with others. However, there’s more than one way to turn old negatives or Polaroids into stunning digital photographs. If you want to breathe new life into your favorite photos, use these tips to help you get started.

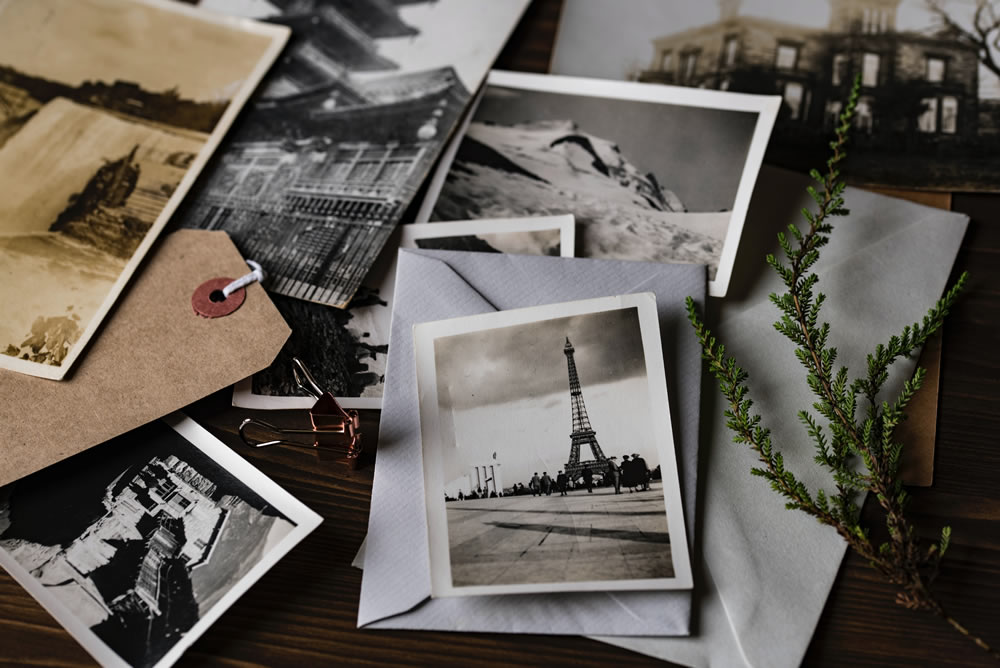
Image Source: Joanna Kosinska/Unsplash
1. How to Scan Photos Using a Photo-Digitizing Service
The easiest way to scan old photos is using a photo digitizing service like ScanCafe. ScanCafe supports photos, negatives, slides, film, and video, and you’re allowed to review your scans before purchasing. If you have a lot of photos and don’t mind waiting, select the Value Kit option.
While photo-digitizing services are convenient and require little time investment, you have to send your photos to a total stranger. Not only that, but you have to trust the postal system won’t lose your photos. We recommend only sending images you aren’t afraid of losing or destroying.
2. How to Scan Photos Using a Digitizing App
If you need a quick way to scan old photos and you don’t want to invest in a digitizing service or an expensive scanner, a photo digitizing app is a great option. Don’t take your photos with the phone’s camera, even if it’s really good, as you risk creating distortions, shadows, and glare.
Google’s PhotoScan app is one of the best tools for converting old images into digital because it takes multiple photos of the same print to improve quality. Plus, it can be integrated with other Google Photos tools, meaning you can correct images already uploaded in Google Drive.
3. How to Scan Old Photos at Home With a Scanner
Scanning your photos at home will take a whole afternoon or even longer, depending on how many you have. While this process is time-consuming, you have complete control over how your photos are digitized, organized, and stored. Plus, you get to relive old memories privately.
Here’s how to scan old photos using a home scanner:
- Gather your photos and make sure they’re in good condition before you begin.
- Handle them gently and avoid exposing them to extreme temperatures or moisture.
- Choose a high-resolution scanner to ensure that your digital photos will be clear and sharp. The Epson FastFoto FF-680W, Doxie Go SE, Kodak Scanza, and Epson Perfection V600 are all great scanner options for old photos at a good price point.
- Before you start scanning, organize your photos into groups or folders to make it easier to find and manage them later. You can also label each photo with the date and any relevant information to help you remember the context or story behind the image.
- When scanning, use the correct settings on your scanner to ensure that the photos are captured at the highest quality possible. You may need to adjust the color, contrast, and brightness settings to get the best results. Read the manual if you’re unsure what to do.
- Be prepared for the process to take a few hours, especially if your minimum quality setting for scans is 600 dpi (300 dpi should be the minimum, but 600 dpi is preferred).
- After scanning, you can use photo editing software to touch up your images and remove any blemishes or scratches. You can also crop, rotate, or resize your photos to improve their composition and appearance—contrate on enhancing image quality.
- Finally, save your digital photos in a safe and accessible location, such as a cloud-based storage service or an external hard drive. This will ensure that your photos are backed up, encrypted, and can be easily accessed by you or your family in the future.
Keep in mind that analog photograph negatives may not show up well on computer scanners. You may need a professional photograph restorer or an online digitizing service for this job.


