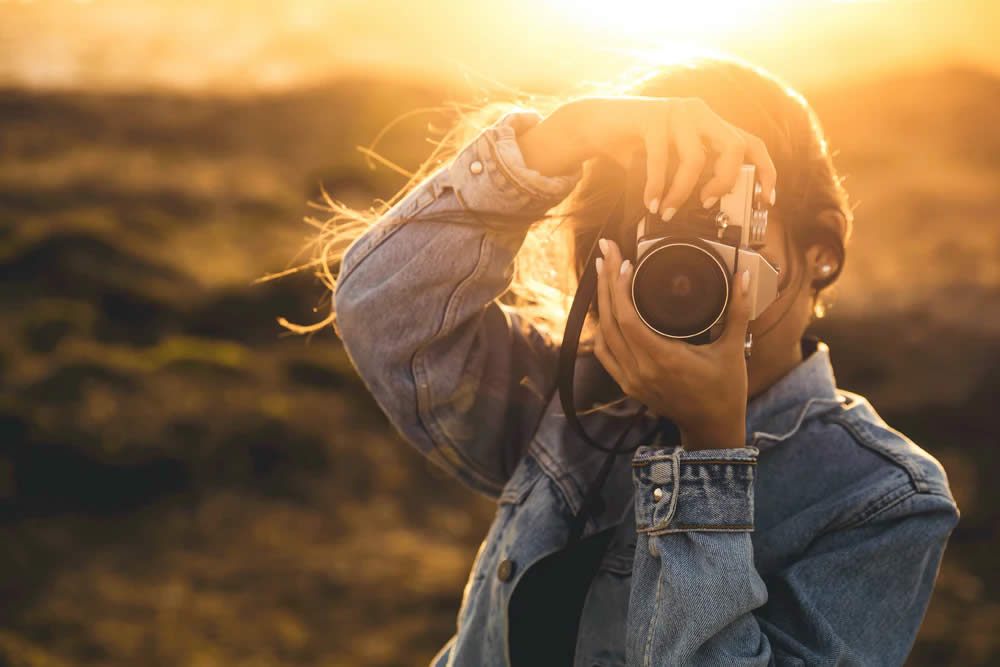
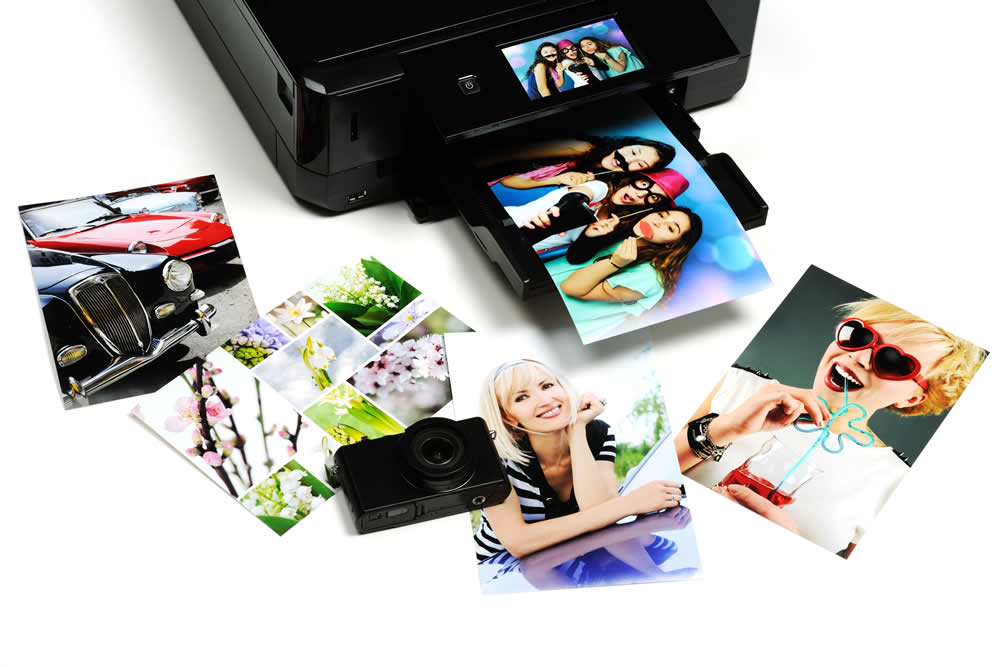
With a good multifunctional digital camera and a little experience, switching between taking photos and videos while at a shoot can seem like common sense for maximizing the value of your time. But don’t underestimate the differences in what’s needed for taking good photos and taking good videos.
Knowing when to switch between taking photos and videos is an important skill on its own. And being able to switch things up quickly matters too.
To give yourself the biggest advantage, take some time to read this list of the top 7 tips for shooting event video and photography at the same time to begin your planning.
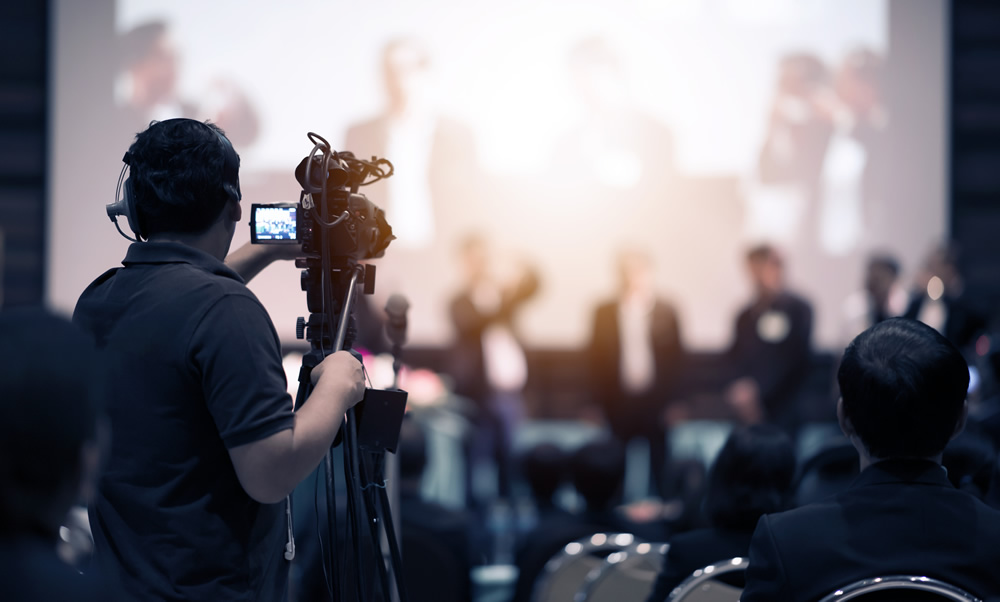
1. Proper Prep Work
Preparation saves time and allows you to assess your performance later to improve your techniques moving forward.
Research
What is the event about? What activities will be happening during the event? Where will the event be held? What time will the vent happen? These are all important questions you need to answer, so you don’t miss any important moments.
Be Ready
A lot of photoshoots can also be very physically demanding. Think about how Bear Grylls has to do all of those survival stunts while the cameraman has to do all the same stunts while holding a camera. The potential for high-intensity shooting scenarios means you need to be able to anticipate what you’ll need to bring, from proper attire to specialized tools. You might need to use a drone, or drones might not be allowed in the area; in either case, you’ll need to adapt.
2. The Right Camera and Equipment
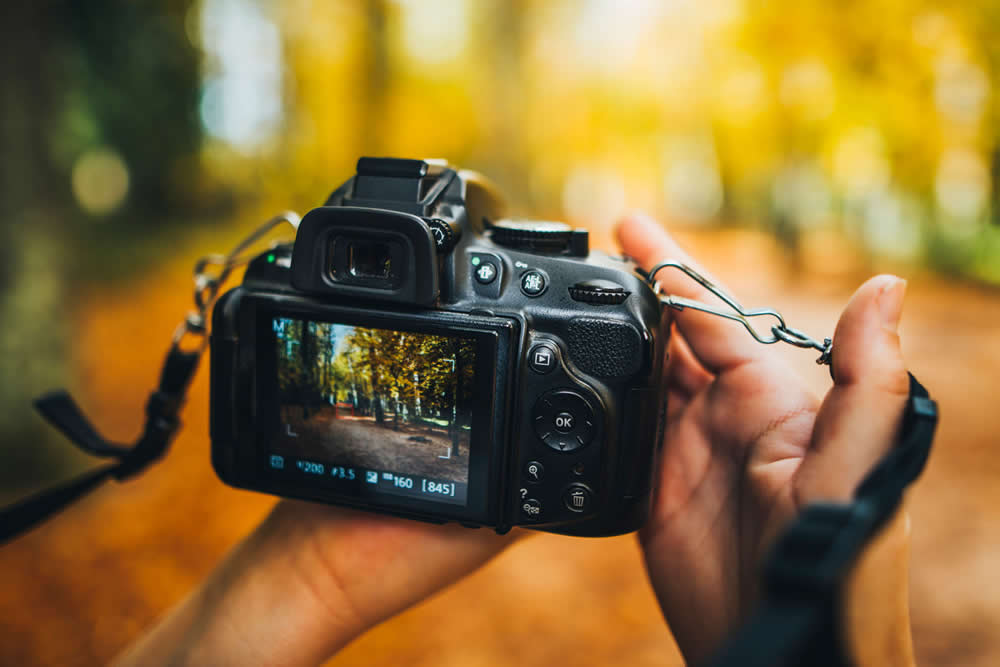
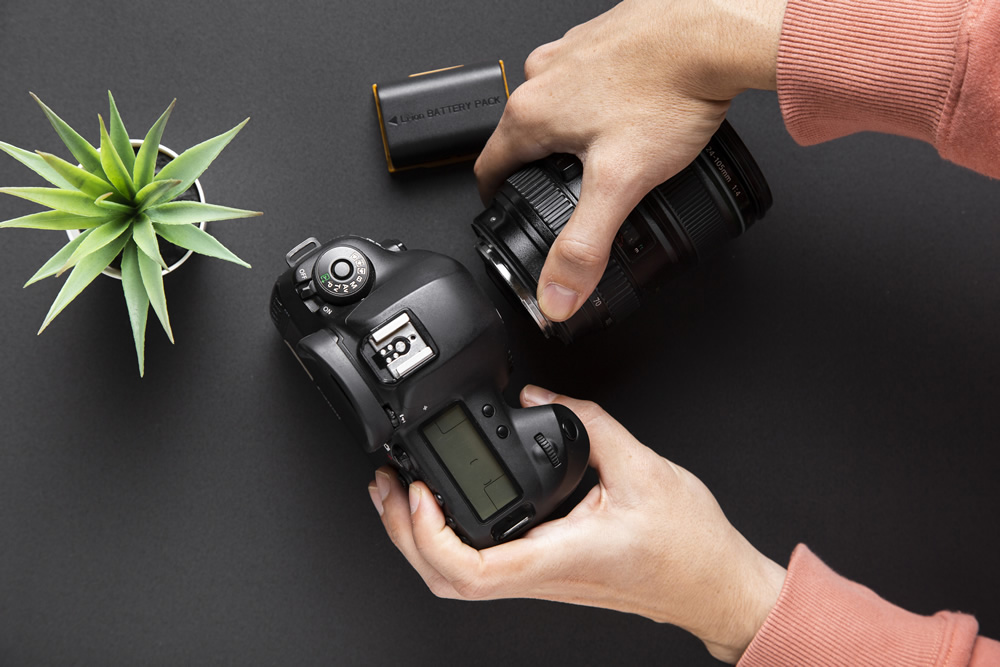
First, you’ll need a good multi-purpose camera that can quickly convert between photos and video modes. Given the circumstances, it should be a suitable camera for both. Personal choice is crucial in this case. Generally, you’ll need a camera with good flash and zoom capabilities, along with spare batteries and memory cards and good video editing software like PowerDirector.
Consider the dimensions of the venue, and adjust your lens selection accordingly. Large venues are best shot using telephoto lenses, whereas it’s easier to capture the liveliness of packed venues and packed events with a wide lens. If you haven’t got the appropriate lens for your shoot, one of your friends may be willing to lend it to you, or you can rent a high quality lens from Lighting Rental NYC.
Consider low-light capabilities for photography and rolling shutter for videography, depending on the event and the sort of coverage you’ll need. Consider flash photography alternatives as well as a proper mount and image editing software. Magisto is a good choice for controlling the brightness and contrast of photos in post.
It’s worth noting that some clients may ask you to provide additional equipment, such as photo booth backdrops (for example). To this end, it is critical to have a previous conversation with your customer to set their expectations.
3. Lighting and Sound
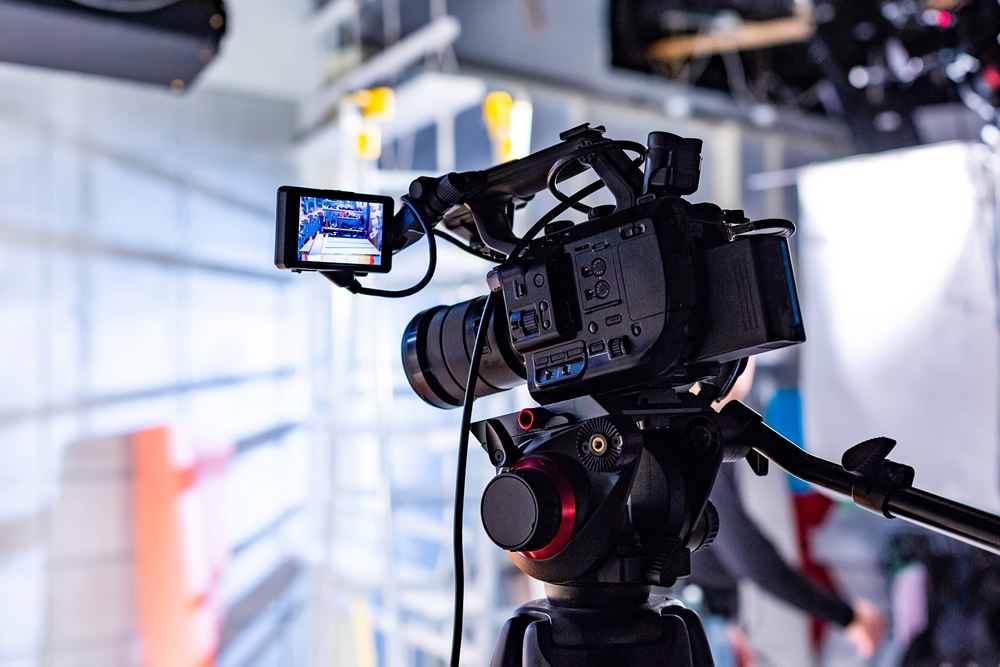
If you’re not used to shooting video instead of pictures, you’ll find that sound is a major consideration. Getting decent audio should be a top priority when organizing your videography, whether it involves knowing how to make a video louder by attaching a boom mic to your camera, attaching wireless lapels to your main event subjects, or putting an audio recorder directly into a soundboard (or, ideally, all of the above).
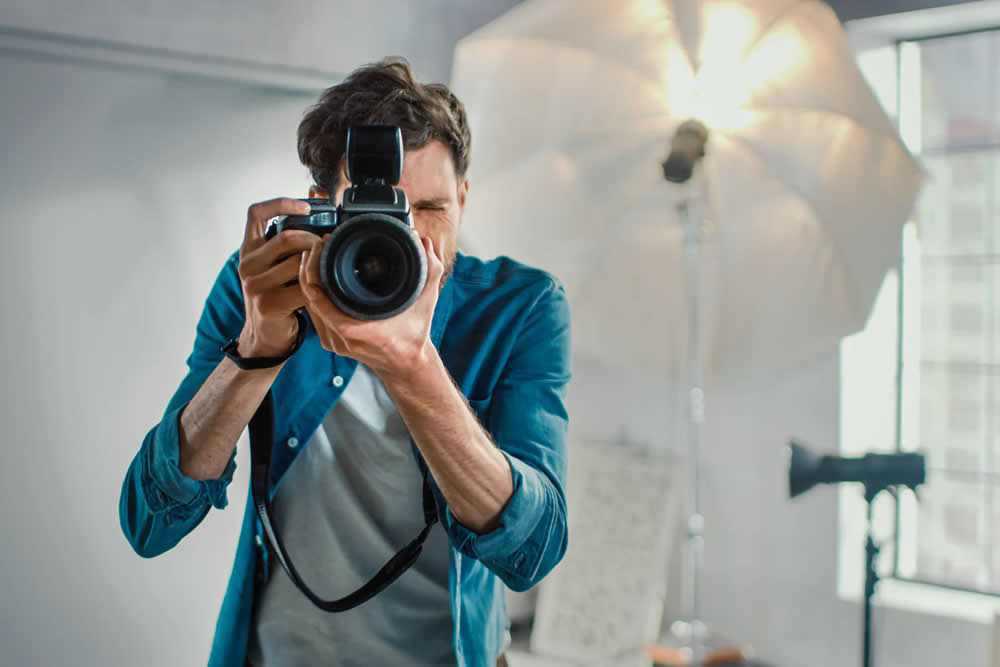
For both picture and video, though, lighting is a continual challenge. Lighting is a continual difficulty for many events unless they are held outside (which is rare). Dark dance floors and dimly lit conference rooms need to be creative with camera angles and lighting sources.
4. Shoot Photographs in .RAW Format
Shooting in RAW is vital for taking high-quality photographs. The RAW format saves all of the data, giving you the best quality possible. It would be difficult to modify the JPEG format, especially in low-light situations. Using RAW will make it easier to repair photographs that are underexposed or overexposed.
5. Video Favors Movement, Photography Highlights Stillness
When determining whether to shoot video or pictures, it’s good to consider what looks nice in motion vs. static. Yes, setting the focus and making adjustments on the fly may be more difficult, but the motion is a big deal in a video.
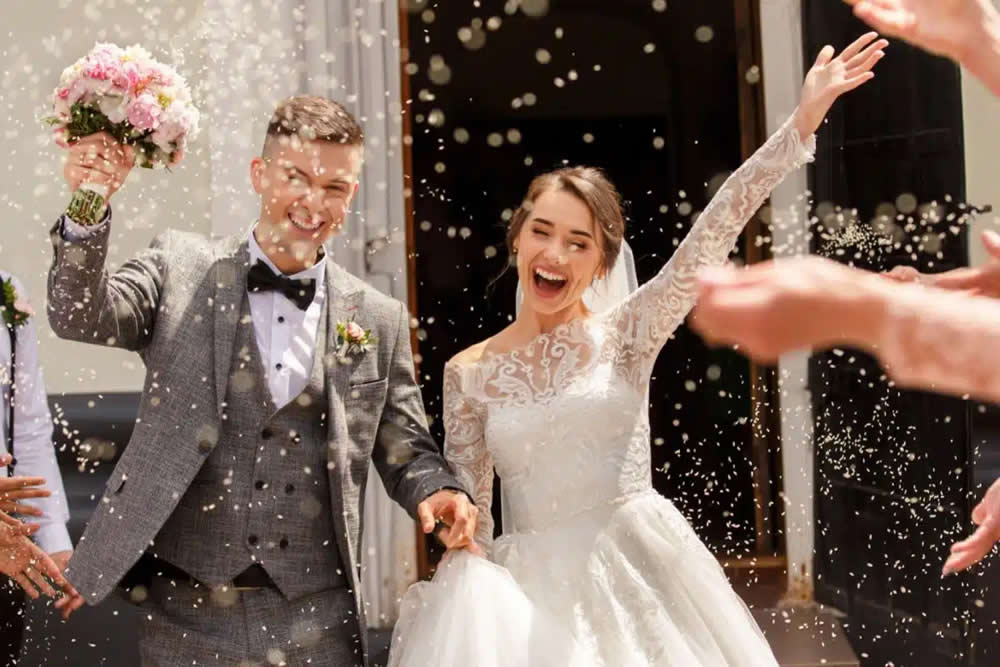
Take a look at the scenario, though. Look for lines for photography, and if anything intriguing is in action, such as a first dance or an exploding champagne bottle, always go for video.
6. Communicate Clearly
Communication is essential when capturing both video and photographs. If you’re working with a group, dividing and conquering is a wonderful strategy. Communication and planning, on the other hand, are crucial.
If you’re working alone, your voice will be your best tool for communicating with your subjects and letting them know what you’re doing and what you expect of them. You’ll need them to grin and wait for a flash if you’re taking shots. If you’re filming, you’ll want them to act naturally and ignore you.
Aside from the number of individuals that went, photos of people in a huge room don’t show much. It’s more engaging to approach individuals, strike up a conversation, and then take their pictures.
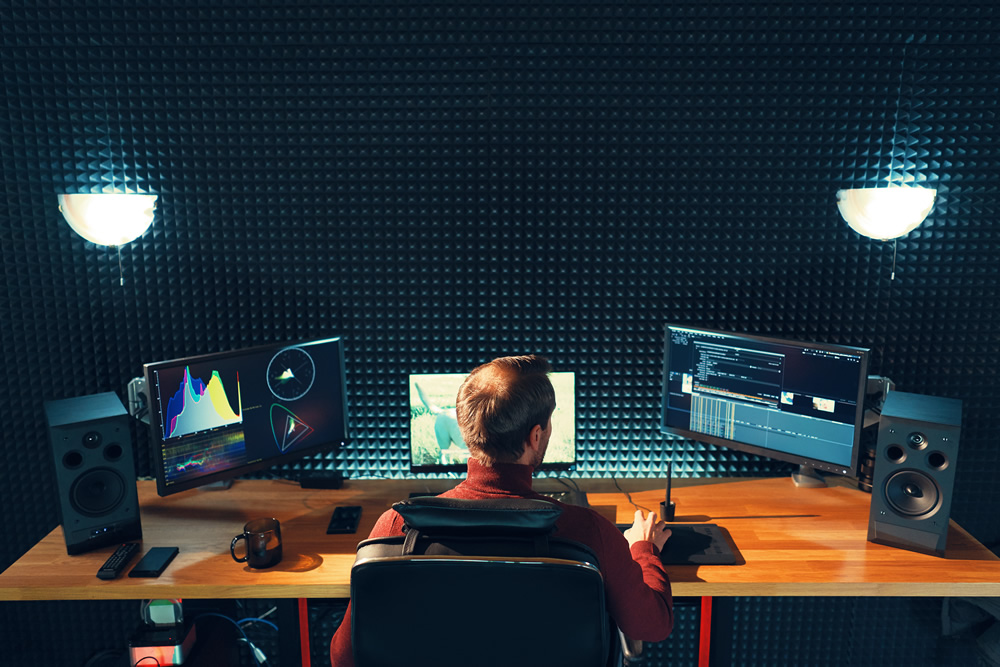
7. First, Edit Photos, Then Video
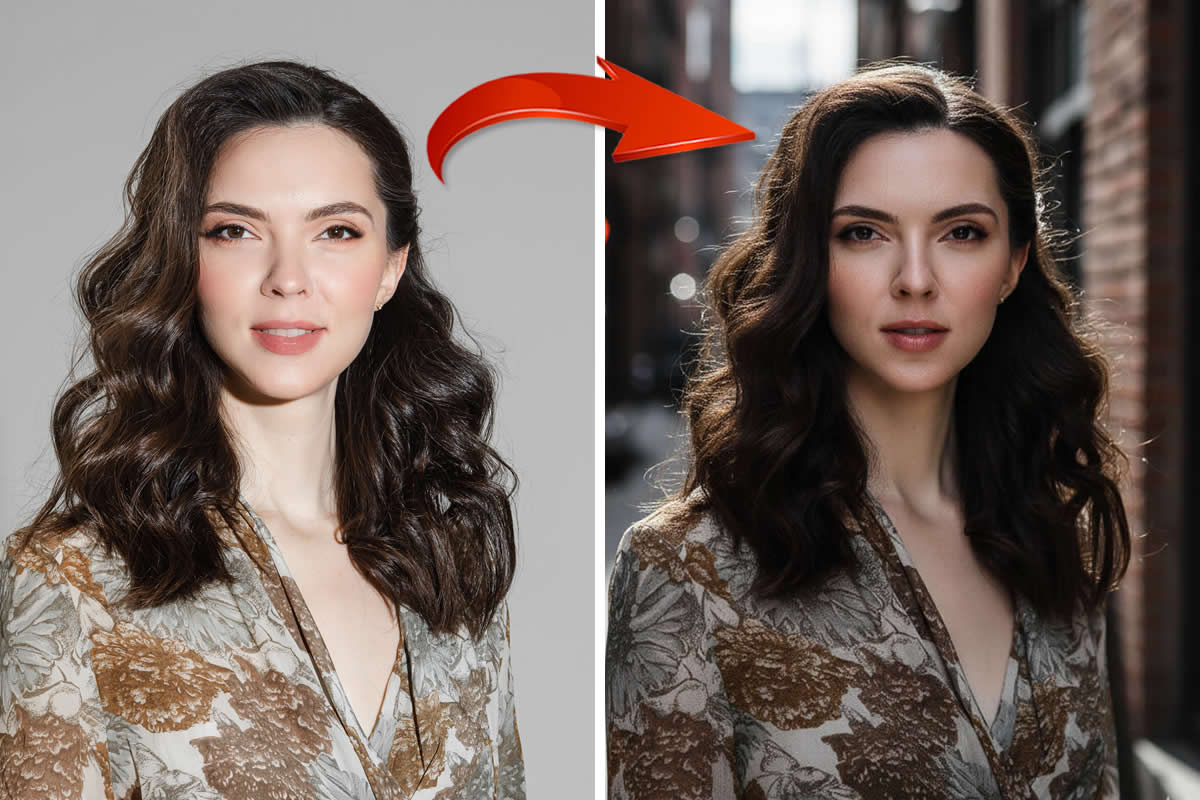
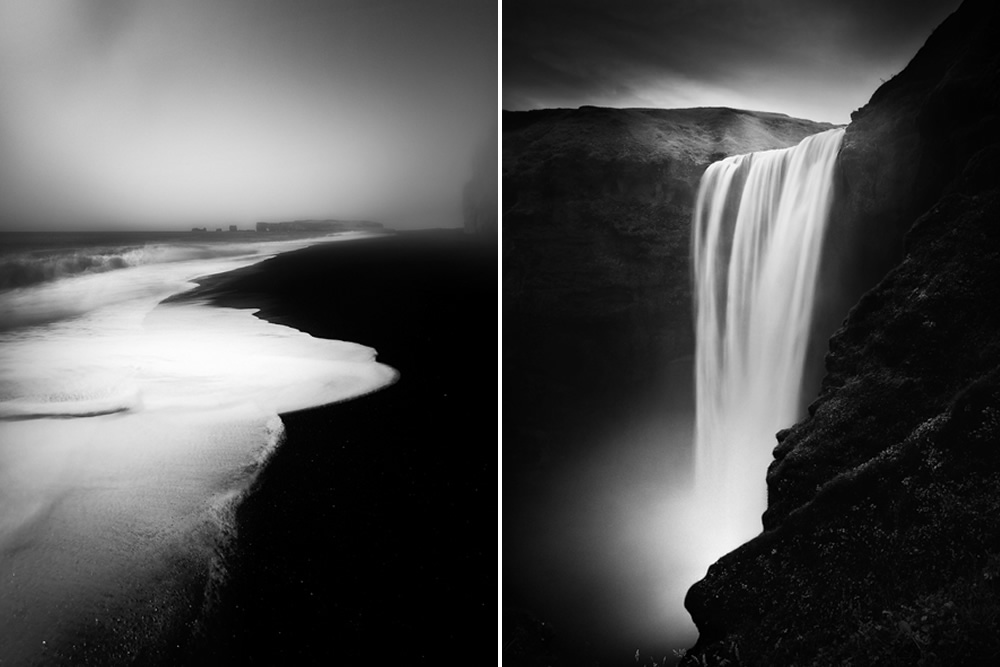
It’s better to start looking at the images as soon as the event is over – sometimes right away. Most people will find that editing images is the fastest of the two options, and it will help you get started on your deliverables. Here are some samples of landscape photography to inspire your photo editing.
Prioritize general photo editing to deliver photographs quickly before video editing with dedicated video software like VideoStudio Ultimate. This will help you accommodate more deliverables since video edits can take anything from a few days to several weeks.
Starting with photos also helps you create a timeline of the event’s most memorable moments from beginning to end. From these “establishing shots,” you can determine the colors and appropriate perspectives, situations, and subjects for your video’s focus.

