A photo lightbox is an amazing tool for taking product photos. The best part about it is that you can use your own camera or phone to take photos, and don’t need any expensive equipment! Using a Photo Light Box for Taking Product Photos.
What is a photo lightbox? A lightbox is basically any type of lighting system that has the ability to provide diffused, soft, and even illumination. Using one for taking product photos will make your photos look much better than they would without it.
Do you have a product that needs to be photographed for the website, Facebook page, or Instagram? Using a photo lightbox will make it easier. No matter what type of product you are photographing with your camera, there is likely some way that a lightbox can help you take better photos of it.
If you’re a product designer and need to take pictures of your products for marketing materials, then you might want to consider using photo light boxes. Using the right equipment can make all the difference when it comes to taking great photos that sell. You want them to look professional without blowing the budget. Using a photo lightbox is an easy, inexpensive way to do just that!
In this article, we will show you how easy it is to set up and use a lightbox in order to get professional-looking photographs every time!
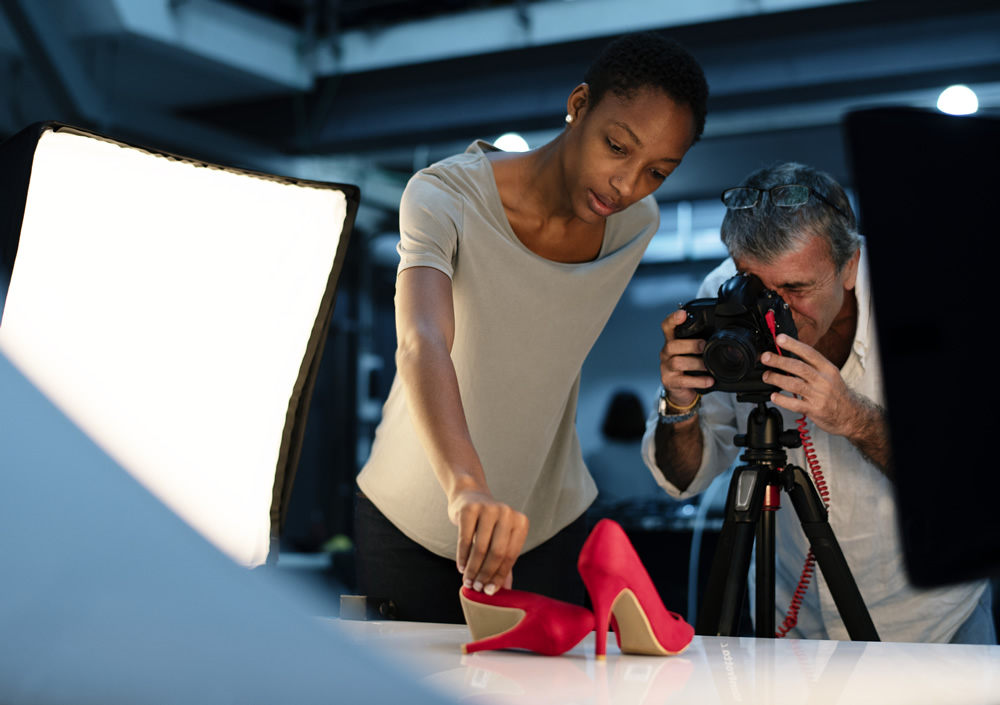
How to Use a Lightbox for Product Photography
Here we’ve highlighted some tips and practical steps on how to use a photo lightbox for taking product photos.
Product Photography Tips and Process
- Using a photo lightbox for taking product photos.
- Create your own Product display using a photo lightbox.
- Take professional product photos With a photo lightbox.
- Use the right type of lights in your photo lightbox.
- Use backdrops with your photo lightbox.
There’s no need to spend a large portion of your budget on high-tech equipment, so don’t be afraid to try out older cameras if you are looking for an easy natural light setup. You can probably get this done for less than $20 with what little money’s leftover after buying some lights!
Here’s the process for shooting your product photos.
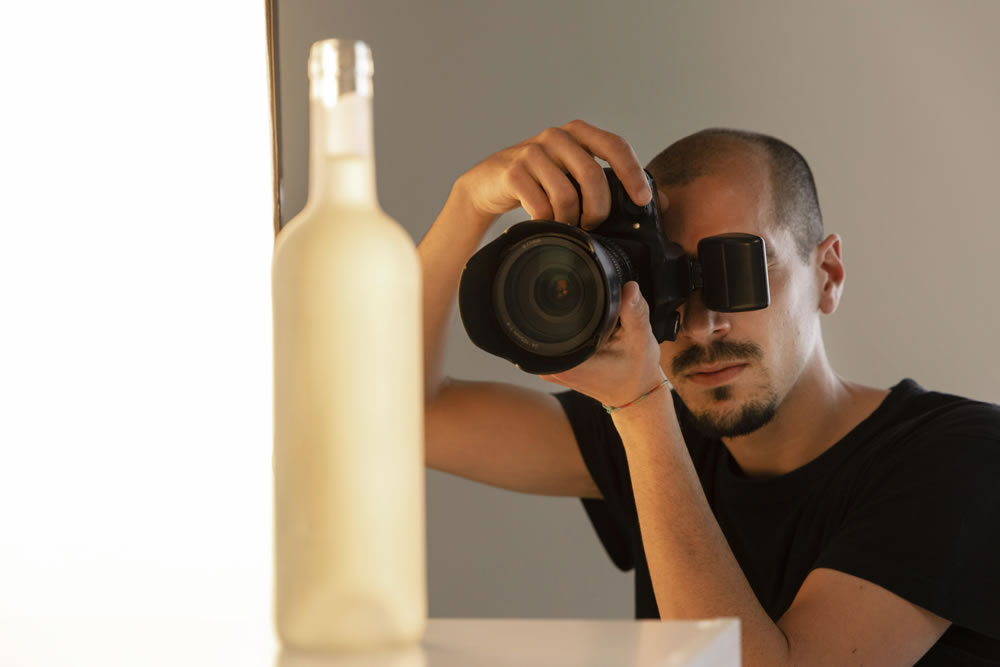
1. Set up your table
It’s important that you have a well-prepared shooting area. You need to place your table as close to the window without intersecting any shadows from outside, which would produce harsh light on whatever is being photographed. Start with placing it at least 90 degrees away and see what works best for this type of photography setup!
2. Set your sweep
One of the best things you can do for your mat boards has them roll up on a table. You might need to tape or weigh down the backside so that it reaches vertical, but this will help give more stability in some cases where there isn’t much counterweight behind it.
We secured ours with drywall screws and nails into studs before taping along both sides at different heights – just make sure they are long enough!
3. Adjust your camera
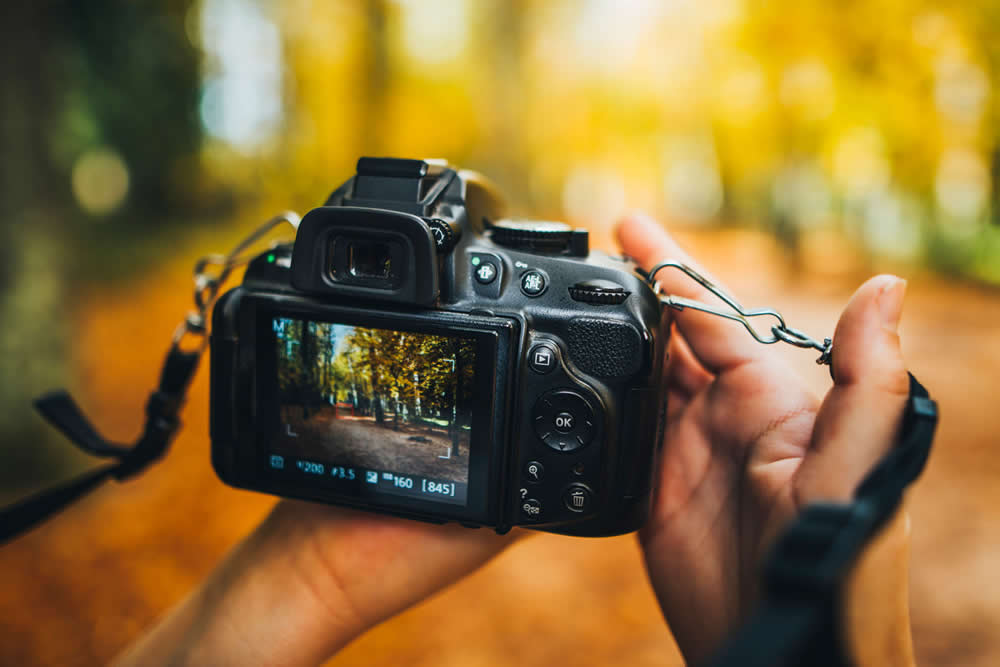
Every camera is a little different. Some of them can make adjustments and some are full auto, but what The Window Light setup does to help you out in this situation is set all of their settings on “auto” so that everything goes off without issue- even if it might not be something perfect for every single person’s needs!
4. Set up your product
If you’re selling a product, it can be tough to get everything set up and aligned correctly. For instance with bottles: make sure the label type is centered on your bottle (and not crooked!) There will often come tiny movements needed for positioning all parts perfectly in order for customers to see what they’re buying right away!
5. Set up the reflector card
This simple white card is the single most important light modifier we have in our photo studio, and it’s crucial to any shoot. The way you position this thing will affect how shadows are filled- so experiment with different angles until something looks good!
6. Take the picture and evaluate
In order to improve your photography skills, take some time and really look at what you have created. Experience will help guide the way forward as well as education on various topics from lighting techniques or setting up a shot for maximum effect- all things worth knowing about crafting great images!
When you take the pictures, don’t just press “capture.” Make sure that everything from your light source to what’s being photographed is in focus and look at all angles for any signs of glare. Then organize them using Adobe Lightroom because this program can be used as a resource when it comes time to edit each individual photo later on!
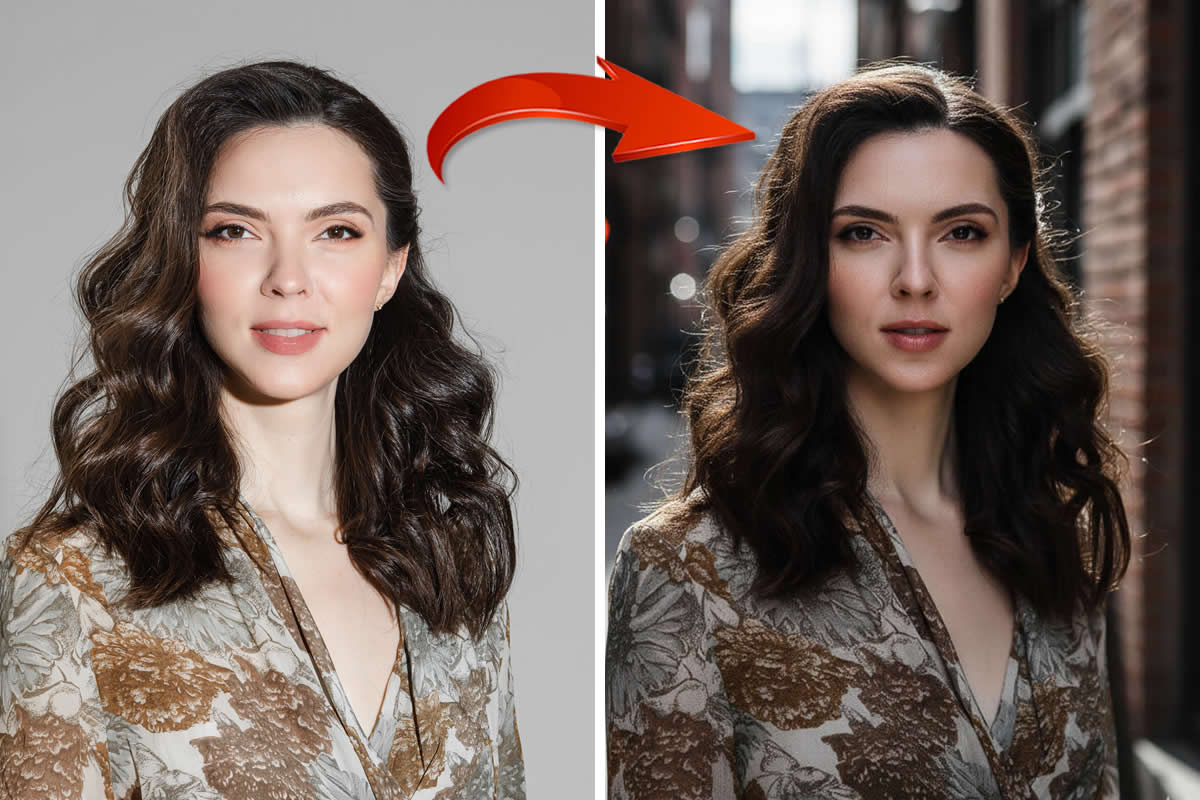
7. Retouch your pictures
This process is essential because you will be able to see the result of your hard work. When it comes time for retouching, make sure there are no major errors in exposure and background lighting by checking out both images side-by-side!
8. Optimize images for your website
Search engine optimization is crucial for all online sellers. One thing that’s important to keep in mind, especially with large images on the loading speed of your e-commerce website and how you can optimize them so they don’t take up too much space or slow down browsing but still look good doing it! As a rule-of-thumb, I try making my smallest image size 200 KB.
Conclusion
You don’t need to be an expert photographer, which is why I’m here. Photography can take some time and effort but once you’re in the swing (and not feeling like this), your product photos will do more than just look good; they’ll also help build up trust with customers by showing how high-quality everything really is!


