When you take a picture, the first thing you decide on is what to include and exclude from your shot. Then, you arrange the placement of the objects in your frame. These actions in its simplicity are what we call photographic composition.
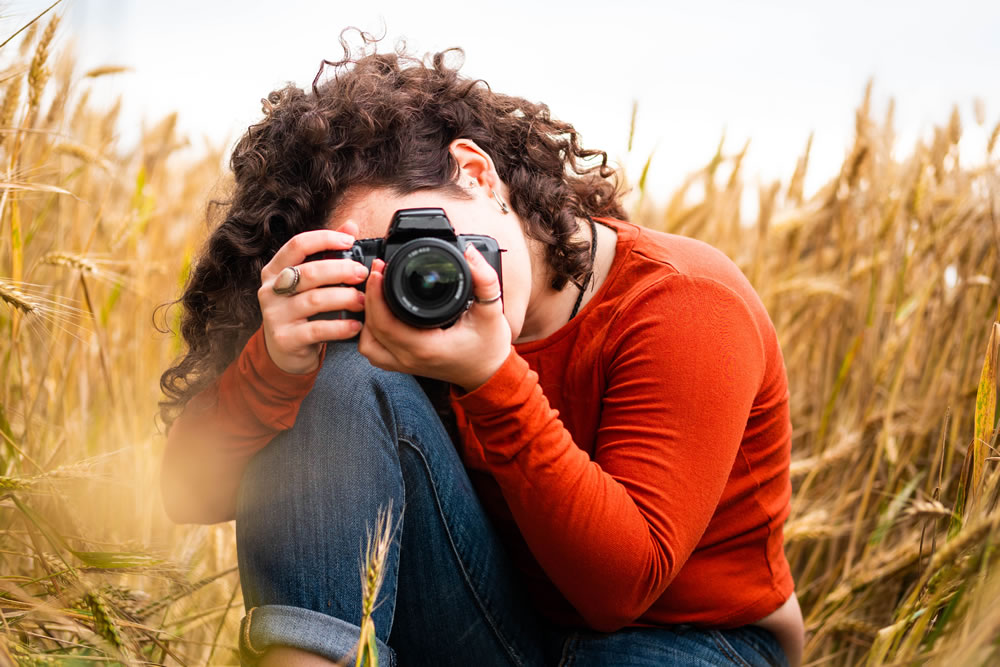
Some people would have a more complicated and highly intricate way of explaining how composition works in photography. But it all boils down to what and how various elements are placed in your frame. Composition dictates the proximity of the various elements. You decide what needs to be brighter, have more or less color and which should be larger or smaller.The strategy for the placement of these elements is mostly subjective. It does involve some rules but for the most part, it can be achieved organically.
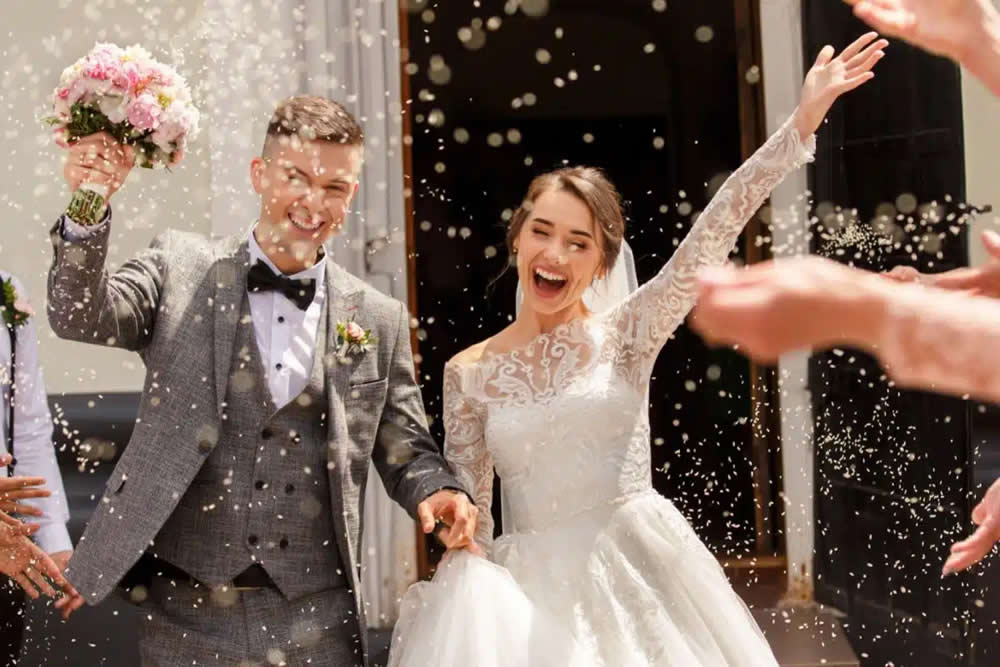
You arrange your elements in a way to bring out their meaning. A picture is not just a picture. There is always a story or a message you wanted your audience to see. For example, you always place the birthday celebrant in the middle of the picture with the other attendees on either side. This is to tell your audience that the celebrant is the most important person in the room. With travel photos, you tend to pose near a well-known landmark for your audience to know which place you are in. You could be standard in your presentation or have a more artistic flair. Your meaning or message could also be much deeper or more complex.
Composition affects viewing behavior. You tell your audience where the focal point is in the photo.This is to show them the main subject and its relationship with the other elements in the frame. It is responsible for the narrative of a photograph. And like anything in a visual platform, there is an emotional resonance.
It also brings balance and order. However abstract you’d want your work to be. There will always be consideration of how much your elements weigh. This is because each element affects the weights of other surrounding elements. Lights and tones need to also be in balance also because the atmosphere they create may increase or decrease the weight of the elements.
If composition is done right, you’ll end up with a visually appealing photo that clearly states its meaning or message.
Here are some photography tips to help you out perfecting your photographic composition.
The Basics
We start with the basics. Having a good foundation is important if you want to improve your skills. Because your foundation dictates your core values. And, these core values will serve as your support as you grow into your own skills.
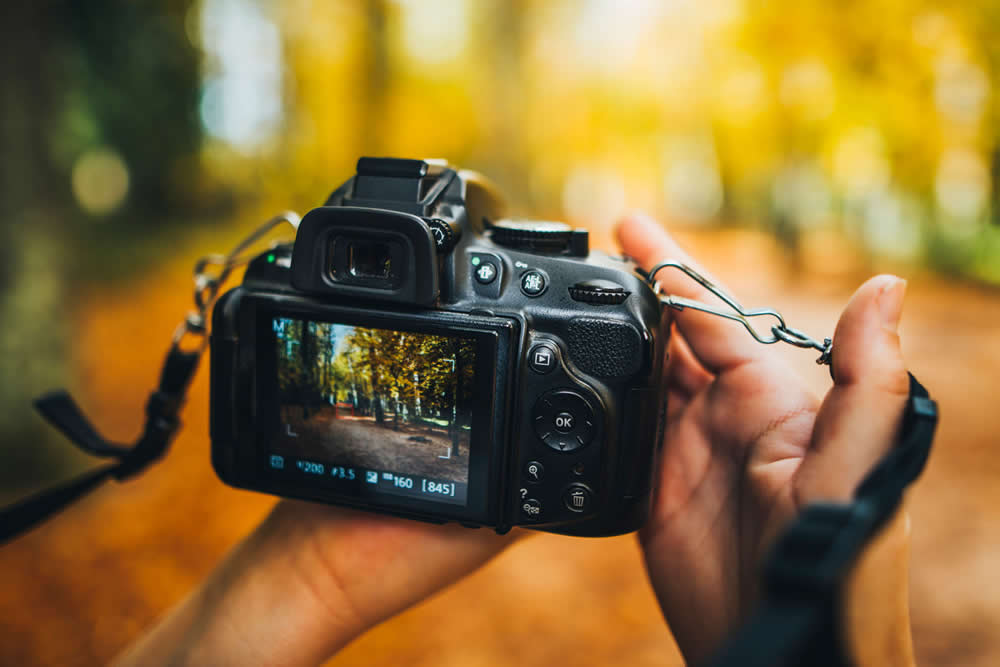
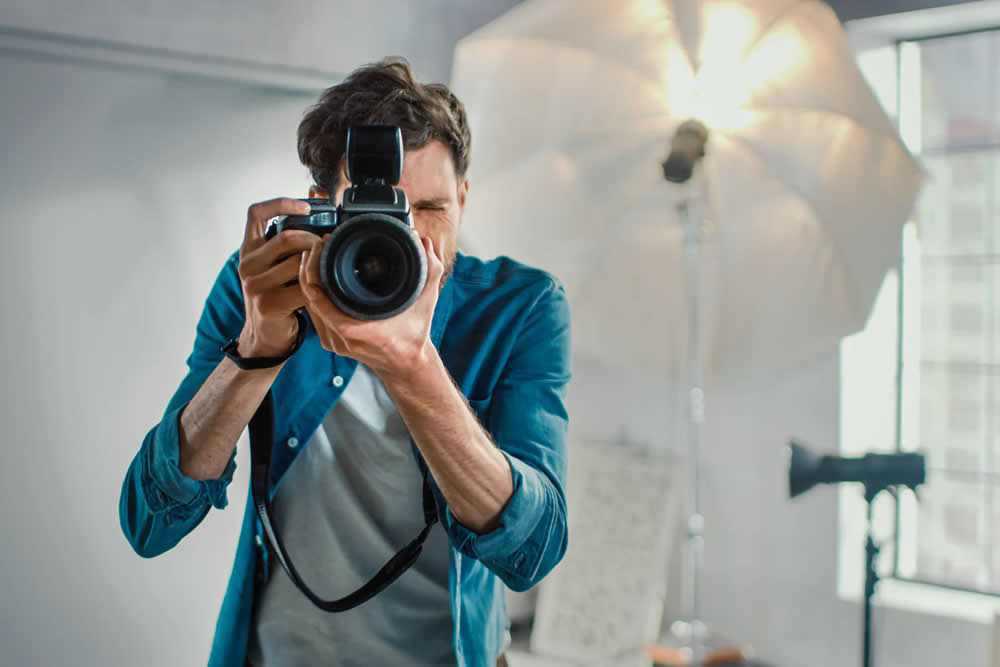
The first thing any beginner photographer has to master is their equipment. Know your camera.
In 2022, there were 8 million units in total shipment of digital cameras. The global digital market was valued at $7.5 billion. This means that a lot of people are acquiring the latest and greatest camera available.
But, you may have the most expensive and most advanced camera in the world. But if you don’t know how to use the menus and various controls, it is as good as a piece of rock in your hand. Read the manual and practice using the camera with the various controls. Discover all the advantages that your camera offers and see to it that you are thoroughly proficient in controlling them.
Shutter Speed
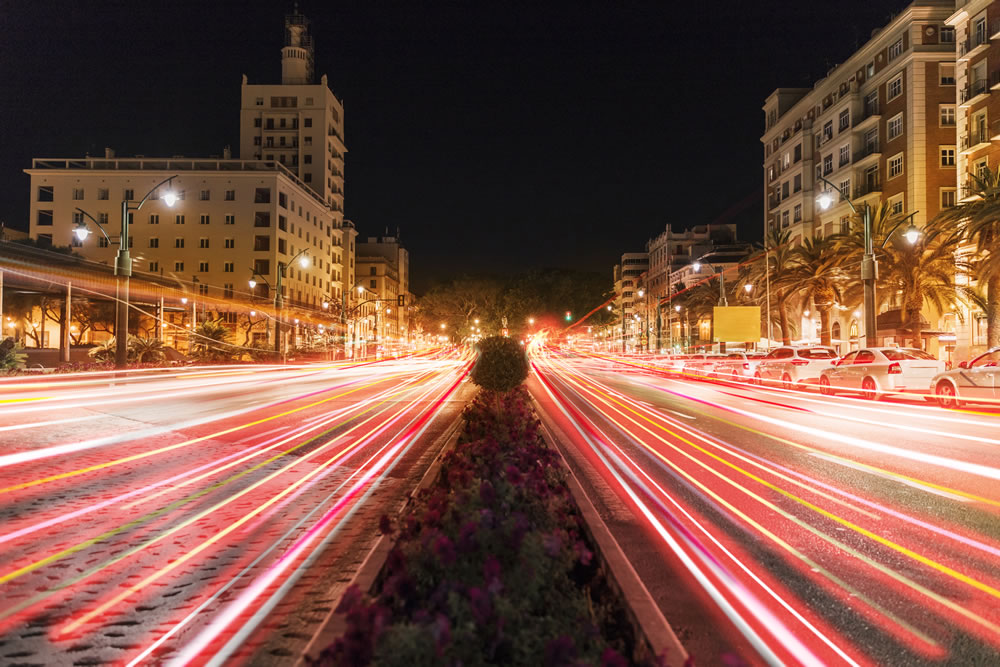
Also called exposure time. It is the length of time when the shutter is open wherein light can enter the image sensor inside the camera. By modifying the amount of light, you can change the way the subject’s movement is captured.In essence, it is a way to “control” how the movement is shown in photos.
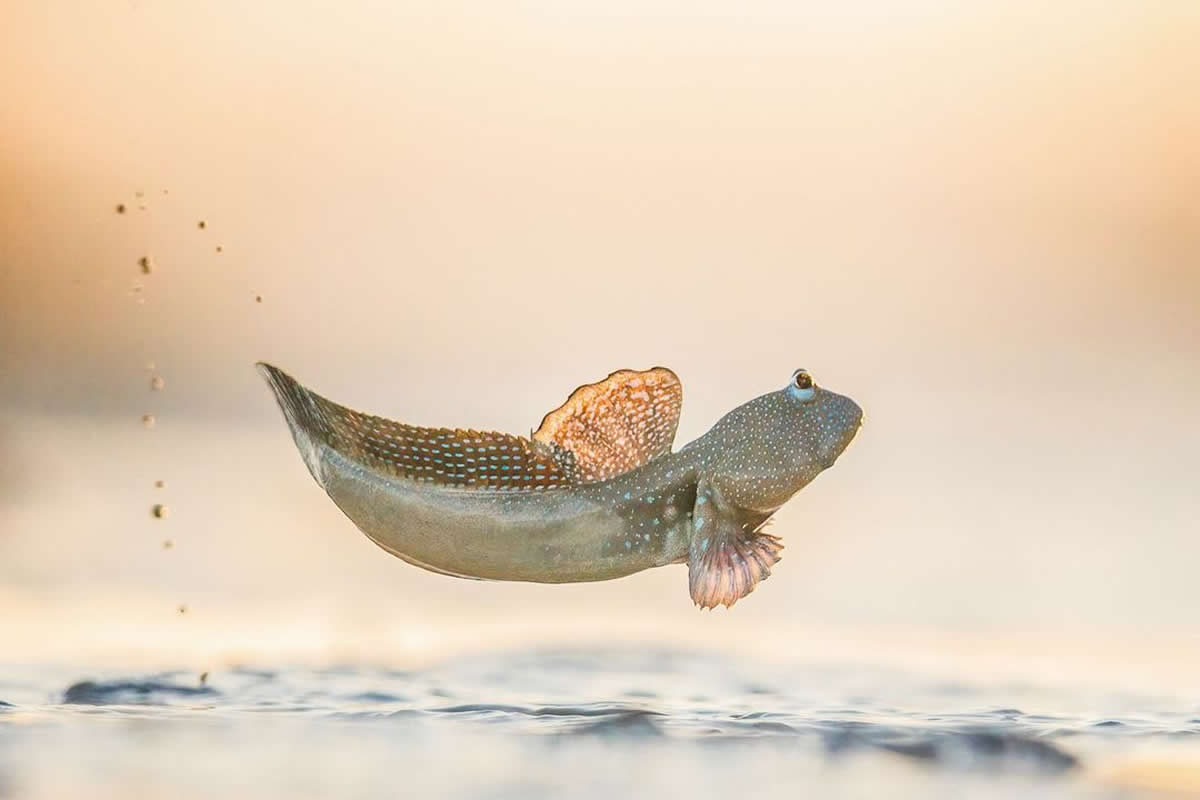
If you want to capture a subject’s fast-moving action and make them look frozen, have a faster shutter speed. Be mindful of your lighting because a faster shutter speed needs adequate light for a clear image. Use speeds 1/1000 second or faster.
Slower shutter speeds are best for indoors. In dimly lit places, you’ll need as much light as possible to reach the sensor. Shutter speeds of 1/100 second or lower are adequate. But, you’ll have to lower it if the lighting conditions are not good. Also, use a tripod or any stable surface because the lower the shutter speed the higher the chance of blurring.
ISO
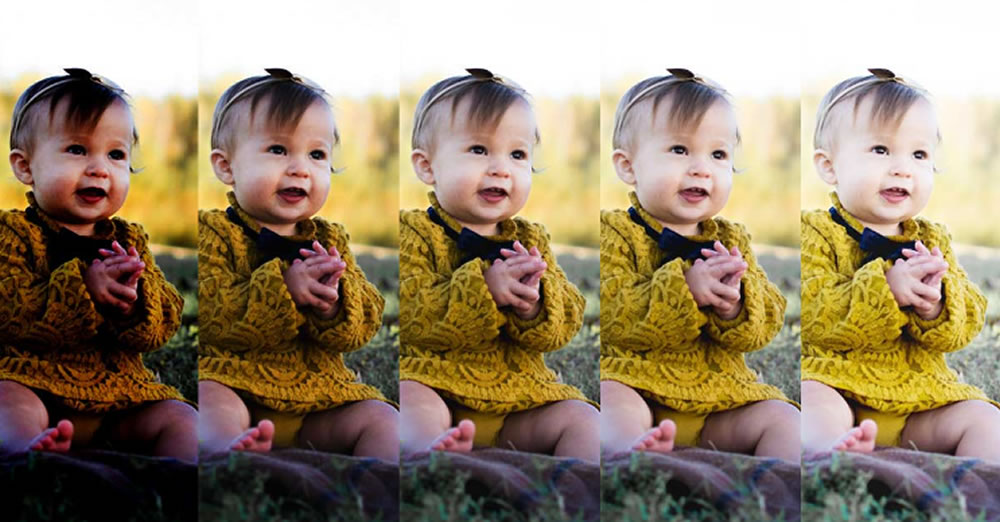
This is the ability of the image sensors to sense light. The higher the ISO speed the more sensitive your camera is to light. This also translates to your shutter speed. By modifying your ISO, you can take photos from dark environments and still make a brighter picture. This also helps in preventing blurry images from motion blur or camera shake.
Aperture
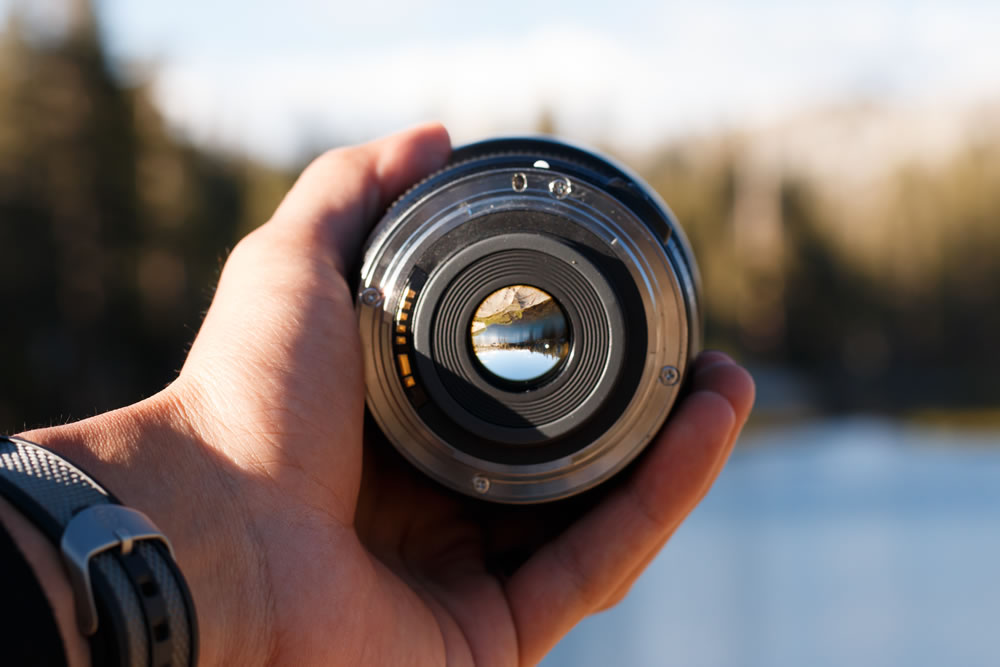
Aperture controls the amount of light intensity. The different sizes of lens opening mainly control this. If you widen an aperture more light can enter, and when narrowed less light can enter the lens. The standard f-numbers Are f/1.4, f/2, f/2.8, f/4, f5.6.., etc. The smaller the f-number the larger the aperture is.
Adjusting the aperture in your camera can add dimensions to your photos by controlling the depth of field. You can have a shallow depth of field and have your background completely out of focus in sharp contrast to the foreground. The large aperture creates a level of separation between your subject and their background. This makes the subject more prominent and directs the attention of your audience.
A smaller aperture is best for landscape photography as it needs little to no background blur as both foreground and background need to be sharp.
White Balance
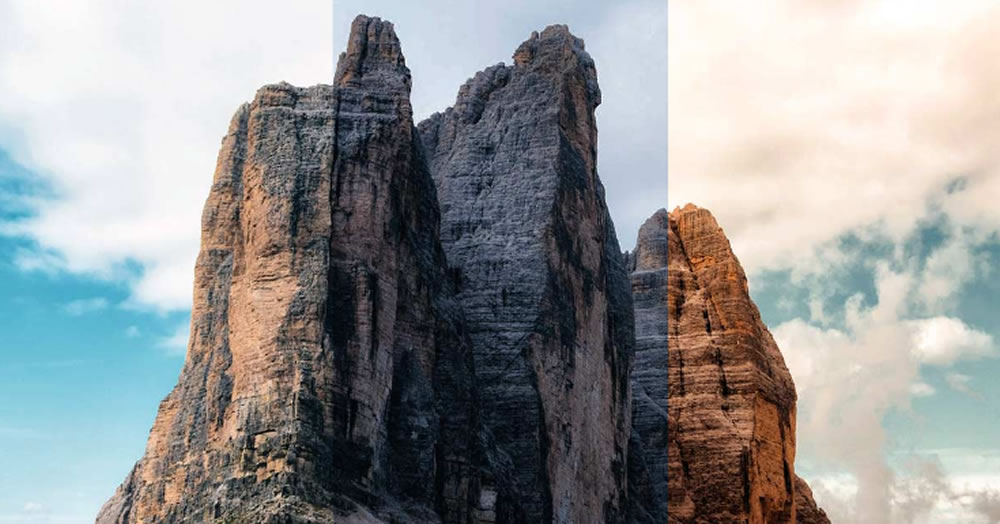
The availability of presets on your camera for white balance will help you a great deal in making white appear white in your photo.
Usually, when you take a photo of a white object, it may take in a color cast. Your photos may have a bluish or a warmer tone. You may not see it as you take a photo of the white object because your brain auto-corrects the color regardless of the light source. You still see white as white. The camera doesn’t pick up on this and depicts photos different from what you see.
Your camera will have Auto White Balance mode. Keep it on. This will help in making the appropriate corrections. You can use a variety of white balance settings if you find yourself in a different lighting situation where “Auto” is not enough. The settings would be “Daylight”, “Cloudy”, and “Tungsten Light”. “Shade” and so on.
Rules of Composition
There are a lot of rules in photographic composition that you will encounter as you grow into your photography journey. Here is one of many photography tips in this article.
Learn the rules but not be constricted by them.
The rules are there as a guide to help you focus and not be all over the place. There may be beauty in chaos but not everyone can find it. And in visual art, eye-strain does happen.
The following are a few that you can start with;
1. Fill the Frame
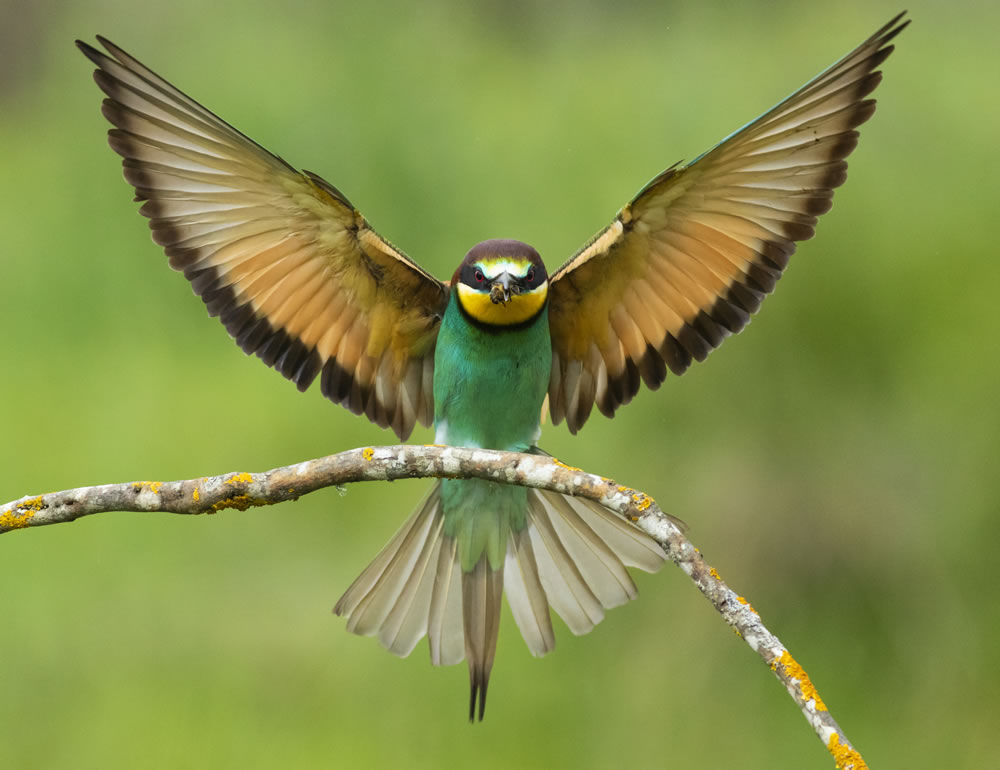
Too much-unused space or negative space in a photo might not look good. This could make your subject appear lonely and desolate. Get closer to fill the frame.
For your photoshoot ideas, make sure to bring zoom lenses to help out in filling the frame.
2. Different perspectives

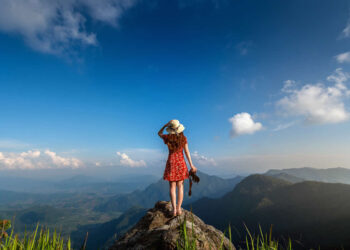
Shoot from a high place or crouch low. It is good to see something from a different perspective. This creates a dynamic effect in your photography. It can also sharpen your skills in capturing a photo from any position or situation.
Always include different perspectives in your photoshoot ideas as it gives you more options to choose from.
3. Rule of Thirds
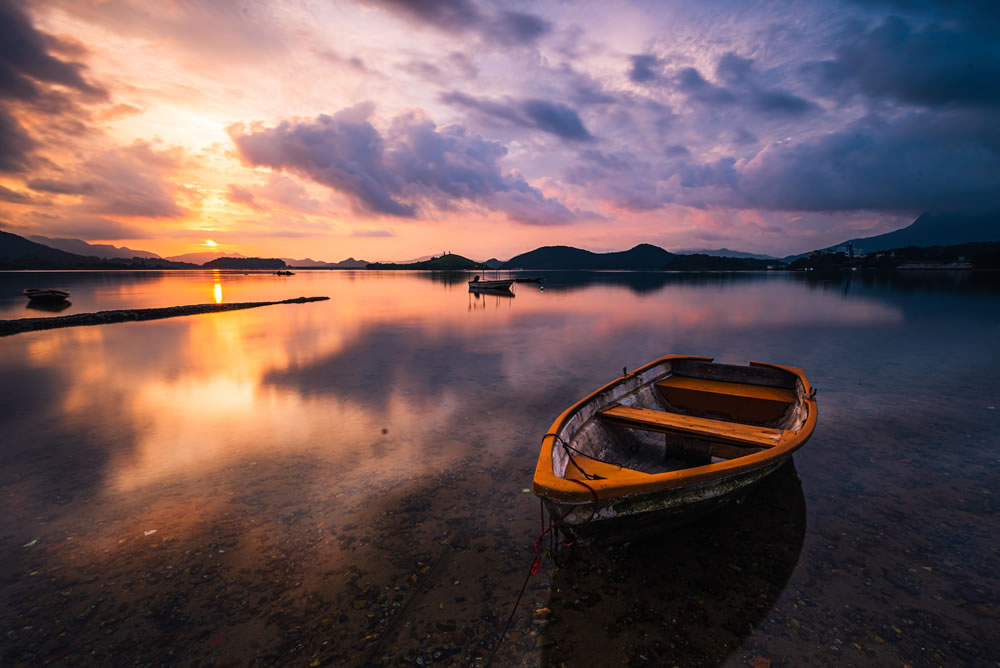
This is one rule that breaks one rule. Or, should I say “ amends” a rule? To create balance, the subject is usually placed in the middle of the frame. But instead of that, use the rule of thirds. This will help you balance empty space and make visually appealing photographs.
Most digital cameras have a preset where a grid will appear on your viewfinder or screen. If you are shooting in analog. Imagine a grid formed by two horizontal lines and two vertical lines, splitting the frame into thirds. You position your subject in one of the intersecting points and avoid the center box as much as possible.
4. Leading Lines
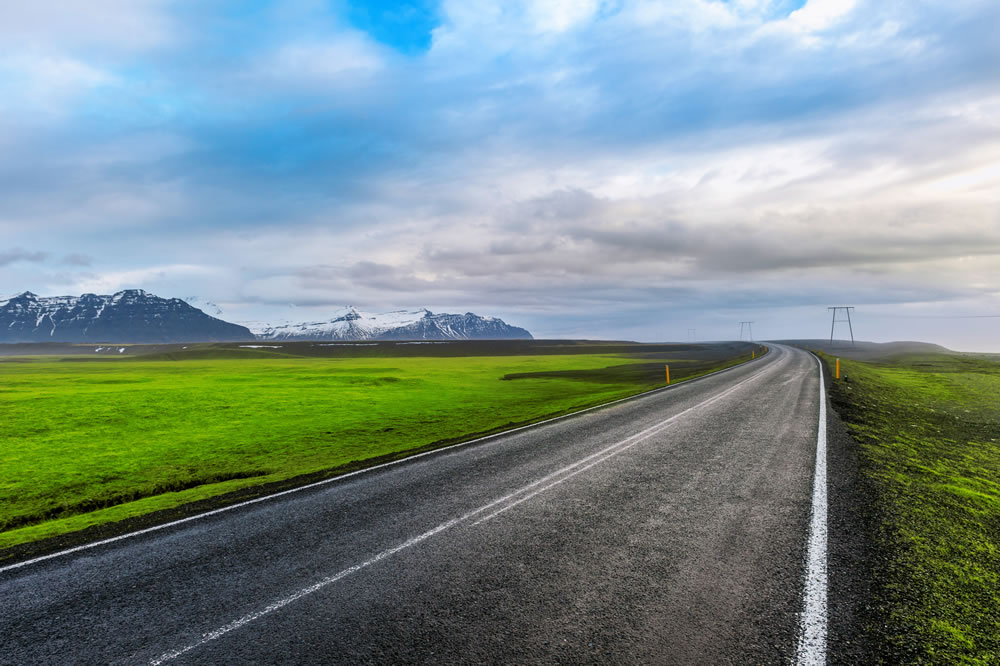
These are natural lines that we see in the world. Examples are lines formed by mountain edges, building structures, staircases, roads, etc. Including these lines in your photos, creates dynamism and a sense of depth when these lines meet or crossover.
5. Figure to ground
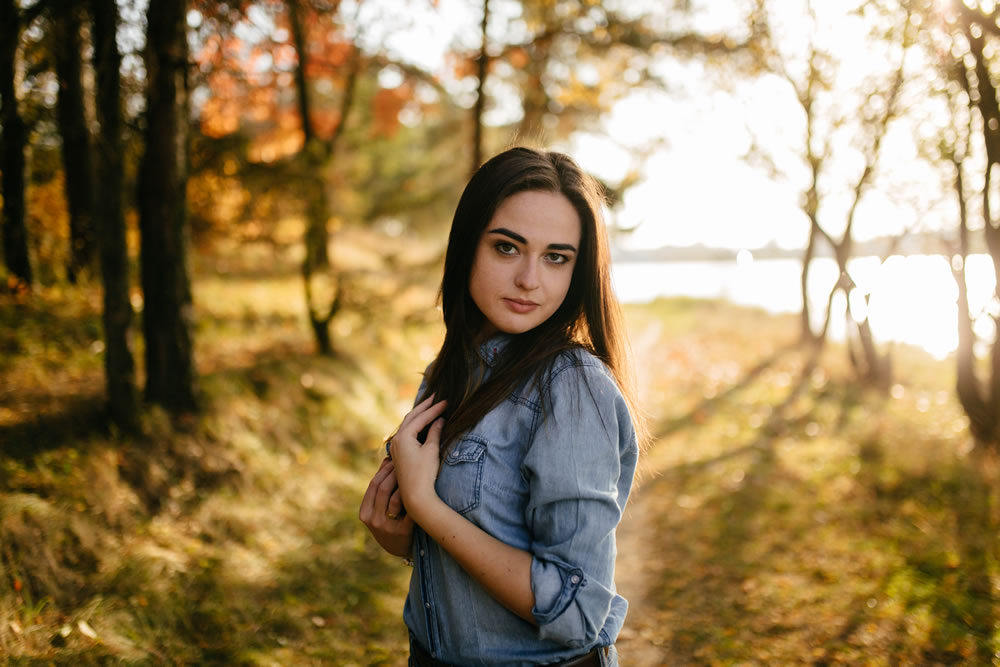
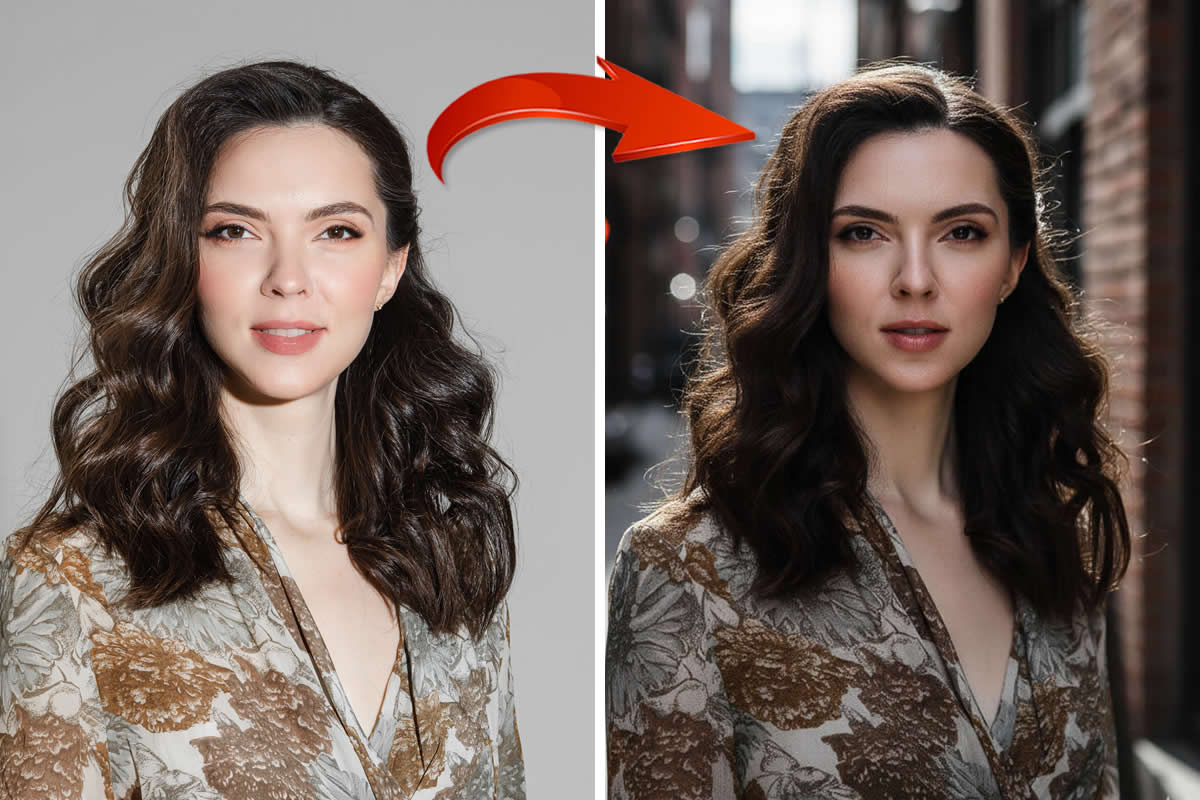
Adjust the contrast of your subject in reference to its background. The more contrast the more dramatic your shot will be. Your subject will stand out more from the background if that is your intent.
Achieve these by contrast lighting. Make sure that your subject gets more light than the background.
Photo editing software can be used if you want a particular background. A remove bg tool will make your editing much easier and more effective.
Tips and Tricks
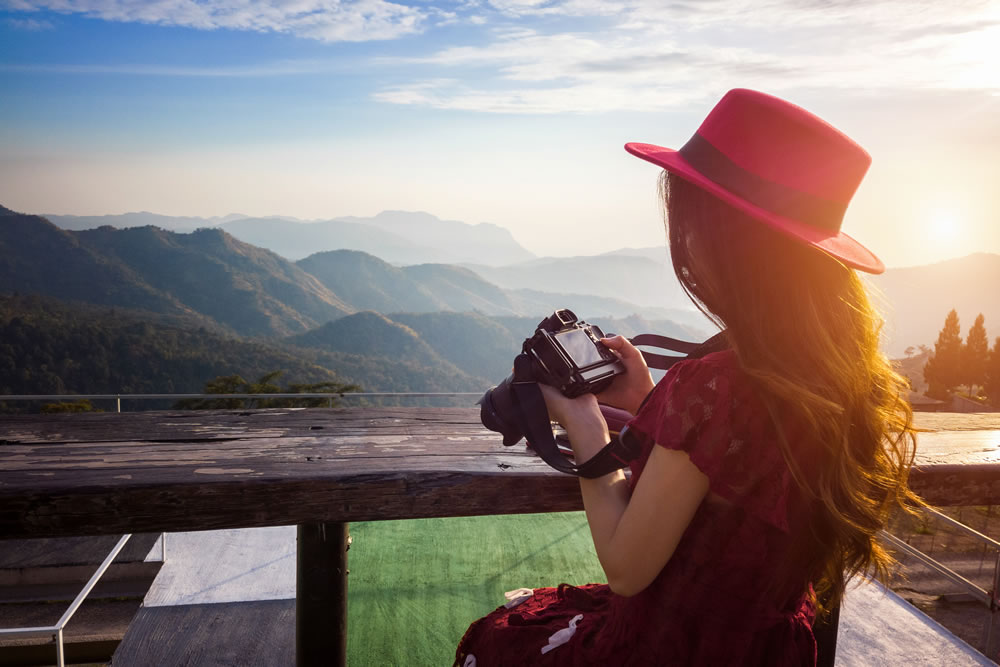
Nowadays, It is so much easier to advance your skills with photography. You can have a multitude of resources online from amateur to professional photographers. You can learn a lot from their experience and their process. The best thing is that all their photos are viewable, so you can have an actual visual reference. Here are some photography tips we found;
1. Frame within a frame
This is a great way to add more depth to your photos. Find something that can create a natural frame to focus the attention of the viewer on your subject. It could be a door frame, trees, arches, walls, or anything that creates a border or partial borders around the subject of the photograph.
2. Ideal lighting
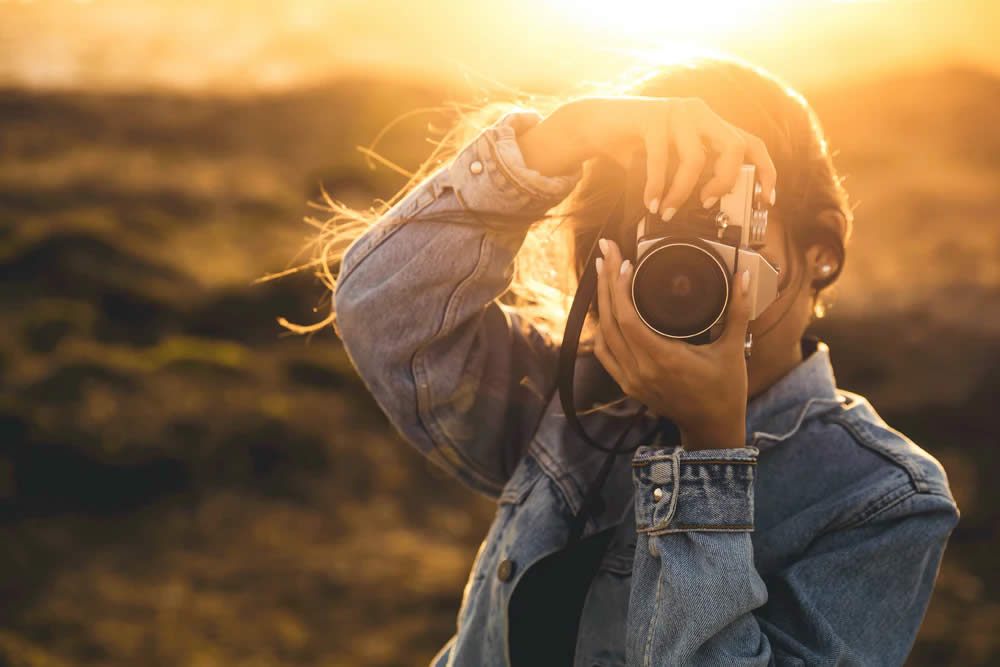
Natural light is still the best lighting for high-quality photos. Photos are great when shot in the morning as they are clear but not too harsh. For a more dramatic effect, shots done on sunsets are breathtaking.
If you are able to buy artificial lighting, choose lighting products where you can adjust the brightness to your preference. This will give you more flexibility in arranging your shots.
Get inspired by photography ideas like using flash gels to light your subjects. They’ll give your photos unusual but interesting colors.
3. Simple is still the best.
Make sure that the background is not too cluttered. It could overcome the subject of your photograph. You must only keep the elements that are absolutely necessary. Your audience’s attention must be focused on the subject and what meaning it is conveying. Simple is easier to understand and to remember.
4. Show scale
To add on your bag of photography tips, use a person or an object to illustrate the size and scope of the image. For example, in order to show the span of a desert landscape, take a bird’s eye view of a lone camel in a desert. Not only are you showing the expanse of the surroundings but letting your audience feel the desolateness of the desert.
5. Beyond the Face
Portrait shots are mainly focused on the face of the subject as they stare at the camera. This could appear flat at most. So, make it more interesting by focusing on more details other than the face.
It would still be a close-up shot but some details could be included. Hand placements near or on the face would be ideal. There are also the positions of the head and where they’d be looking. Small facial movements like a subtle smile or a raised eyebrow. Have details that show the personality of your subject for the audience to have a better sense of them.
Practice Makes Perfect
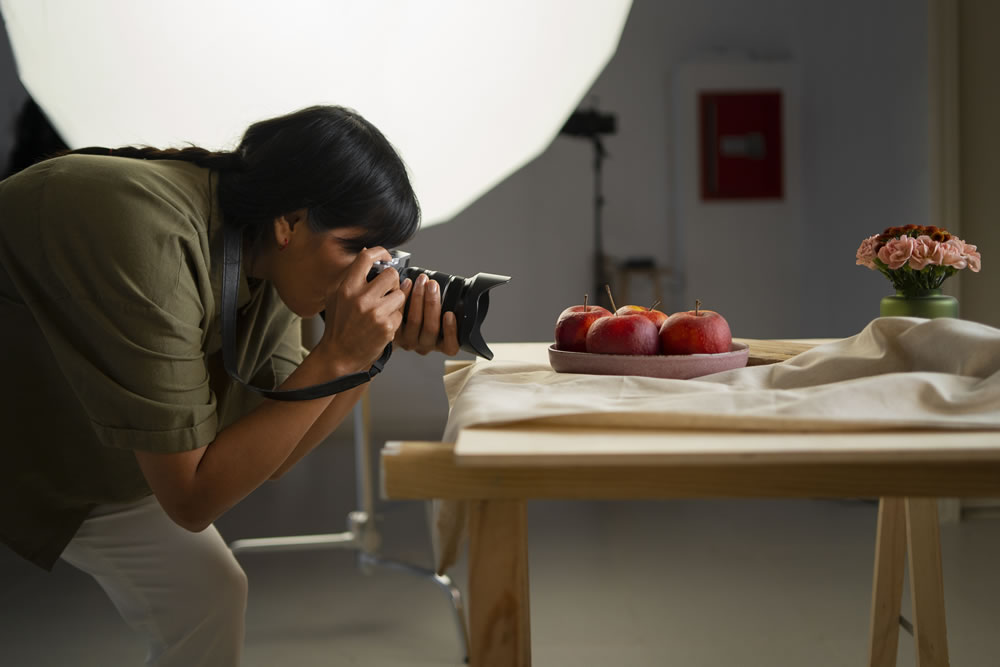
Like in all things, you need practice to achieve proficiency. Because through trial and error, you will be able to find out what you are capable of.
Sure, it could be intimidating and confusing at first. There are a lot of things and techniques to learn and master. But, you need to not stress yourself out. Everyone, even the most gifted photographer started out like you.
Start with the things that are comfortable for you. Do you like animals? Take pictures of your pet then. Do you like taking portraits? Family and friends are always free and are much more forgivable for less-than-pleasing photos.
Practice taking photos during family events, they’d already be taking photos so you’ll not be sticking out. Also, the experience is less stressful and much more fun and enjoyable. Big bonus – willing participants.
Take photos of the same subject from different perspectives and at different times. Pets are perfect for these. Not only is your model free, they are also available to you whenever you want to take a photo. Take photos of them from your second-floor window while they play in the yard. Crouch down into their level and capture their sleeping face. Not only are you getting practice, you are also creating fond memories with your pet. You’ll also have the photo albums to prove it.
This might seem pretentious, but bring your camera everywhere. Just make sure that you are using the camera to take actual photos. It is not a fashion accessory. By bringing it with you, you’ll be able to practice by taking photos of things that you find appealing. You’ll be in various surroundings and environments where you’ll be constantly adjusting your camera’s presets. There is also the constant change of lighting since you are mainly using natural lights. You’ll be adjusting for that as well.
For more photography tips and photography ideas, learn from the professionals. Most of them conduct workshops and seminars. Attend them if you can. Ask questions and learn their process and adapt them to your work.
Final Thoughts
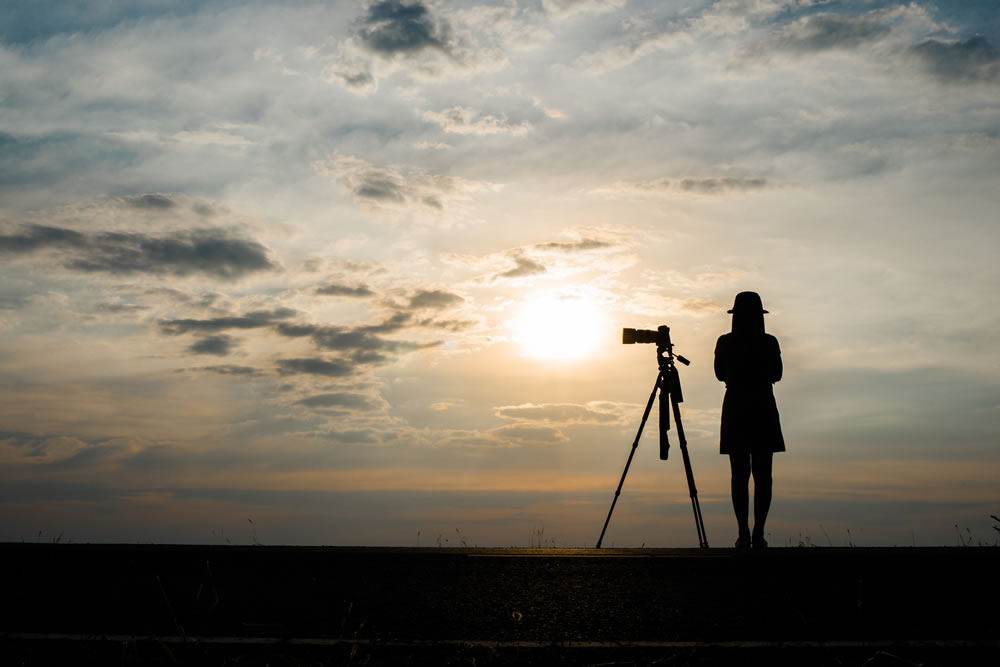
Photography is an art. And, art is all about passion. Passion is a strong driving force for success. But, success is all about hard work.
Your love for photography must translate to loving learning about photography. Be fascinated with its history and achievements. Be aware of the various people who spearheaded the technology behind the camera.
Your camera is an extension of your arm. Know what your camera is capable of. Be proficient in all of its technology, settings, and menus. You must be able to fully master all the controls. Because if not, it is dead weight.
You must have knowledge of the various techniques. Learn from all the available sources you can find. Visit galleries, leaf through coffee table books or picture books, ask professionals, or watch videos. You can learn a lot of these online in the comfort of your home. Most of these are even free for everyone.
Lastly, practice. Everything that we have discussed and you have learned will be for nothing if you don’t practice. Because with practice, you’ll be able to apply what you have learned. You can adjust and adapt these techniques to your own working process and transform it into your own style.
So, grab your camera and start taking photos. The world is your oyster, after all. Better yet, it’s your very own photo gallery.
Author’s Bio
Jacqueline Aguilar, Removal.AI
Jacqueline Aguilar has a degree in Communication Arts and is an avid reader. Writing comes second in her list of passions. She has an interest in Photography, Film, Music, and Tech. Currently holding a desk job and is writing content marketing as a creative outlet.

