Without food, survival is impossible. And thanks to the digital age, photography and food have been beautifully intertwined to create an entire industry based on human survival. This industry is called food photography.
Even though it appears simple, food photography requires a fair bit of knowledge and expertise on the subject. But what can you do if you’re just a beginner? Not to worry! We have compiled this extensive article which covers all the aspects of professional food photography and editing. Not only will you learn to capture great food images, but you will also learn to edit them too. Let’s begin!
Essential tips for Food Photography
The pointers below are crucial food photography tips. These tips are helpful too for photography in general but are a must-do for food photography.
Advance Camera Settings
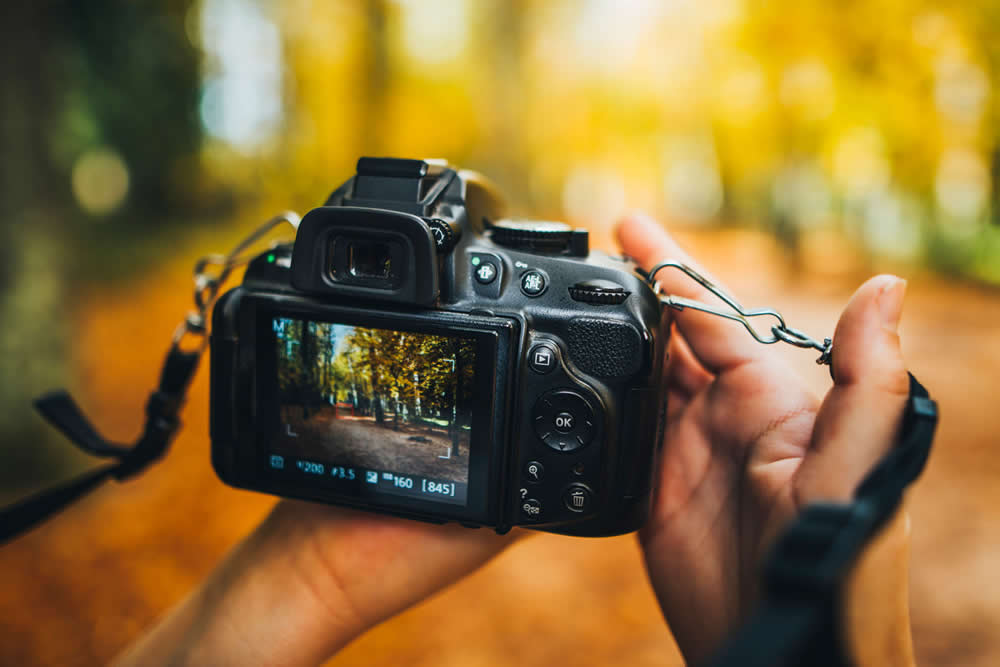
First and foremost is your camera. No matter how deliciously cooked and elegantly designed your food is, if your camera settings aren’t utilized to their maximum capability, the end result will be a bland photograph.
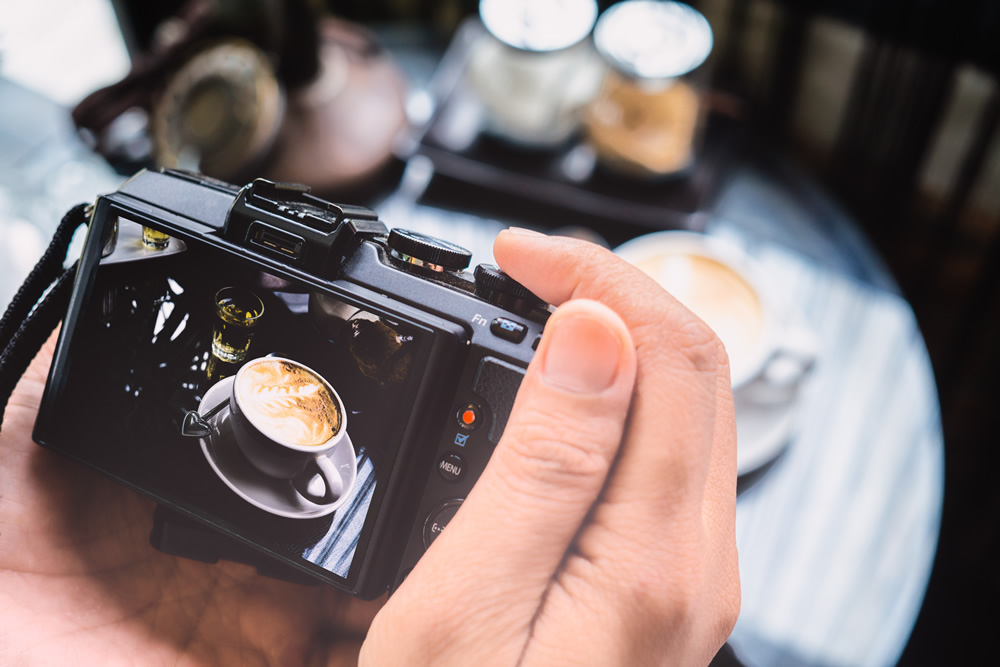
Below are the settings which all photography professionals utilize –
- Aperture: For food photography, using a medium to the wide aperture is suitable. This blurs out slight details of the background that may not be entirely necessary. However, this also depends on the style of shot you will take. If you do want background details to be completely visible, using a narrower aperture would be better.
- Shutter Speed: Using a low shutter speed is better, as higher shutter speeds may lead to overexposed photos. Too low of a shutter speed can reduce photo detail. Just ensure that it is low enough to capture all of the details in the photo without making it blurry and overly bright. Using a tripod helps in eliminating blur.
- ISO: As a rule of thumb, the lowest ISO setting is always better for all kinds of photography, food photography included. It’s unlikely that your food will not be properly illuminated, but even if it is, raise the ISO slightly.
- Camera Mode: Out of all the modes, professionals tend to use Manual Mode the most and adjust all settings until they get the desired result. Manual Mode is great for improving your understanding of your camera too. However, if you’re in a rush, using Auto Mode will be a better choice.
- Metering Mode: There are different metering modes, all of which will give you different results. It’s best to experiment with all and find out the correct mode for your frame. However, always use metering mode. The photo will almost never be better with metering mode turned off.
- Flash Compensation: If you’re using a pop-up or mounted flash with your camera, it’s important that you adjust it to compensate for lack of lighting, not illuminate an existing lighting further. Thus, keep your flash at a level where it doesn’t overbear the ambient lighting.
- Focus Mode: AF-S/One-shot AF should be the only focus choice, as your food photos will essentially be still images.
- Focus Area: Once again, Single-point area mode or Auto area mode as you will be mainly capturing still images.
- White Balance: Automatic White Balance unless you have a specific effect in mind.
- File Format: Select Raw File format.
- Drive Mode: Use Single shooting mode, as you will be capturing stationary objects.
- Long exposure noise reduction: Keep this setting off, not needed for food photography purposes
- High ISO noise reduction: Keep this setting off too, unless you are forced to use high ISO.
- Color Space: sRGB or Adobe RGB; choosing either is fine.
- Image stabilization: Keep it on when shooting handheld and off when shooting from a tripod. We prefer that you always try to use a tripod.
- HDR/DRO: In some cameras, the HDR (High Dynamic Range) setting actually makes the image quality worse by artificially trying to enhance the dynamic range of the photo. This is a setting that will have varying results from camera to camera, hence do experiment with this before choosing whether to keep on or off.
Choosing the right background
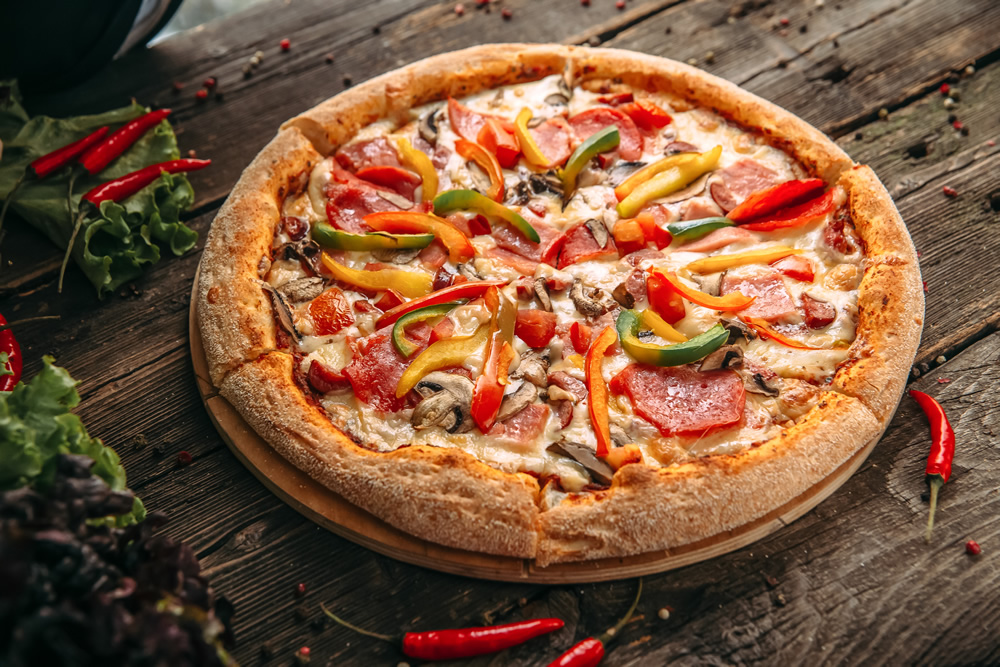
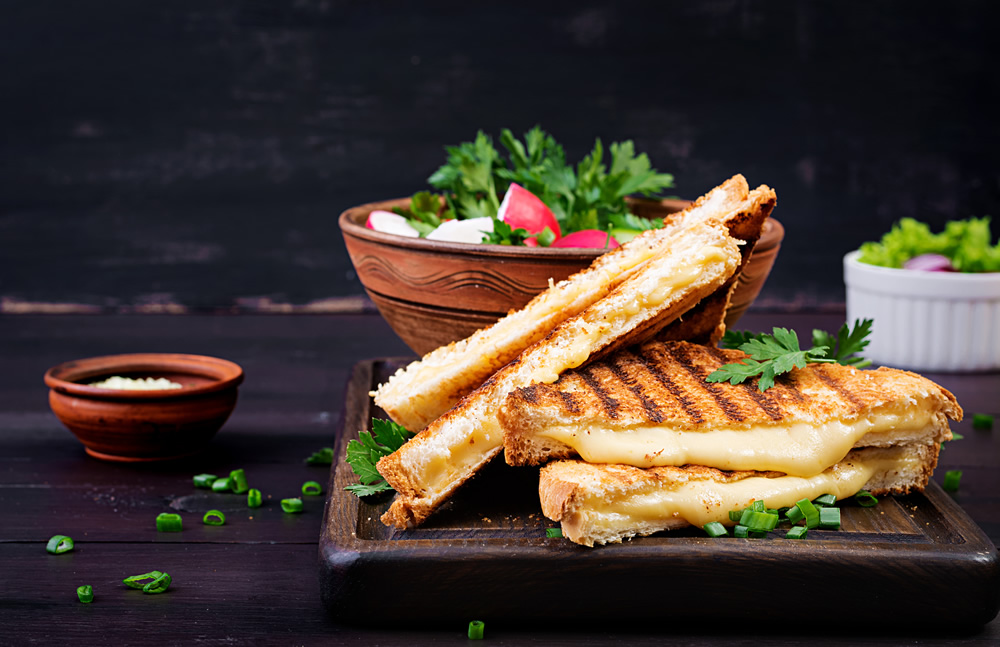
An interesting fact of food photography is that there are a lot of choices for background styles. You can use a wooden table as the background. You could also use blurred outdoor scenery as the background.
You can even use solid food photography backdrops like white or black colored paper. The background entirely depends on the style of photo you’ll be taking and your exact purpose for it. Do you want the viewer to relate the food with coziness? Use a homely setting as the background. Or would you like to generate a restaurant-y feeling? Use a restaurant as your background.
Using neutral backgrounds like tables or solid colors are always safe. However, not all backgrounds will suit all sorts of food. That’s why, give your background some thought and experimentation to find out what suits best with your food.
When considering the ambiance your food photos convey, matching the mood of a meal to varied meal kit menus and plans can inspire viewers to envision how each recipe might fit into their own dining experience at home.
Perfect use of dishware
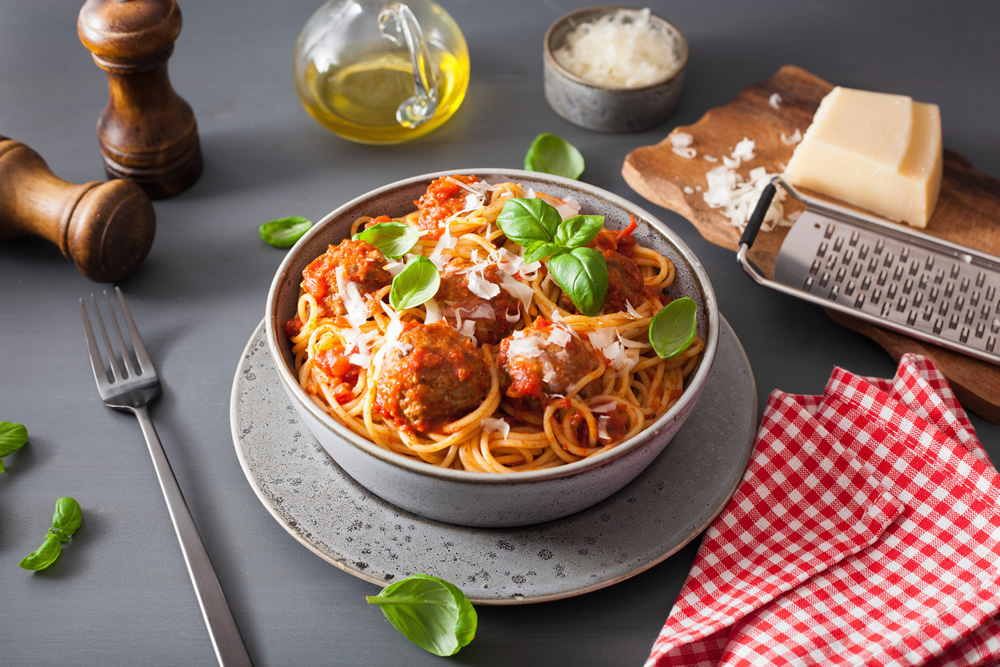
Dishes and crockeries can either make or break a food’s image. It’s that important.
Just like the background, the dishware you will use in your image helps to capture the ‘vibe’ of your food. For example, if you’re capturing an image of a traditional Southeast Asian dish, using antiquated dishware may be a good choice.
Although, more often than not, it’s better to use simple dishware that doesn’t grab too much attention. Once again, unless you have a specific persona in mind that you would like the food to carry, use minimalistic dishware and crockeries.
o pay note to the color of the dishware. Most photographers use white, but you can experiment with different colors. It depends mainly on the color of your food, your background and your lighting. Everything should complement one another, so choose whilst considering all other factors.
Create a story with props
Elements that aren’t necessarily part of the food can be used to enhance the image. It helps to ‘tell a story’ to the viewer, in the quickest way possible.
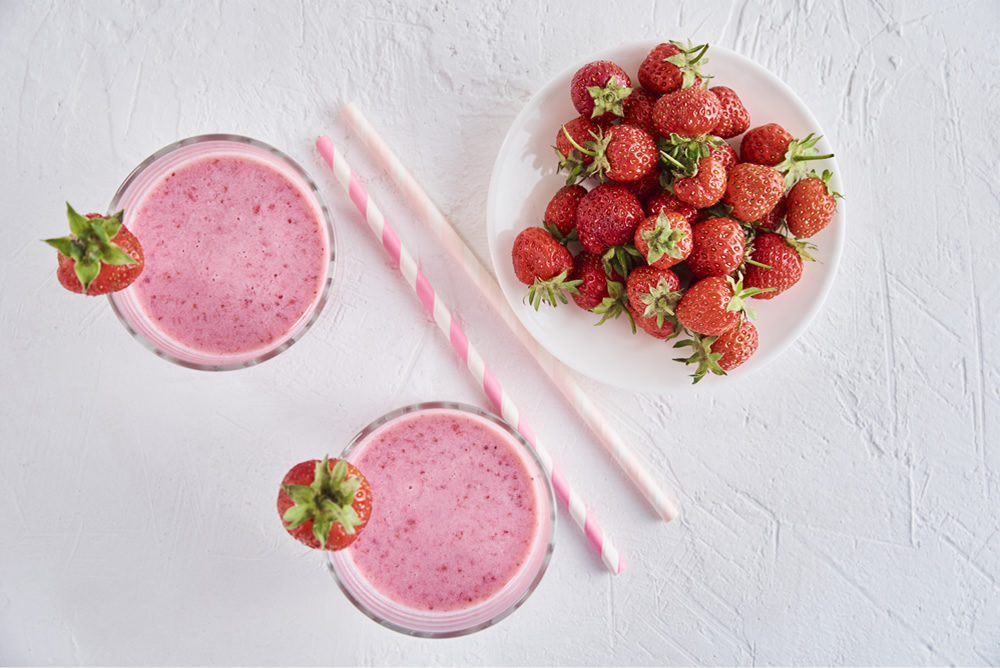
If you are capturing a photo of a raspberry pie, you could randomly place some raspberries around a slice of the pie and capture an image of that frame. In this photo, the raspberries aren’t an actual part of the dish but are one of the ingredients. Even though the viewer will be aware of that, it puts an appealing twist on the photo.
You can even use non-food props like fabrics and place your food on it. The fabric or cloth can also be folded and kept beside the dish. This helps to create a homely feel and presents your story in that manner.
Using accented props like a wooden or marble desk is often a good idea. One trick all photographers use is to carry panels or wallpapers of these materials. Artificial panels of wood, marble, granite or several materials can be readily found. After all, it’s called a prop for a reason!
Complementary crafting and styling
Similar to what we discussed in the dishware section, you can use accented dishware too. You can also use extra dishes and crockeries as props. Some photographers use half-slices of the main food in separate dishes to create a narrative that this food is a family or group favorite.
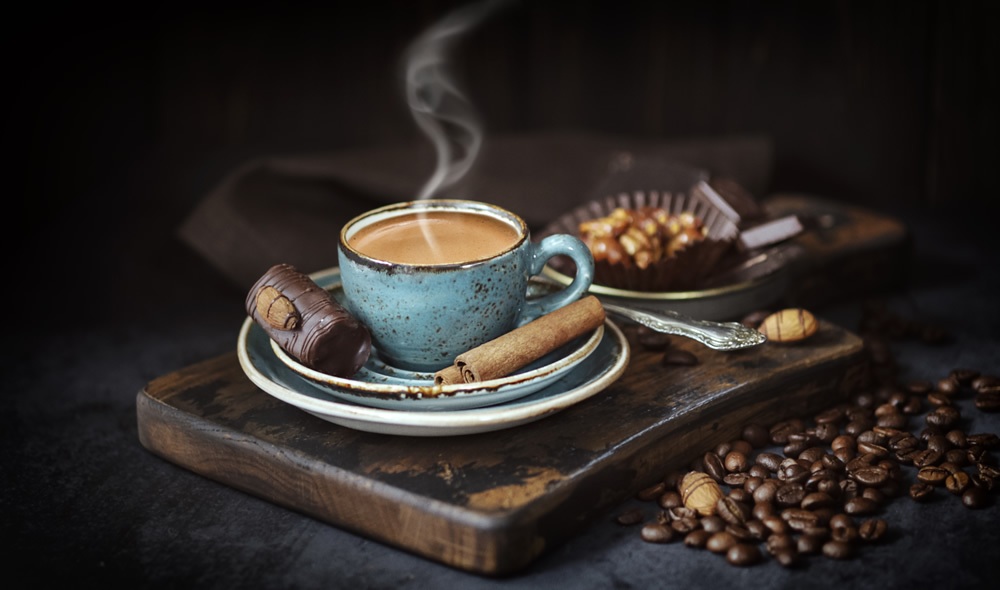
Some photographers use plants and flowers. Flowers are often a great idea as there are so many colors of flowers available to complement your food. You may not even need an entire flower, but only some of its petals sprinkled outside the plate.
As you can see, there is quite literally no limit to the type of food photography props. That’s why let your imagination go wild. There is no rule to using props, just as long as it highlights the food and not the prop itself.
Use various angles
The freedom one has with food photography that may not be present with other forms of commercial photography like product photography is that you can be creative with your angles. Even top-tier restaurants don’t use straightforward angles of their food all the time.
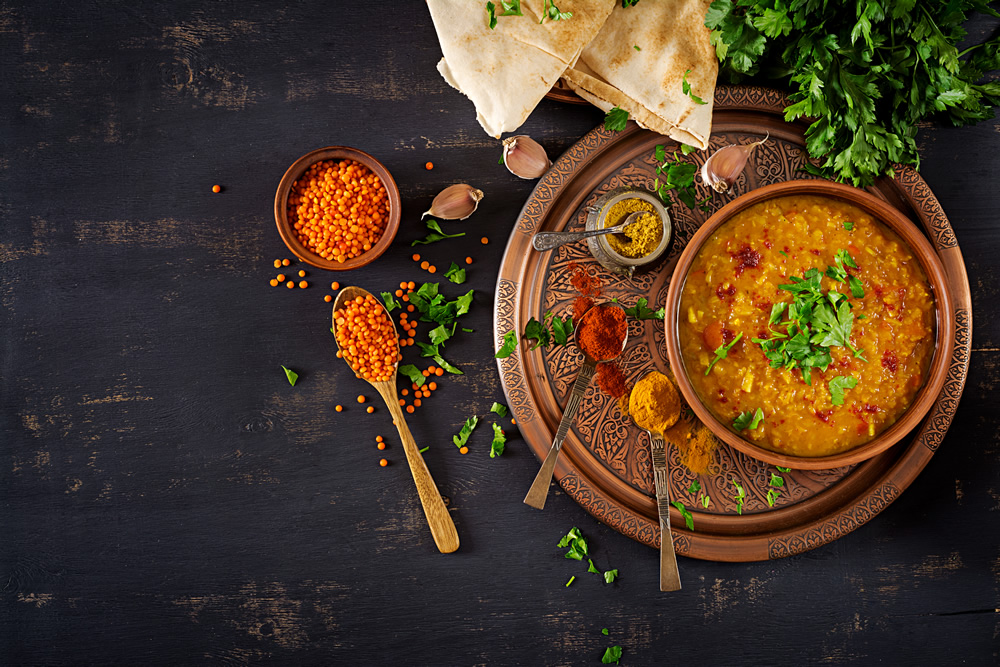
Why so? Well, with food, it’s not about the details that the viewer will be able to see. It’s about how the photo will make the viewer feel, with the food in focus of course.
Certain angles can make the viewer feel young and nostalgic. Certain angles can make the viewer feel poised and elegant. Technically speaking, you should experiment from the entire range of angles that your space allows – 0 to 360 degrees. Sometimes keeping the food on the side of the frame helps to create a compositional image, which makes both the food and the photo more appealing.
Whichever angle you use, always ensure that the food is in focus. Blurring out the food will help you sell neither the food nor the image. It may look artistic but will not add any value to the food itself.
How to Edit Food photos
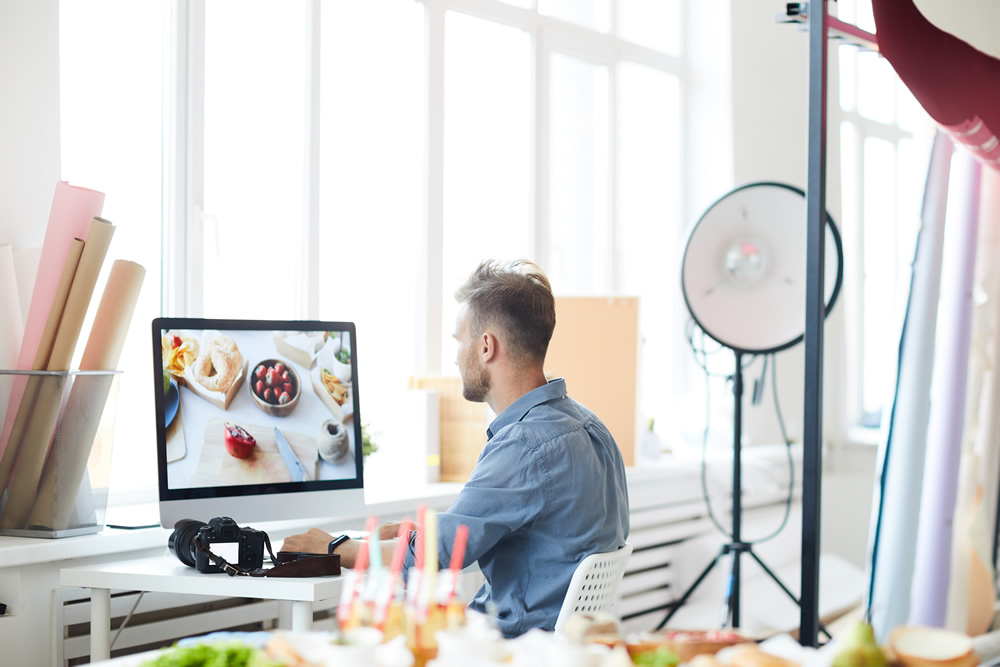
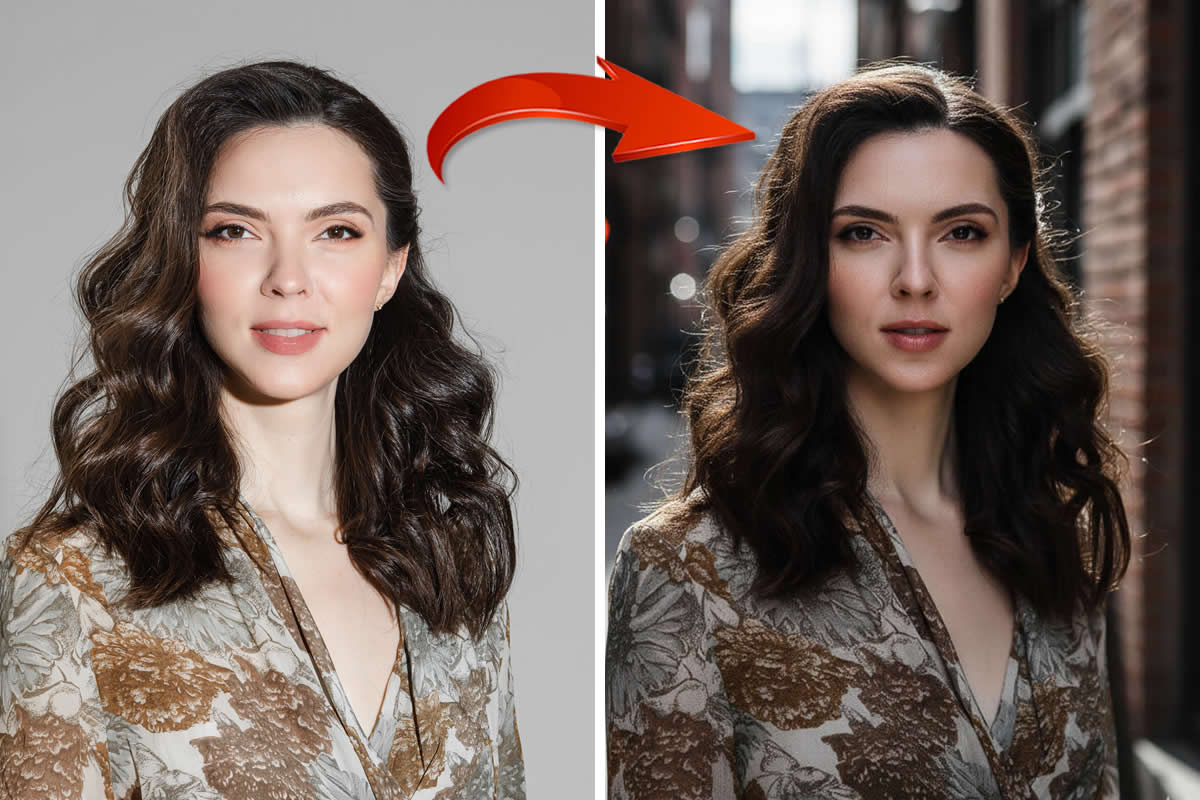
Now that you’ve learnt all the methods to utilize for food photography, we can move on to photography post-production. Editing may sound cumbersome, but it can be a fun process if you already know how to do it. The following pointers will help you learn exactly that.
Balance light and shadows
lot of photographers avoid shadows. They just don’t want to take the risk of making the photo look unprofessional. But that approach often results in overly lit or overexposed images.
Shadows can serve as a great dynamic to your food images, only if you know how to edit them properly. First, you must ensure that your food photography lighting setup has a good balance before capturing it. That will make the editing process much easier.
After loading your images into a photo editing software, you will encounter settings like exposure, highlights and shadows. Adjust these settings to further perfectionate your light-shadow balance. For detailed editing, you can use spot editing available in professional editing software to adjust the light and shadows of particular areas instead of the entire image.
Adjust color
Color consistency is very important in all fields of commercial photography. You need your viewer to perceive the food as it is in real life whilst also being attracted towards it.
Remember, even if you have the best camera for food photography, mild changes in color consistency is natural. That’s why editing can combat that. These are the useful color settings which you can utilize to adjust color –
- Vibrance – It is one of the most useful tools to adjust color in your photograph. There may be certain colors of the food or the photo that need more attention. Perhaps the color of the patty or the sauce is too dull. Increasing the vibrance increases the intensity of these muted colors without affecting the already bright colors. Conversely, if you want to dampen the muted colors even more, you can also decrease the vibrance.
- Saturation – Saturation does exactly what vibration does, but with all the colors. It does not consider which is muted or which is highlighted, it simply increases the intensity of the entire color spectrum of your image. You can either increase the saturation or decrease it depending on what you’re looking for. Neither oversaturated nor desaturated images look good, so adjust these settings only to bring a good balance to your food photograph.
- Luminance – It’s an unpopular color setting, only because very few know what it means. Increasing the Luminance increases the amount of light all the colors in your photo received. This is not the same as adjusting the exposure of brightness – these settings adjust the light for the entire image. Luminance adjusts the light for only the colored portions, i.e. leaving white portions alone. This setting can be very useful if you don’t want to bump your colors without bumping the brightness.
Crop and sharpen
The final stage of the photo editing process would be to crop! You should crop your image depending on the format you need it. Will you be uploading to social media sites? Crop according to their specifications. Will you be sending it to any e-commerce sites? Ask your clients about their sizing requirements.
Where to Outsource Food Photography Editing
Editing images in bulk can be extremely time consuming. Whether you’re an individual food photographer or a business, your editing process needs to be done very quickly and efficiently. That’s why it’s best to outsource your work to a photo editing Studio.
Outsourcing photo editing work won’t only make your work faster but also help you focus on other aspects of growing your food photography business. You can focus more on growing you or your firm rather than just constantly editing.
Conclusion
We hope this guide containing all the tips for food photography has helped you. Remember, you can achieve all your goals if you just put your mind into it!

