Calculating and exposing your sensor to the likes of low light is definitely going to be a daunting task. Many a time, We the photographers must have erred in capturing those unique moments just because of low light and to the condition to which we weren’t prepared for. Shooting in low light is not always about increasing the camera’s ISO and we must understand few other basic techniques before we counterattack the darkness here.
Here, in this post of ours, I have tried to dig and explain some of the interesting concepts of low light photography. The basic elements to consider, the necessary components and some interesting techniques too.
#1 Understanding the Light
Exposing your camera to the quantity of light is all about some simple calculations. When the scene is already low lit, we need not expose the sensor for the regular exposure settings. Remember, trying to underexpose can give you more shutter speed and needless to say always shoot with aperture wide open, just to allow the maximum amount of light to reach your sensor.
Underexposing can result in an interesting histogram on your picture, midtones would not be very much visible there, but never mind a low light picture is more about the highlights and shadows.
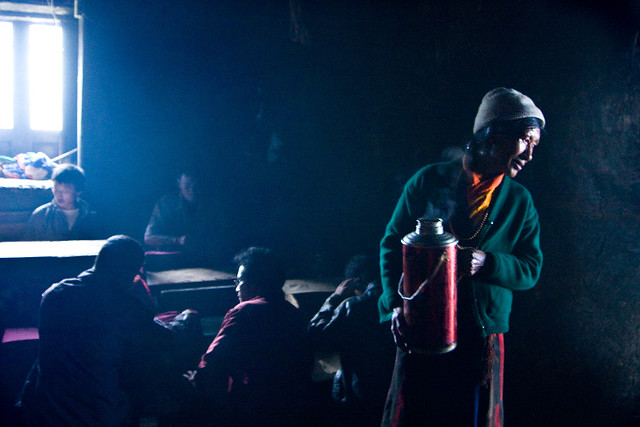
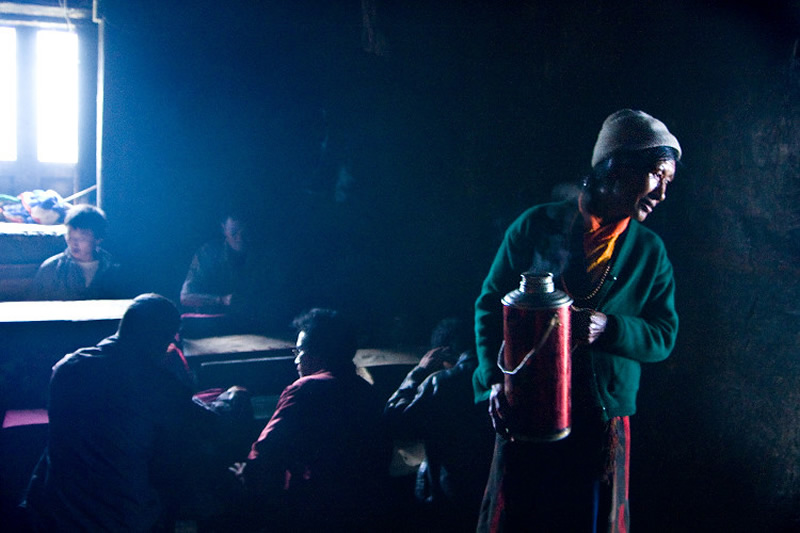
Photo Credit: Mitchell Kanashkevich
#2 Tackling the Blur
Motion Blur is an interesting phenomenon caused due to low shutter speed most often. Low shutter speed often happens accidentally while shooting in any of those shooting modes, when the lens aperture doesn’t fall in place to the lighting conditions.
And often when we enter a darkly lit scene from a much brighter atmosphere, out of the blues we tend to forget the lighting conditions and thereby your camera settings stay blind. To say the fact, sometimes your camera blur can be aesthetically appealing too. Be it just pure luck or instantaneous go out to develop that dedicated vision to appreciate art.
#3 Hitting the Focus Right
Never an easy task to get your focus right because these are tough times where your 9 point or even 17 point auto-focus might fail and the pressure falls straight onto your eyes which are the most delicate and faithful components in pulling out the focus right.
This is going to be definitely harder in the early days, as we tend to err a lot in those minor focus adjustments. But practice and patience are the keys to pull out the rabbit out of your hat. Try to continue the most basic method “trail and error”, when you aren’t cent % sure of the shot. This comes handy and doesn’t make you feel guilty for missing out on a good shot.

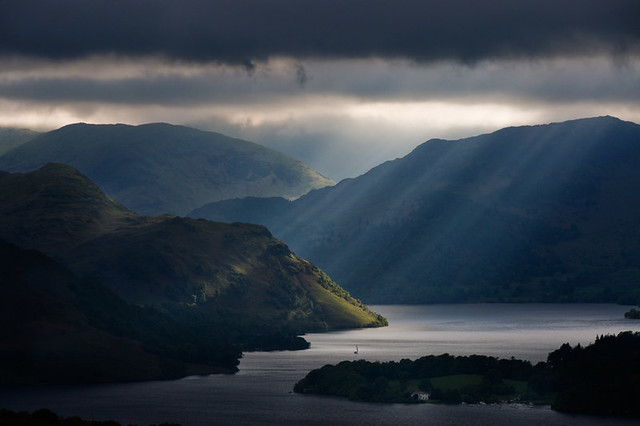
Photo Credit: Michał Pachniewski
#4 Knowing your Camera and Lenses
And finally the most important thing is to understand the pro’s and con’s of your machine. Yes, trying your hands on various ISO levels and analysing the photograph for a better performance would give you an insight about the optimum ISO you would love to have for the photograph. Increasing the values beyond the tolerance level doesn’t make sense since the photograph does need to appeal aesthetically.
Shooting with a zoom lens is never going to help the cause when you are out there hunting in low light conditions. Try to get closer to the subject, I would always prefer to use dedicated prime lenses rather than zoom lenses which are obviously bound to create camera shakes and thereby resulting in undesirable effects on the photograph. Choose the lens wisely and believe me, this will solve whole a lot of problems.

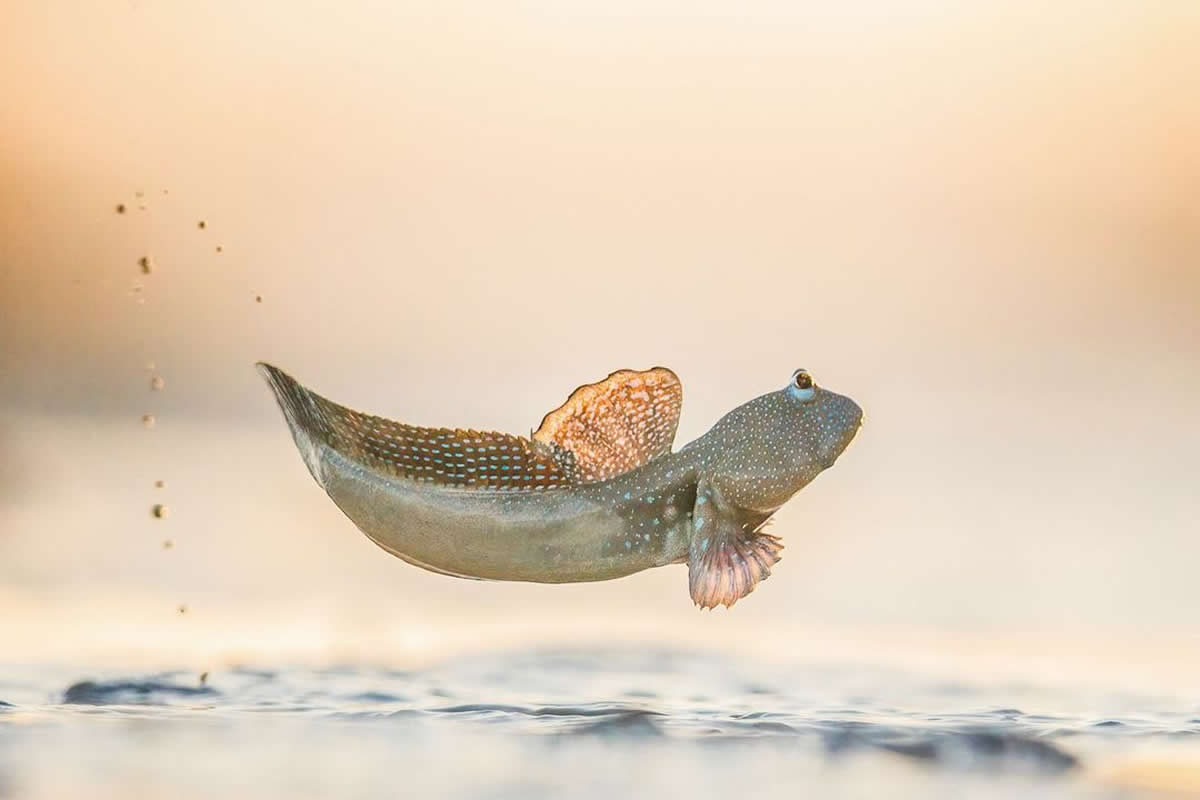
Photo Credit: Anthony Samaniego
You may be interested in the following related topics:
- 5 Things To Do On A Street For Every Street Photographer
- Street Photography Tips And Techniques By Thomas Leuthard
- The Importance Of Lines In Photography – An Overview With Superb Examples
- Street Photography Tips, Techniques And Inspirations
- Wide Angle Photography – An Introduction With Stunning Examples
- Essentials For Post Processing In Photography

