Some time back, we have posted Shirren Lim interview in our blog. I really admired her black and white portraits and ask her the process behind her portraits. She sent her Photoshop Workflow, Here it is. Thanks Shirren.
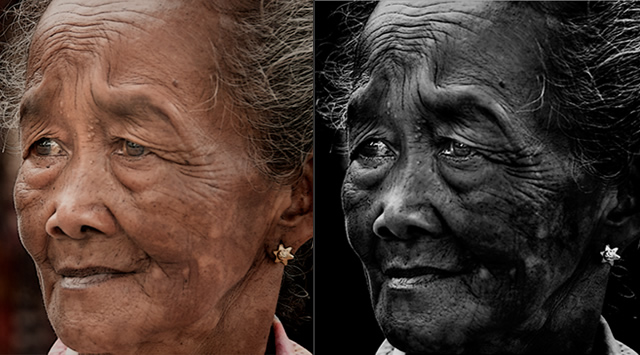
People asks me all the time about my BW portraits … so here’s one of the many ways to get the look.
This is a color photo I’ve prepped for color before converting to B&W.
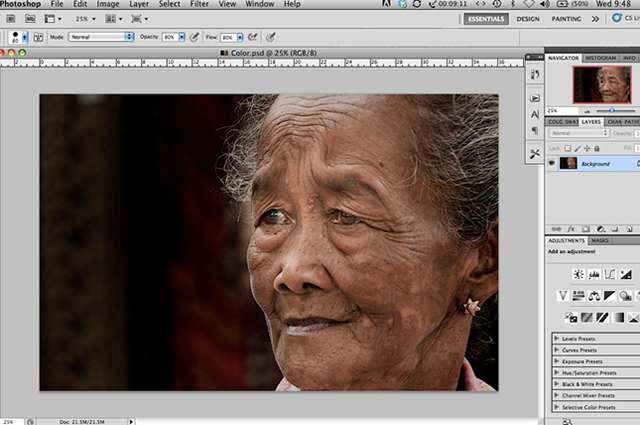
1. Black & White conversion
I shoot all my photos in color and then I convert them to B&W. So, much like how you would prep a color photo, you will need to do the same before converting to B&W. Assuming you have done all your white balancing, etc, proceed to convert your image to B&W using Gradient Map: Image > Adjustments > Gradient Map OR B&W conversion : Image > Adjustments > Black & White.
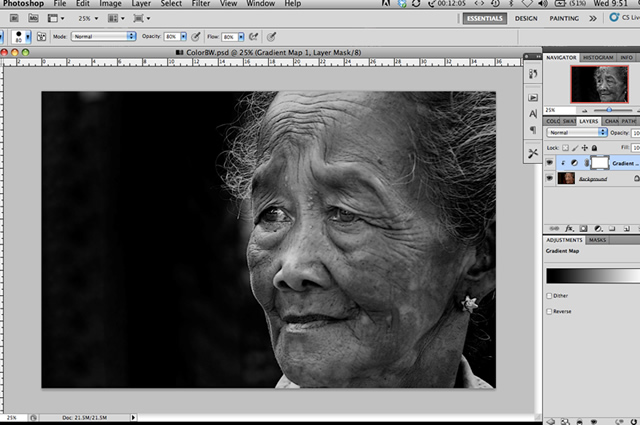
The image converted to B&W using Gradient Map.
2. Level, Levels, Levels
Use the Levels tool : Image > Adjustments >Levels to crush your black and adjust your white.
Don’t worry about the mid points at this moment and don’t worry if your overall image is too dark where the blacks are.
3. Mask!
Just use the mask tool and a soft brush to open the areas where you think the blacks are a bit too much to reveal your image. Do the same for your white areas. Adjust the opacity to your taste.
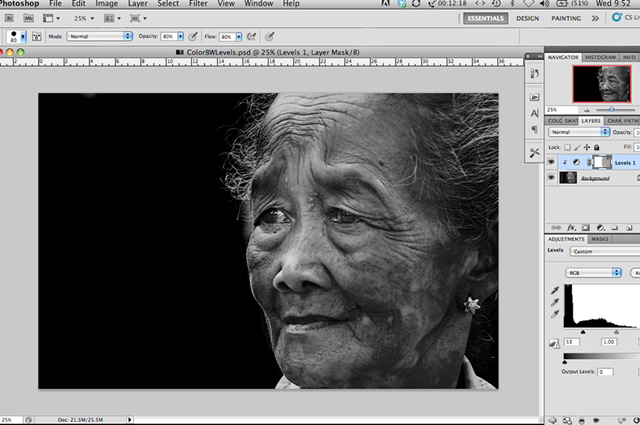
The image where Levels has been applied and masked. Flatten your image. Now , you might find that your B&W image is still a bit flat.
4. Blend modes
So, duplicate your image : Layer > Duplicate Layer OR Command J (on Mac) and set your Blend mode to Soft Light. You can also try Overlay or Hard Light depending on your image. But I prefer Soft Light best .
Again, adjust the opacity to your taste.
Your image will darken considerably. So, use your mask tool again and open up key areas where you want to highlight – face, eyes , etc, etc.
Flatten your image.
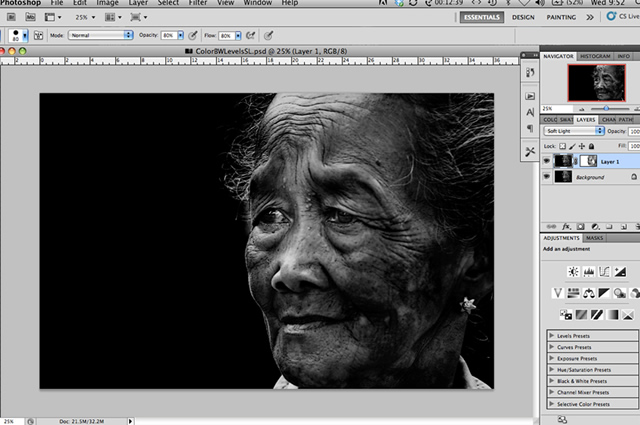
Here, Soft Light blend mode has been applied and key areas masked.
5. Dodge and burn
Here’s where my two favourite tools come in handy.
Leave your background layer as is but go to: Layer > New Layer > set the mode to Overlay > and click on Fill with Overlay – neutral color 50% gray) > OK
Then use the dodge and burn on this layer and not on your background layer. Anything happens , you wouldn’t have dodge and burn on your background layer.
Flatten your image.
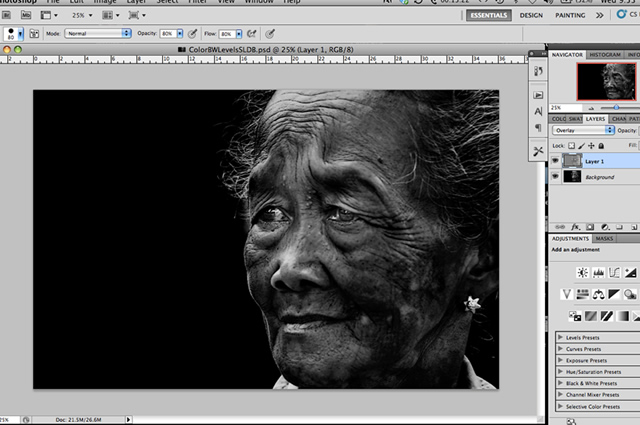
6. Levels. One more time
Depending on the image, I will use the Levels tool again and adjust the midlevels only ….sometimes a minor adjustment in your midtones is all that takes to make the difference.
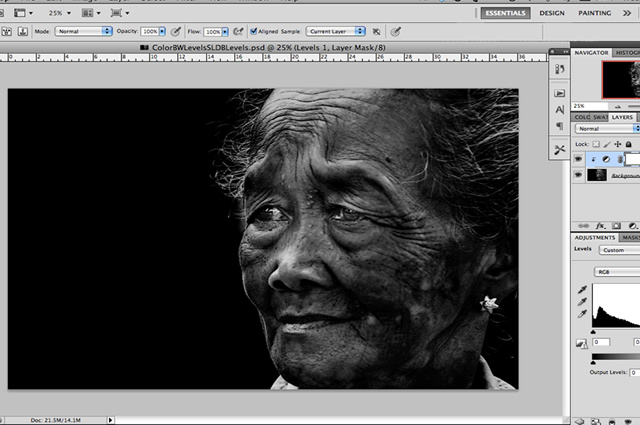
As an example, here’s where I’ve adjusted the midtones.
7. Sharpening
As a final step, apply a light sharpening to your overall image.
Filter > Sharpen > Unsharp Mask
8. Selective high pass sharpening
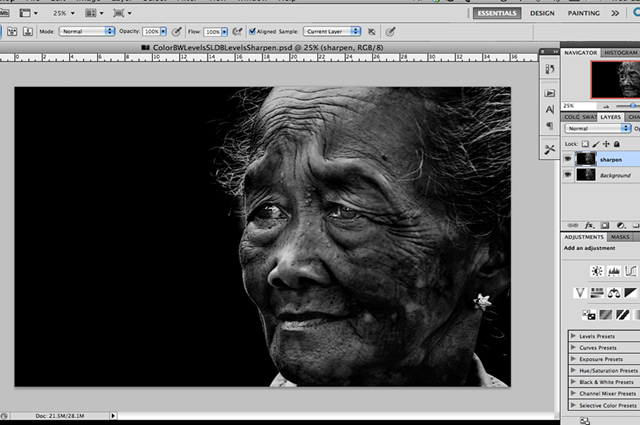
For this image, I applied a further sharpening which is the selective sharpening using the High Pass mode.
Filter > Other > High Pass and set a small radius like 5.
From here, turn your mask to black and use a white soft brush to lightly sharpen the rims of the eyes, nose, hair, etc, etc . This will make the image pop a little further.
Final Image
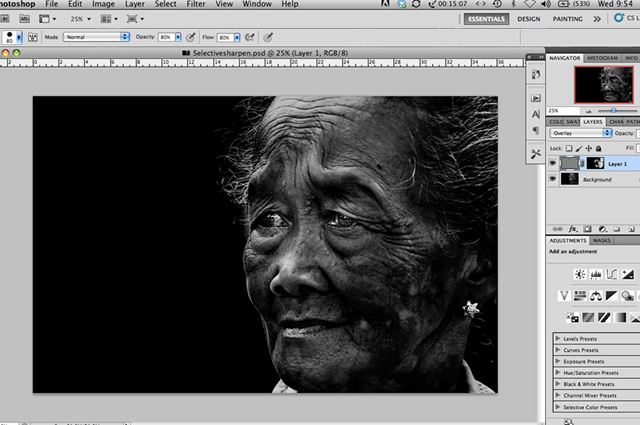
Flatten your image and viola!
Hope you enjoy this tutorial and have fun.
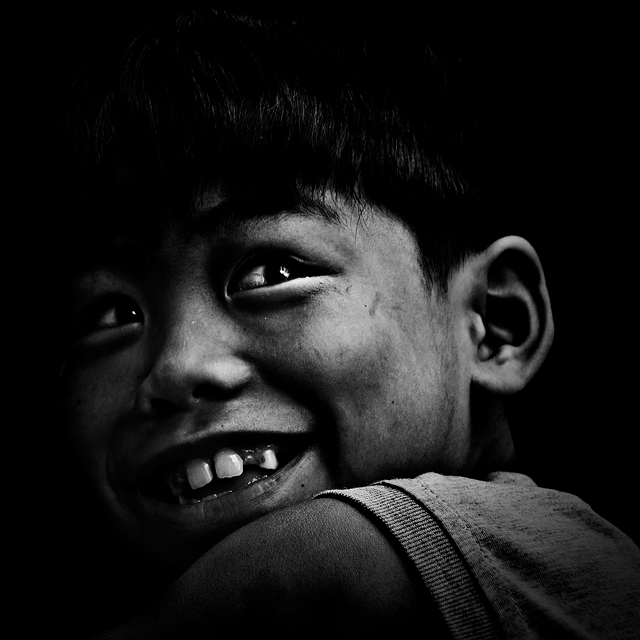
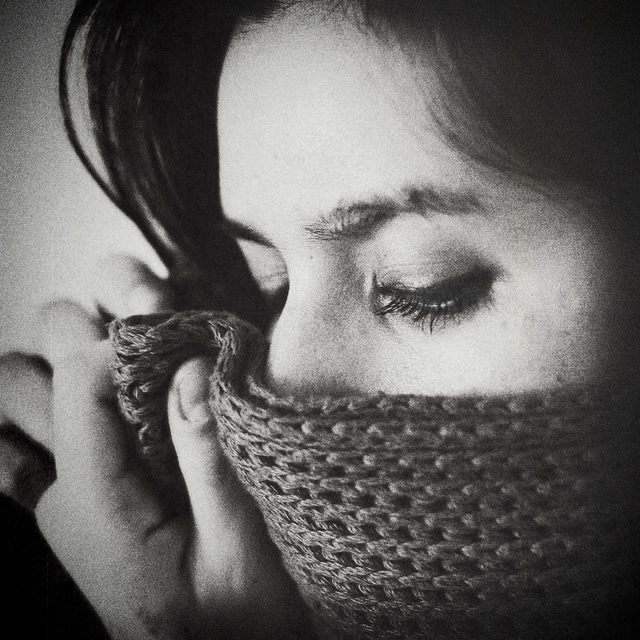
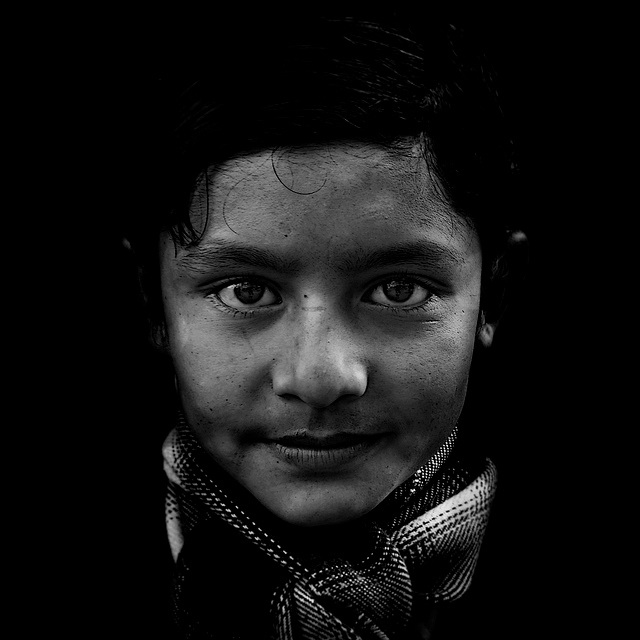
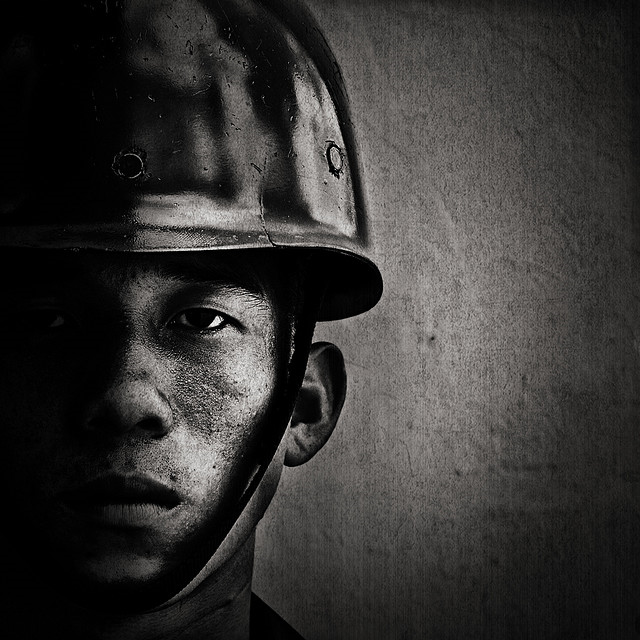
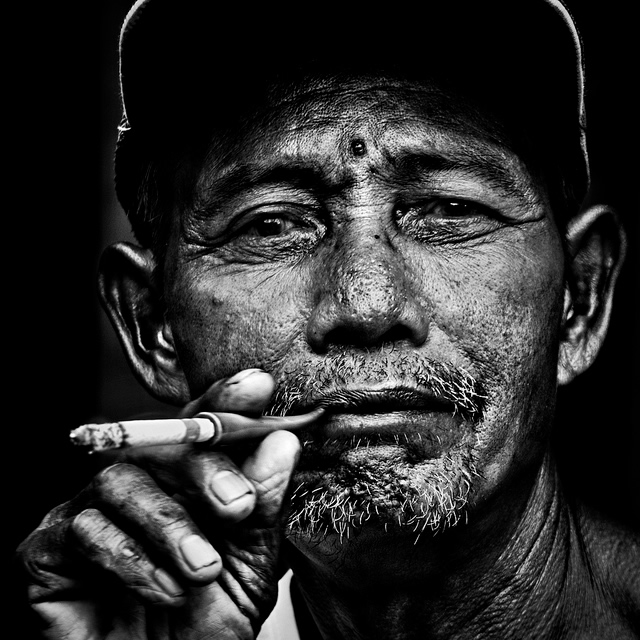
Some of Shirren’s Portraits
You can find Shirren on the Web :
Flickr : www.flickr.com/photos/shirrenlim/
Facebook : www.facebook.com/shirrenlim

