In the online e-commerce business, the products are not all that matters. You also need to think about the images you use to tell customers about the products. Many customers get their first impressions from photos and then continue to research the product further if the photos look attractive. Therefore, if you want to increase your sales and improve your profits, you need to pay attention to your photos.
But can you take high-quality photos without spending a fortune? You can take good and professional looking product photos on a tight budget as well. You just need to consider these few tips and tricks.
Use the right equipment
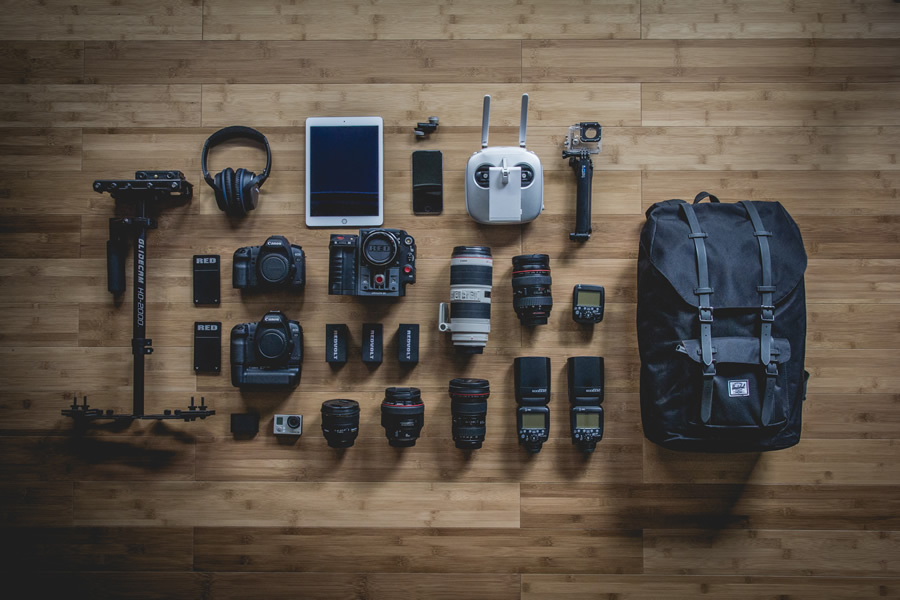
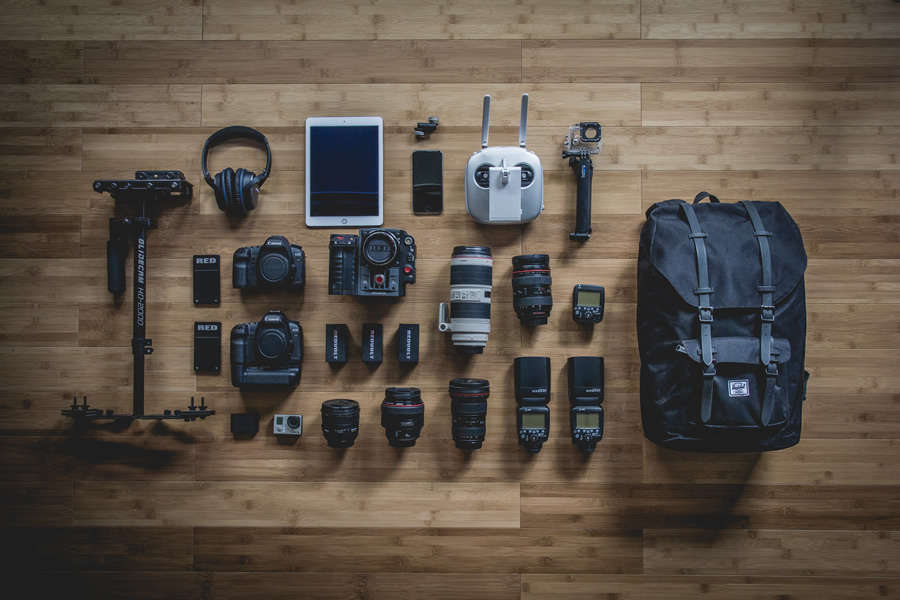
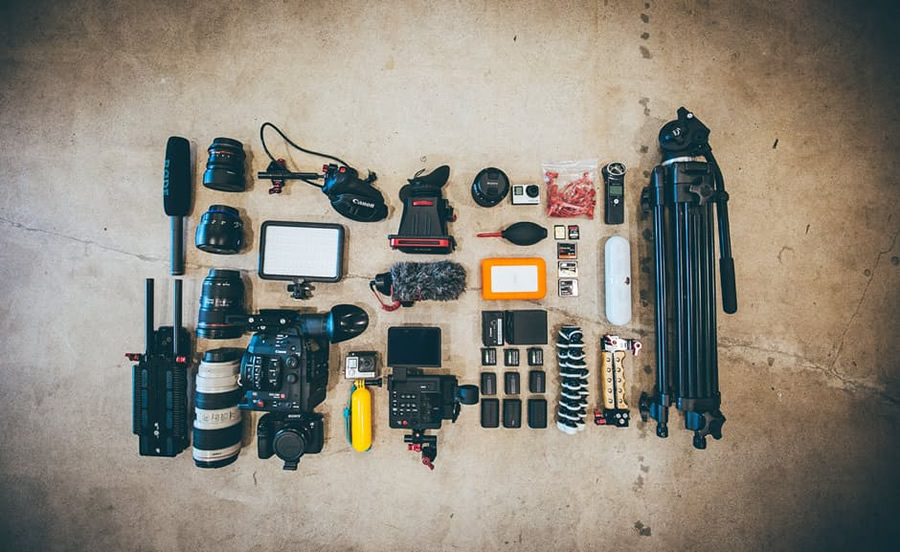
In terms of taking good photos, you really need to consider what sort of equipment you are using. The unfortunate truth about photography is that even if you are good at angles, lighting and creativity, you can’t take high-quality photos if the gear is not good enough. A smartphone with a close to 8-pixel camera will take great photos and it should be sufficient for your needs.
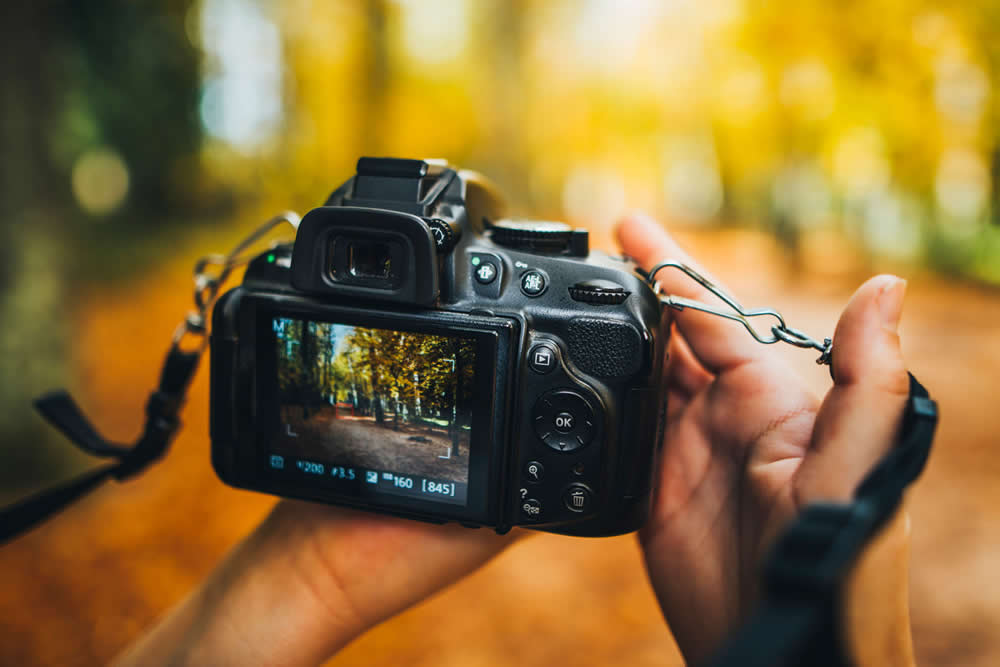
The good news is that you don’t need to spend thousands on taking a good photo. Indeed, most new smartphones have cameras that take superb photos if you use the right apps and take care of the other factors, such as lighting. Free apps like VSCOCam are a good solid option for the newest Android and iOS phones.
In addition, you can even buy a DLSR camera on a tight budget. You just need to make use of voucher codes and special saving season – such as Black Friday. In terms of offers, OZCodes currently has a number of saving deals with camera retailers. These can help you find a good quality camera, but without paying the full price.
Learn about lighting
The second most important thing is lighting. It’s also essential to consider the kind of product you are photographing when selecting the lights. For example, you need to use different types of lighting when you are photographing something see-through such as glass than if you are taking photos of solid objects, such as wood.

It’s a good idea to invest in a light tent, which is suitable for smaller objects. These don’t often cost more than a few hundred or less. But you can also consider going down the DIY route. For this, you’ll need a solid white background or a plastic storage container in white. Of course, you can also go with a different colour background such as black.
You should then purchase a few light clamps that you can attach to the background or box. The light bulbs should always be identical and be around 5000K bulbs.
Write down your settings
Once you find a good setup and settings for your photos, make sure to write them down.
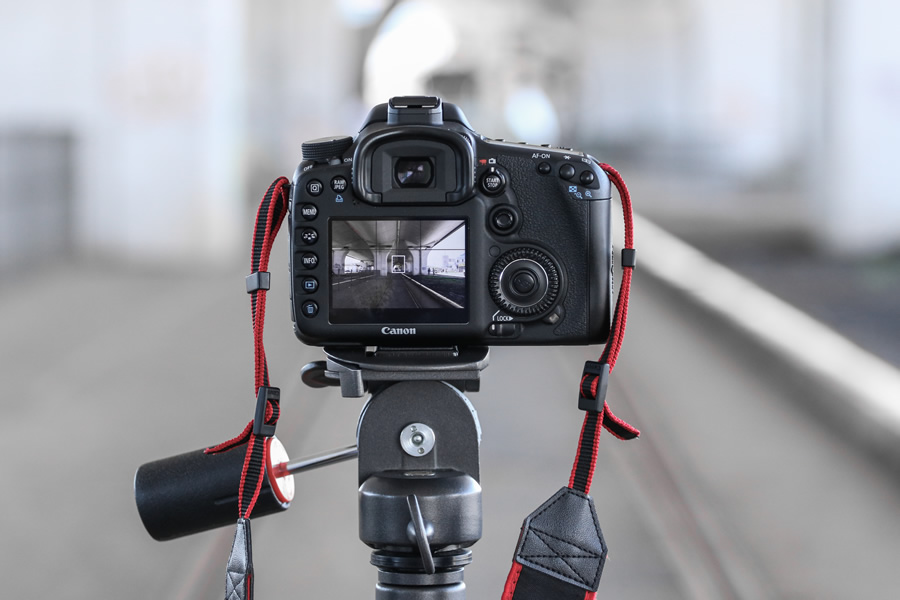
You might not be able to keep the background and lighting in the same position or you might use the camera for other photos in between product shots and it can be time-consuming to get everything working properly again. Therefore, having the details written down can be extremely helpful.
Find a good editing software
Of course, you can always make your photos better with editing software. You can use post processing for cleaning and enhancing your photographs. If there are small mistakes or problems with shadows, you can often correct these with editing.

Shoot your photos as RAW files because it will make editing easier. Software such as Adobe Lighting might be worth investing in but you have free options available as well if it seems too expensive. Picassa and Irfanview are solid alternatives for Adobe’s software. If you don’t want to use RAW technique, you can use free photo editing such as Pixlr Editor for editing your photos online.
The most important thing with editing is to make sure the product has its colours in full view. So, sharpen the colours and reduce the amount of weird lighting shadows. You might also want to consider creating a blurry background, especially if the background is not a solid block of a single colour.
Remember that practice makes perfect
Perhaps the most important thing with photography is to know that practice makes perfect. It’s important to take enough test photos with different light settings, using different backgrounds. You also want to play with angles instead of just photographing the product from the front or above. Play with the angles and you might find something that works a lot better.
Remember to also take your time with the photos. You might want to take a day off just to practice photography, read some online tips and just snap as many photos as you can. You’ll soon notice the improvement in your photos and you’ll learn to use the settings and angles to your advantage.
With the above tips, you can take stunning product photos without spending a fortune. You’ll be able to make your e-commerce site a lot more attractive and lure in customers to buy your great products. With a good picture, you can tell a thousand words!

