There’s a huge difference between just taking a photo and creating one that stops someone mid-scroll, earns a genuine “OMG where is this?!” comment. I’ve been deep in the Instagram trenches for years now. I’ve experimented with the good, the bad, the accidentally blurry, and the unexpectedly viral.
So if you’re tired of snapping pics that look fine but not fire, I’ve got you. Here’s everything I’ve learned about taking amazing Instagram photos no pro camera required, no influencer agency backing, just real advice that works.
1. It Starts with the Story, Not the Shot
Before we talk angles, filters, or lighting ask yourself: what story am I trying to tell?
This is where most people get it wrong. They chase aesthetics without anchoring it to anything meaningful. Are you capturing the calm of a solo morning coffee? The wild chaos of a street market? The quiet magic of golden hour on your rooftop?
Your story sets the tone. It influences your framing, your colors, your outfit, even your facial expression. So before you even pick up your phone or camera, set the vibe. Your photo is just a visual sentence in the longer story you’re telling on your grid.
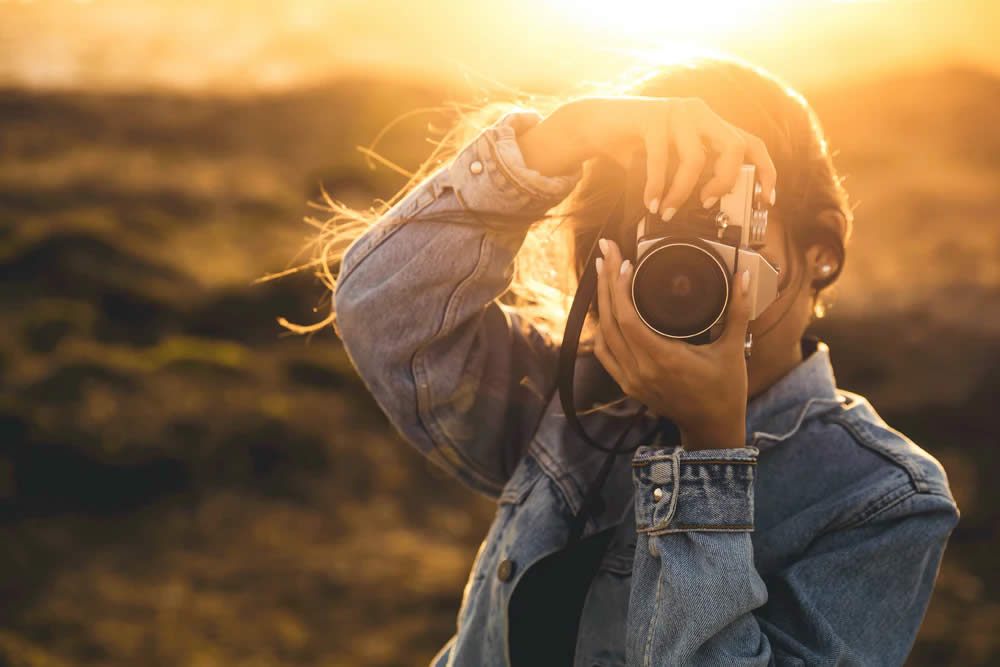
2. Light > Everything Else
Lighting is your best friend and also your worst enemy. You can’t “filter” your way out of bad lighting. Harsh midday sun? It’ll blow out your highlights and give you those unflattering raccoon-eye shadows. Overhead ceiling light in your room? Makes everything look sad and yellow.
The golden rule? Golden hour. That beautiful window of warm light just after sunrise or before sunset. It flatters skin tones, adds warmth, and makes everything glow like a low-key fairytale.
If you’re indoors, go for natural light. Open your curtains. Stand facing the window not with the light behind you unless you’re going for silhouette drama.
Pro tip: cloudy days are chef’s kiss for soft, even light. Don’t cancel your shoot just because the sun’s hiding.
3. Composition Is King (Yes, Even for Selfies)
This is where beginners often fall off. You can have the coolest outfit, killer lighting, and a great background but if your framing is off, it just won’t hit right.
Start with the rule of thirds. Imagine a frame split into a 3×3 grid. Try placing your subject (aka you, your coffee, your cat, your sneakers) along those lines or intersections. This adds balance and draws the viewer’s eye.
Also: leave some breathing room. Don’t always center everything. Let your photo breathe. And watch your edges don’t crop off someone’s foot, or half a plant, unless it’s intentional.
Bonus: negative space is powerful. A wide, clean sky or blank wall behind you can make your subject pop like a magazine cover.
4. Find Your Signature Angle
This one takes trial and error, but it’s so worth it. Everyone has that one angle that just works. Maybe it’s chin slightly down, eyes up. Maybe it’s the over-the-shoulder fake candid. Maybe it’s laying on the floor with your feet on the wall (yes, that’s a thing and it looks cool).
Start shooting from different levels. Shoot from above for a soft, inviting look. From below if you like to appear strong and majestic. Side angles can add mystery or drama. Play. Experiment. Get weird. The best shots often happen when you stop taking yourself so seriously.

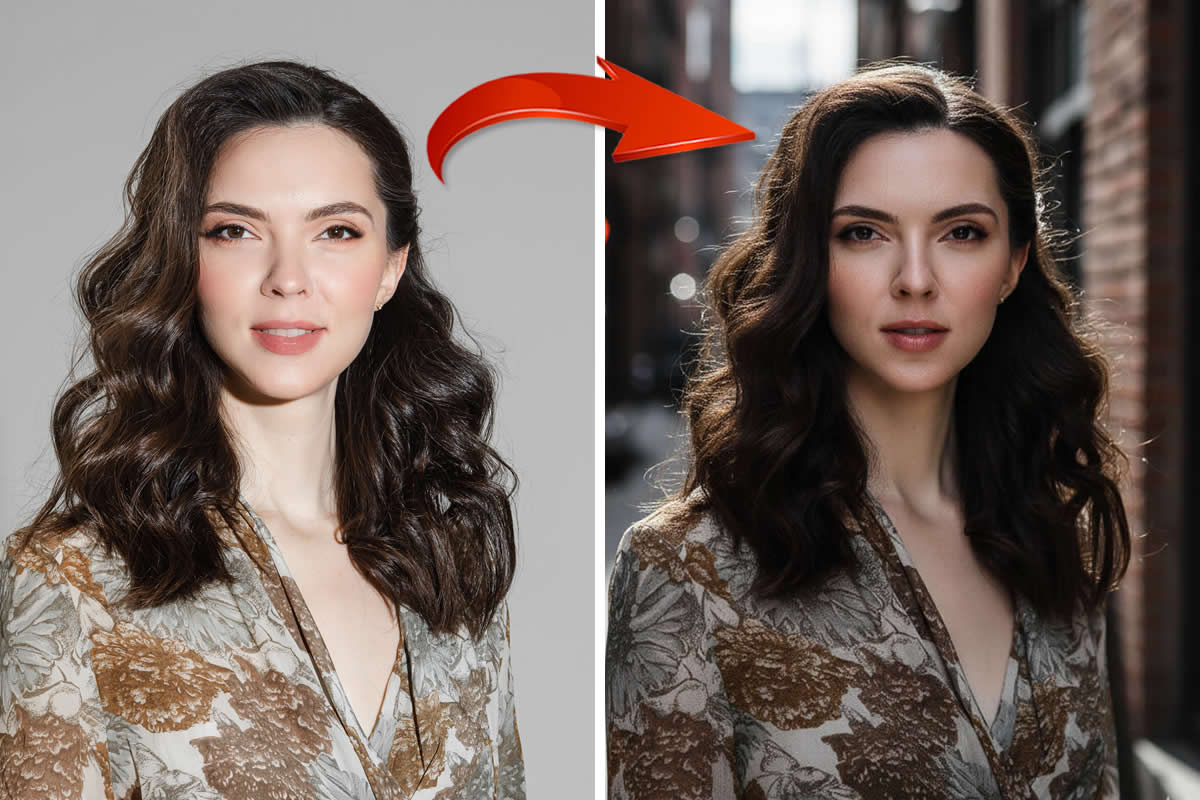
5. The Background Matters (More Than You Think)
A beautiful outfit or a great pose can be completely sabotaged by a messy or distracting background. Dirty laundry, power cords, photobombing strangers it all pulls focus.
Does that mean your backdrop has to be a Parisian café every time? Nope. It just has to make sense for your shot. A clean wall, a plant corner, a cool textured surface these can be way more effective than a crowded tourist location.
Look for contrast, too. Bright outfit? Dark or neutral background. Busy scene? You should make sure your outfit or subject stands out. Think of your background as the canvas, not the competition.
6. Editing Is the Secret Sauce (But Don’t Overdo It)
I’ll say it: the raw shot is rarely the final shot. Almost everyone edits, and there’s zero shame in it. But the key is to edit intentionally, not to the point where your skin looks like plastic and the sky is radioactive blue.
Apps like Lightroom Mobile, VSCO, and Snapseed are your go-to toolkit. Stick to subtle tweaks:
- Brightness: lift the shadows if needed.
- Contrast: add a little for depth.
- Saturation: just a touch for vibrance.
- Temperature: cooler tones for wintery feels, warmer for summer vibes.
- Sharpening: to make details pop, especially on food or outfit textures.
If you’re going for a consistent feed, save your edits as presets or use similar filters across your posts. It’s that quiet cohesion that makes your grid feel curated and elevated.
7. Candid Beats Posed Most of the Time
I used to obsess over perfect poses. One hand here, head tilted just so, smile-but-not-too-much. You know what got the most engagement? The slightly blurry laughing shot where I was just messing around.
People crave authenticity. Your audience can smell a forced pose like a bear from a mile away. Don’t be afraid to loosen up, move around during the shoot, and let your friend or tripod capture the “in-between” moments.
Some of my favorite shots are the ones where I’m mid-walk, looking away, or reacting to something behind the camera. They feel alive. Real. Unstaged.
8. Outfit + Props = Instant Mood Boosters
Fashion plays a huge role in the overall vibe of your shot. So does the little stuff like coffee cups, sunglasses, books, flowers, phones, vintage cameras. You get the idea.
Props tell people what kind of moment this is. Lazy Sunday morning? Oversized sweater and a messy bun. City explorer? Leather jacket, crossbody bag, cool sneakers. Beach day? Flowing dress and bare feet in the sand.
You don’t need to go overboard. One or two thoughtful details can elevate a shot from average to aesthetic.
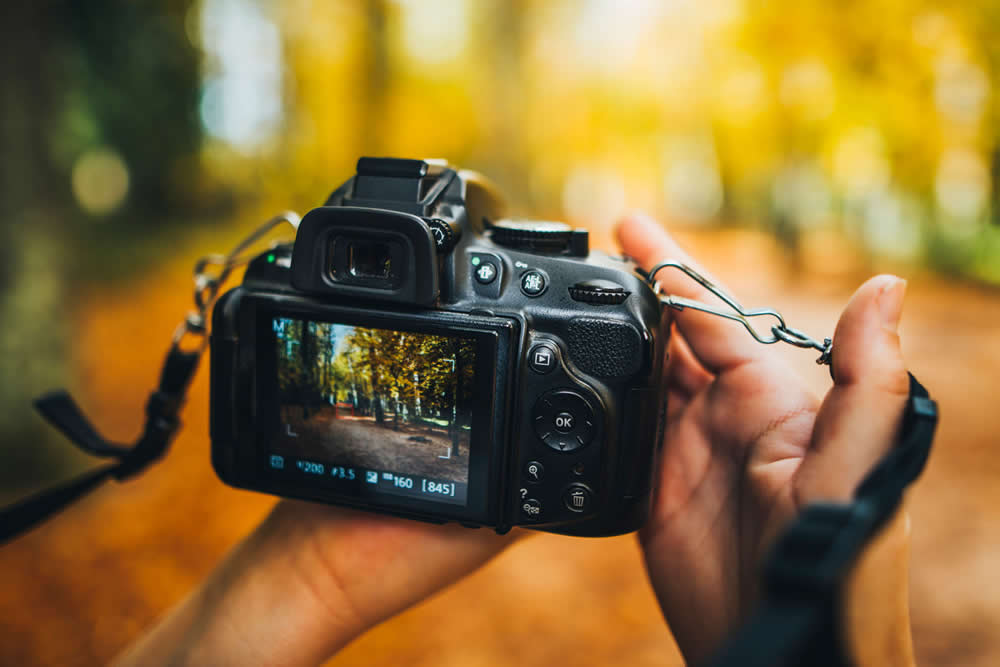
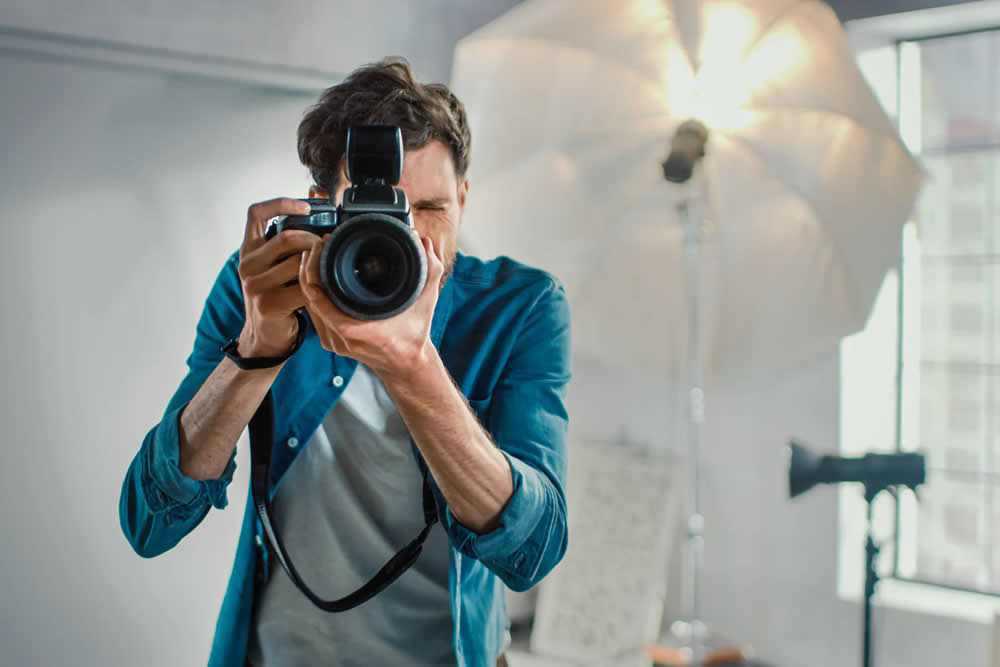
9. Don’t Sleep on Your Camera Settings
If you’re using your phone (which I often do), dig into those hidden settings. Turn on the grid for better composition. Tap to focus and slide to adjust exposure manually don’t let your phone decide for you. Use portrait mode cautiously because it can blur edges.
By any chance you’re using a DSLR, shoot in RAW format. It gives you more flexibility when editing. And don’t be scared of manual settings YouTube tutorials can teach you ISO, aperture, and shutter speed basics in 10 minutes.
10. Batch Shoot Like a Pro
You don’t need to dress up and go scouting for a location every single day. Ain’t nobody got time for that. Pick one or two days a week to plan your outfits, prep your props, and shoot multiple looks or concepts in one go.
It saves time, keeps your feed flowing, and gives you room to be more creative when you’re not rushing. I usually shoot 4–6 looks in one session and mix them into my content calendar.

11. Post with Purpose (and the Right Tools)
Now you’ve taken a banger photo. You’ve edited it, curated your feed… but your job’s not done. Posting is an art in itself.
Think about timing. Think about what you want your audience to feel. Write captions that feel personal or funny or insightful whatever fits your vibe. And don’t neglect hashtags; they’re still one of the best organic growth tools we have.
I personally use Grum’s tools to draft captions and test different hashtag mixes ahead of time. Tools like these make it so much easier to organize all that without the headache of last-minute posting panic.
Final Thoughts:
Instagram can be quite a rollercoaster. One might easily become absorbed in comparisons, aesthetics, and statistics. The greatest images, those that truly resonate, originate from a position of happiness, curiosity, and creativity.
So whether you’re shooting with an iPhone 12 or a mirrorless camera, on a rooftop or in your kitchen remember: it’s your eye, your story, your vibe that matters most.
Now go create something scroll-stopping. And tag me if you do. I’m always down to hype a fellow creative up.


