Guest Article by Andrew S Gibson
Even as an experienced photographer there are still times when I get the exposure wrong. It’s easy to forget the basics and assume that the exposure is correct instead of actually checking to make sure.
If you’re experiencing problems with exposure and are struggling to understand why, then there are five key concepts you should study. Once you understand these key ideas, you will understand why your camera sometimes gets exposure wrong, and how to put it right when it does.
1. Learn to use program AE, aperture priority and shutter priority modes
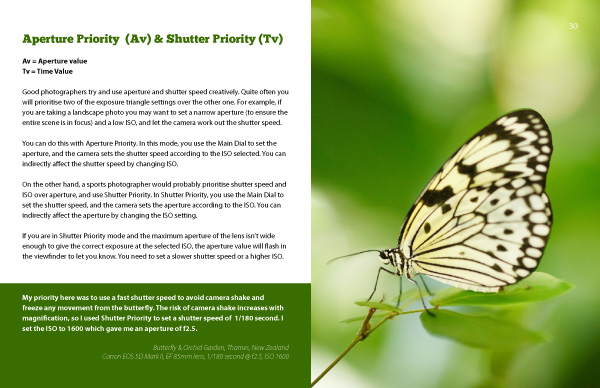
If you are using your camera’s fully automatic modes (portrait, landscape etc) you are letting the camera make decisions for you.
On my EOS cameras, if I use a fully automatic mode I have no control over aperture, shutter speed or ISO. I can’t decide whether to activate the camera’s built-in flash, whether to shoot in Raw or JPEG, or apply exposure compensation when the camera gets the exposure wrong.
The first step to becoming a better photographer is to start using program, aperture priority and shutter priority modes. These modes give you full control over all the camera’s settings.
2. Learn how to use your camera’s metering modes and understand why they get exposure wrong
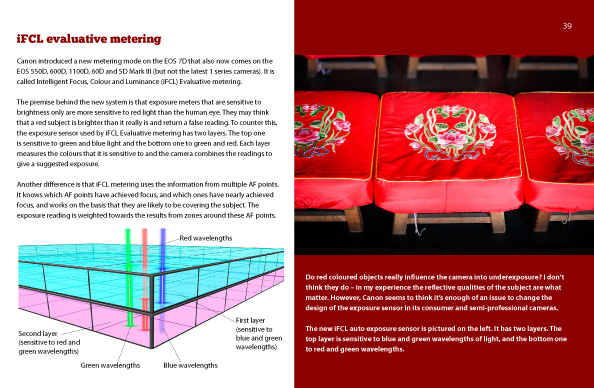
A modern digital SLR has several exposure modes. My EOS cameras have four: evaluative metering (also called matrix metering and multi-segment metering by other manufacturers), centre weighted average metering, partial metering and spot metering. Each one works differently, and errors in exposure may simply be down to not fully understanding how the exposure mode you are using on your camera work.
Another key concept you need to get to grips with is that your camera’s built-in meter, regardless of which metering mode you use, only measures light reflected from the subject. If the subject is lighter or darker than average this can cause exposure errors.
3. Learn how to use the luminance histogram
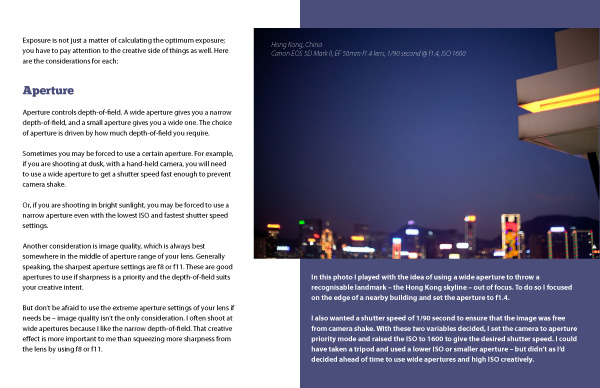
The luminance histogram is a tool that tells you whether your photos are accurately exposed and how much contrast they have. Learning to read a luminance histogram, and understand the information that it conveys, is an essential skill for the digital photographer.
4. Learn to use exposure compensation
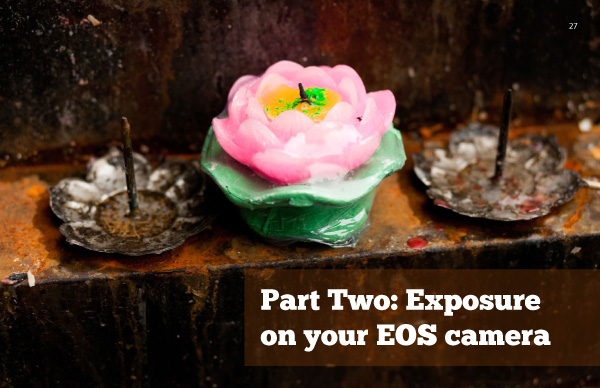
Once you understand how you camera’s exposure meter works, and how to use the luminance histogram to see if your exposure is accurate, you need to learn how to override the exposure settings selected by the camera in order to arrive at the optimum exposure settings. The easiest way to do this, if you are using program, aperture priority or shutter priority modes, is with exposure compensation.
5. Learn how to use manual mode

Finally, there are times when using manual mode is the most effective way to expose your photos correctly. Knowing when to switch from an automatic exposure mode to manual is another key skill you should acquire.
Understanding Exposure
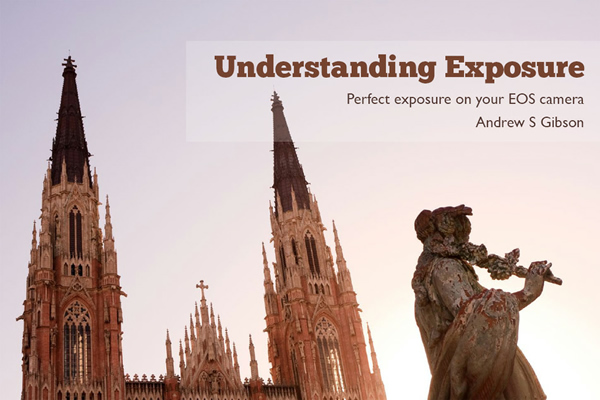
My ebook Understanding Exposure takes you through these steps, explaining the principles of exposure so that you understand why your camera doesn’t always get the exposure right, and what action to take to put it right.
Understanding Exposure is written specifically for Canon EOS users. Every EOS camera is covered, from the EOS 300D (Digital Rebel) to the 5D Mark III and 1Dx. By the time you’ve finished Understanding Exposure you’ll have the knowledge you need to get the correct exposure every time you take a photo.


