
A blog is an essential asset for promoting your photography brand these days. It’s an effective way to display your work and prove your expertise to both your clients and future prospects. If you’re about to start your own blog but are struggling to find a practical how-to guide due to the overwhelming mass of information available on the internet, then look no further.
In this post you’ll learn about the two most affordable and easy-to-use platforms to create your photo blog, as well as how you can create your blog or portfolio website with each of these solutions. Some of the hosting types are cloud hosting, VPS, Linux hosting, and so on.
Step 1. Choose the Right Web Host and Hosting Plan
Every site or blog needs some real estate on the internet. This kind of space is offered by web hosting companies and it’s vitally important to pick a good hosting company from the very beginning. Poor hosting services could cost you a lot in wasted time and money in the future.
There are plenty of hosting solutions on the internet and we suggest you to do thorough research, or just ask your friends that run their own websites for a few recommendations.
For this guide we will use BlueHost as an example, since it’s the hosting provider we work with at Photodoto.
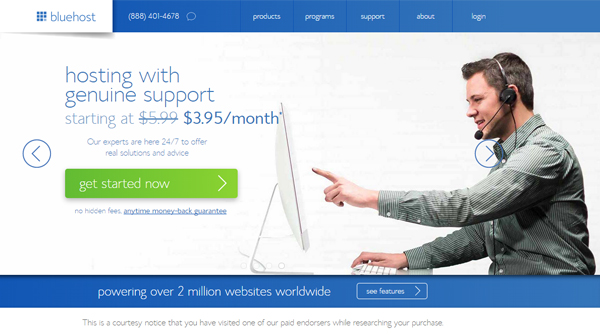
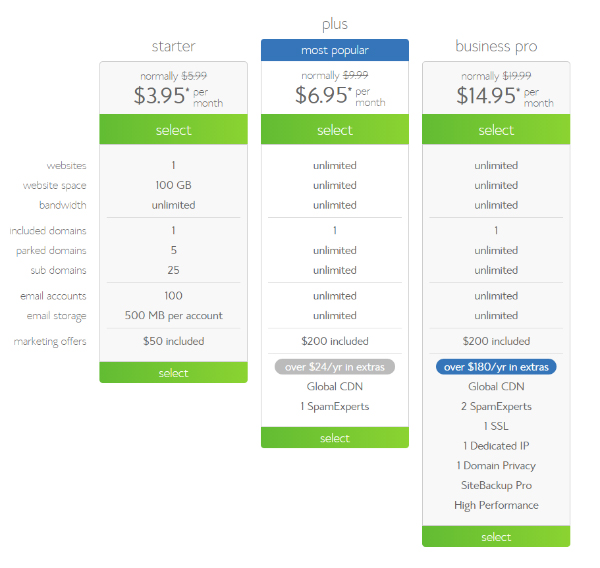
Most companies offer several hosting plans which may look quite confusing if you’re dealing with this for the first time. If you’re a beginner blogger, the entry-level plan is usually enough to suite your needs. In our case, it’s the Starter Plan costing $3.95/mo. As your blog grows, you will be able to upgrade to a higher-level plan.
Step 2. Setting up your domain name
Take time to brainstorm some good ideas for your website’s home address as it will be an essential part of your photography brand.
Whether you decide to go with a name-based domain (e.g. www.yourname.com or www.yournamephotography.com) or choose an abstract address (www.myphotodiary.com, www.swanweddingstudio.com etc.), make your domain name as short and easy to remember as possible.
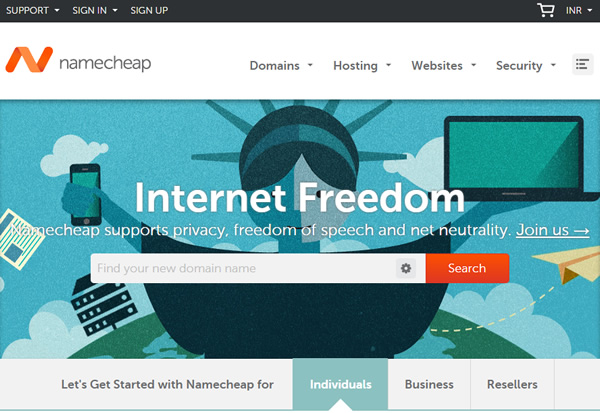
Now that you have a few options to choose from, check their availability. You can use special domain registrar companies like GoDaddy or Namecheap.com, but many hosting providers allow domain registration when you sign up for a hosting package, with some savings opportunities included (for example, BlueHost gives you a domain name for free when signing up for hosting).
Step 3. Choose Your Subscription Plan
When setting up your first blog, try not to commit to a long-term packages right up front. For instance, by pre-paying your domain name for 36 months you can save some cash, but what if something doesn’t really suit you during the first year? Give yourself a trial period choosing the 12-month plan and see how it goes. You’ll always have the possibility to renew your subscription for a longer term. You can choose the long-term plan for 36 months and save money, or choose a 12 month term and see how everything is going with your blog before committing. In any case, you can renew your plan for a 36 month period at any time.
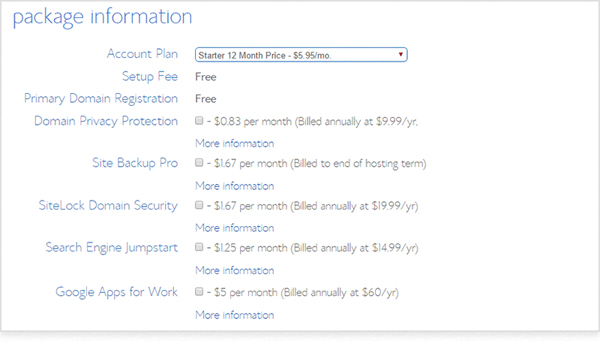
Once you’ve signed up for your hosting plan, click ‘next’ to complete the process of purchasing. Create a password for your profile and you’re ready to go!
Step 4. Install WordPress
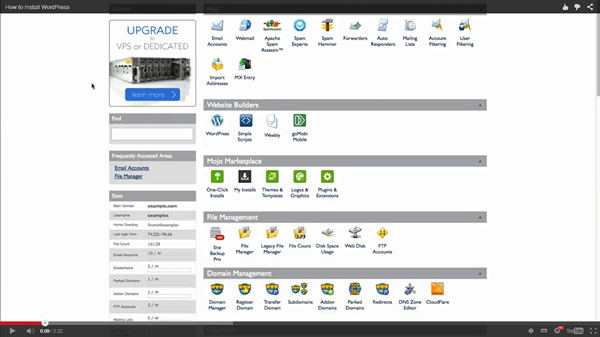
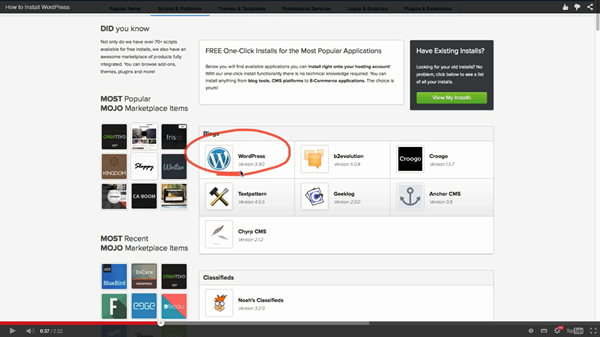
To install WordPress with BlueHost, start by clicking the “One-Click Installs” button:
Choose the WordPress icon.
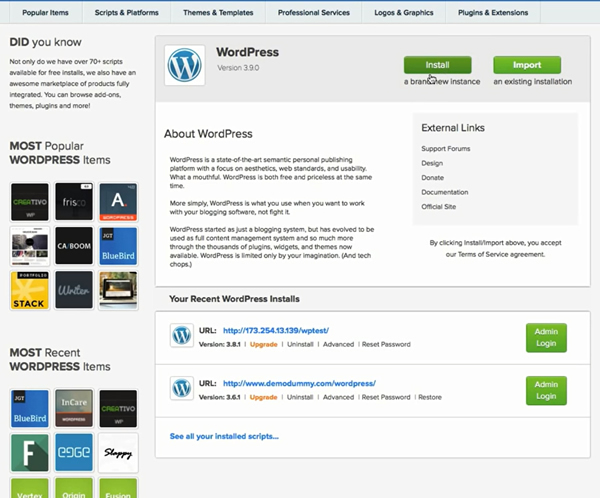
Click “Install a brand new Instance” button on the top.
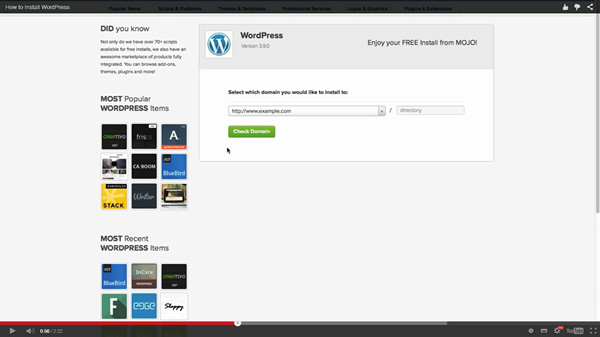
After that, enter your domain name leaving the directory field empty and click “Check Domain” button.
By selecting “Show Advanced Options” you may choose your site name, admin username and password. Be careful, you can change your password at a later time, but the username is something you will not be able to change ever.
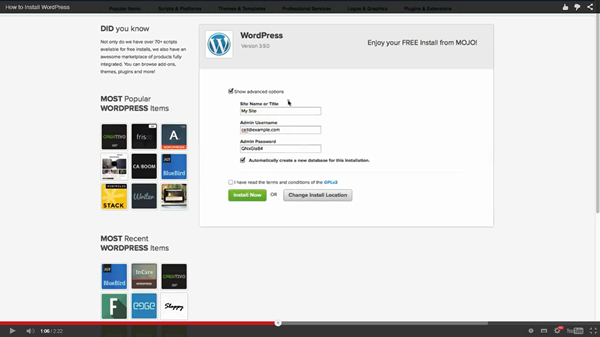
When the installation process is finished, check your credentials to access your new WordPress site.
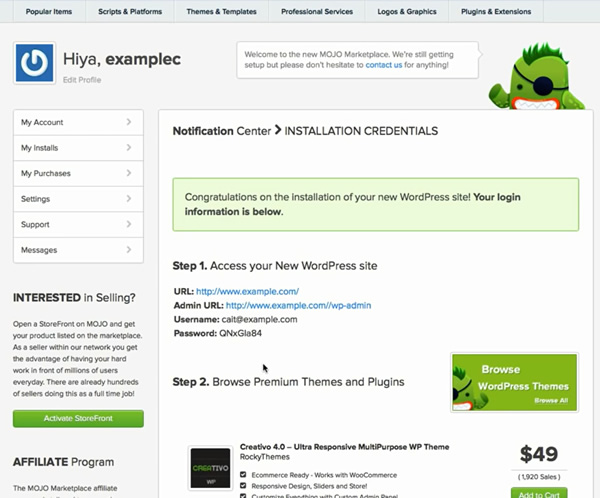
Use the credentials shown above to login to your new WordPress site.
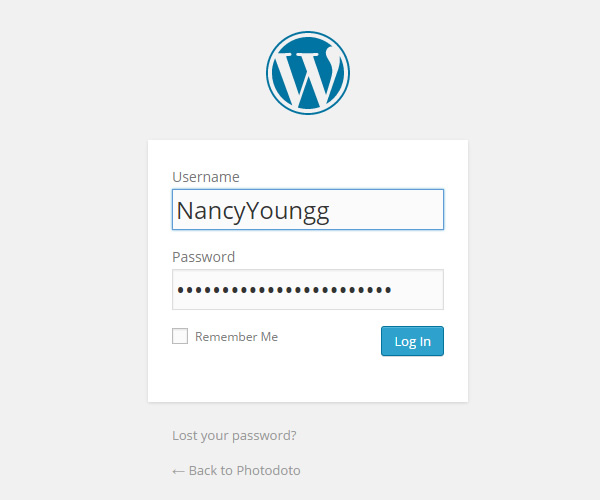
Ta-da! You’re an owner of a new WordPress blog.
Step 5. Customize Your Design
The WordPress original installation comes with a default theme which is kinda ‘default’, if you know what I mean.
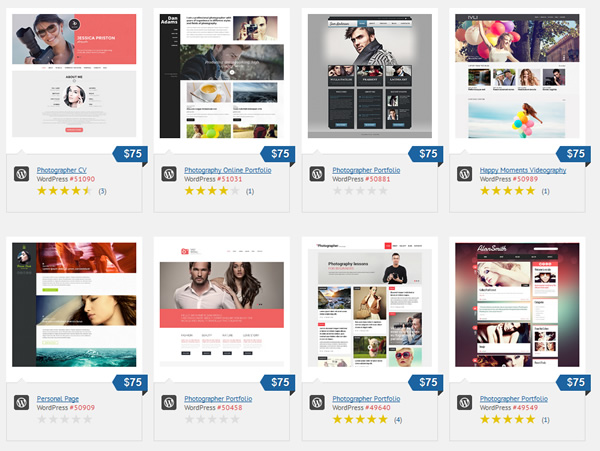
Fortunately, there are tons of free and paid WordPress themes out there. Some of the most well-known theme providers we use at Photodoto are Themeforest and TemplateMonster.
Easier way
While most hosting providers, domain name registrars, and WordPress theme developers are constantly improving their offerings for non-tech users, running your own WordPress website can get pretty time-consuming if you have no coding or programming skills.
In this case it would be wise to consider a SaaS (Software-as-a-Service) solution for creating and managing your photo blog. Among the best advantages of using a SaaS-based platform, a.k.a. hosted platform, for your website are ease of use, a guaranteed degree of customer support, automatic updates and maintenance.
While there are a lot of well-known SaaS-based vendors out there (the largest are PhotoShelter, Zenfolio, SmugMug, SquareSpace etc.), there’s a new solution you might be really interested to check out since it’s comprehensive and completely free.
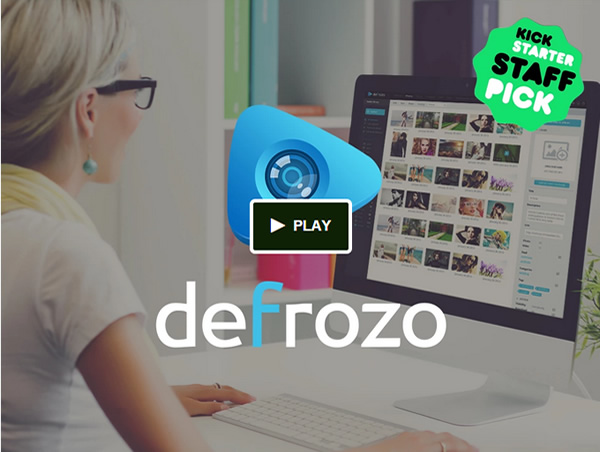
You might already heard about Defrozo as it’s been mentioned in the media quite a lot lately. The platform is currently available as a public Beta and the developers are seeking support on Kickstarter in order to release the full-featured version by the fall of 2015.
Using Defrozo is extremely easy. To create a mobile-friendly blog with Defrozo you just need to register for an account, and your website will be reserved immediately. Upload your images, select a theme, and customize it via an intuitive, drag-and-drop interface and you’re done. In addition to the website builder, you get access to a number of other great tools, such as a media library, client relationship management system, custom galleries for clients, ecommerce functionality, workflow organizer and more.
Summary
The choice of content management system totally depends on your goals and needs. If you’re just discovering the world of blogging and internet marketing for your photography business, using a hosted website provider might be the best option for you.
If you are on a good footing with WordPress or can afford outsourcing all the tech stuff to professionals, you can benefit of the added flexibility that WordPress provides.
What platform do you use for your online portfolio and photo blog? Leave your comments and questions below!
Author Bio:
Nancy Young is a passionate writer and blogger. She writes tons of inspirational articles on photography, despite the fact that she is an economist by education. She is a part of the PhotoDoto Team. Get a new eBook about landscape photography for free – one useful gift just for visiting!


