Birds in flight is probably the most sought after type of bird photography. Who do not wants to photograph birds in flight!
Today you will learn top 10 tips that will help you capture amazing photographs of birds in flight.
Photographing birds in flight is one of the most popular and debated topic because of the lens choice. Some bird photographers believes only in 400mm and some in 500mm and some in 800mm and so on.
Many of the beginners are under the impression that you rather need atleast 400mm lens and above to get bird photograph. If you are one of them, then get ready to be surprised.
If you have read my free eBook “15 Incredible Bird Photography Tips for Beginners”, you should already be aware that my first landing bird photograph was with 18-55mm! Check it out to if don’t believe it.
All my photographs below are either taken with 70-300mm on a Nikon D7000/D300s body or 100-400mm on 5D Mark III or 300mm on Nikon D7100.
Always remember: it is not about the lens or the camera, it is about you. If you have the 3 Ps that are necessary for bird photography, then you are all set!
- Patience
- Perseverance
- Practice
Possessing an 800mm lens not having these 3 Ps and above all the Passion, then you just have most expensive lens. That’s it!
If you love my photographs in this article, then be rest assured that you will be making similar or better photographs by following these tips.
Ok. Enough said. Let us understand the top 10 tips to photographing birds in flight now.
1. Best Camera Settings for Photographing Birds in Flight
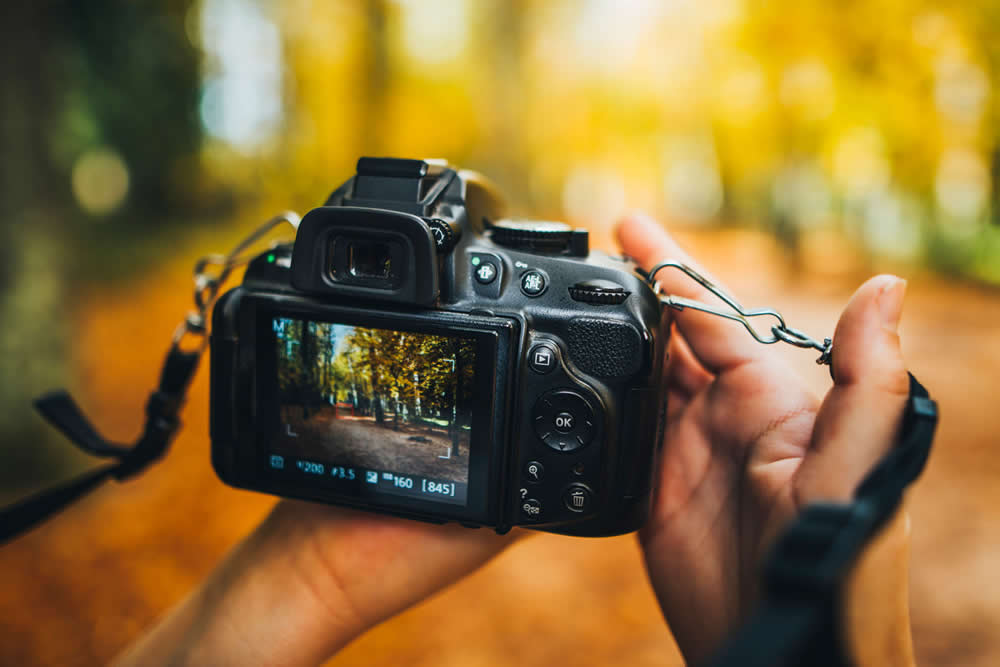
Here are the common bird photography settings that I use normally.
- Aperture Priority – In this mode, you just have to care about aperture or Depth of Field (DOF) and nothing else! Choose one or two stops down than the maximum aperture value to keep the bird and it’s wings in focus
- Shutter Priority – If Aperture priority is not giving you enough shutter speed to freeze the action OR to blur the action, then choose shutter priority. Select the shutter speed you think is the best depending on the bird’s flight
- Spot Metering – In flight photography, bird is usually not filling the frame making the background consume fair amount of frame area. By selecting spot metering, you are telling the camera to only meter for the bird so that you can get the perfect exposure.
- Autofocus – Autofocus it is. No change here. Don’t mess with manual focus.
- VR/IS – VR (Vibration Reduction for Nikon)/ IS (Image Stabilization for Canon) is a must. You cannot get repeated opportunity in bird photography. If you lost one frame you lost it forever. Camera shake is unbearable.
- High Burst Rate – You know why. Don’t you?
2. Always Track the Bird First
“Track before you shoot”
No compromise here. You should track the bird by half pressing the shutter button before you press the shutter like a machine gun.
If you do not give time for Camera to achieve focus, which generally happens in split second, then you are bound to lose all shots. What is the point of getting 10 photographs which makes you disappointed because of poor focus? Think about it.
3. Wings Position Matters
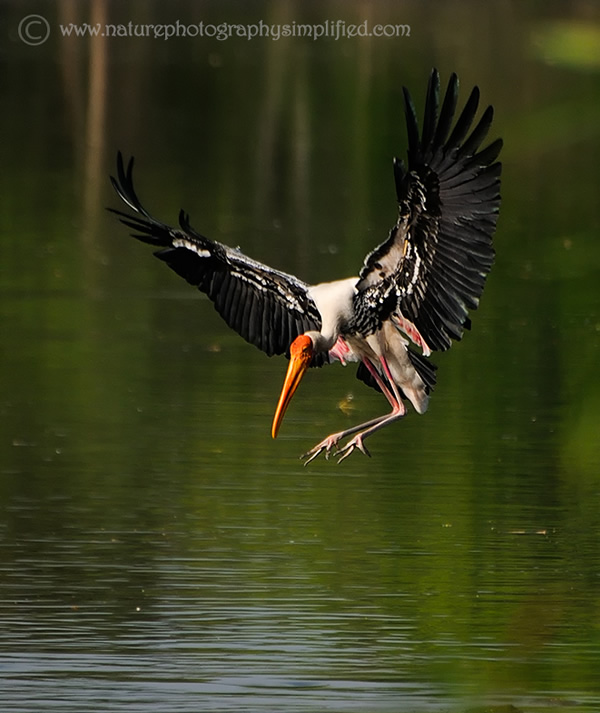
It may be is a debatable topic by many. But, it is better to get the wings position right. A full spread wings of a bird looks more attractive and more appreciative compared to any other wing position. Agree?
That is the reason an approaching bird with full spread wings looks gorgeous.
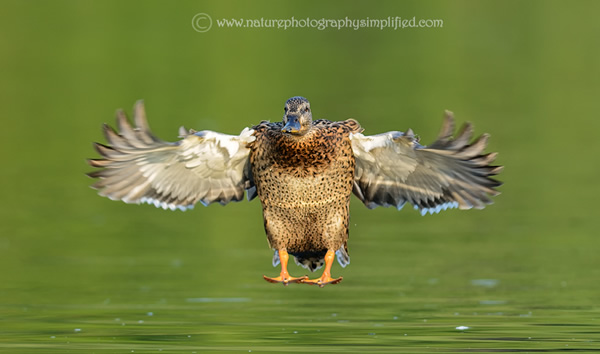
Nikon D7100, 300mm, f/4, 1/1250 sec, ISO 400
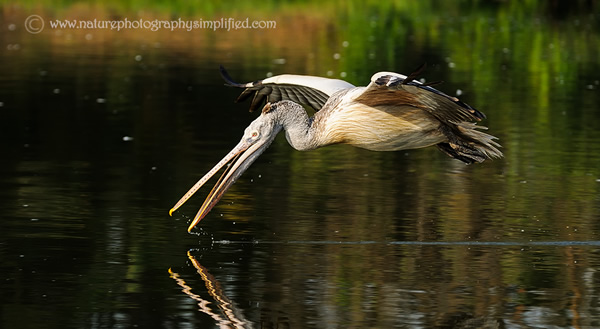
If a bird is flying sideways to you, then upward wings position is more desirable compared to the downward wings position.
Nikon D300S, 300mm, f/5.6, 1/1600 sec, ISO 200
4. Background Makes the Picture
Background, Background and Background. Make it your second nature to always aim for complimenting background.
Strive for getting photographs of birds in flight in some background which is not cluttered or plain white or pale blue. Cluttered background distracts the viewer’s attention whereas plain background makes the overall image dull.
A blurred background will be the best. Generally a completely blurred effect gives the wow effect to a photograph. However, sometimes a slightly blurred background makes it more interesting bird photograph.
Nikon D300S, 110mm, f/5, 1/1250 sec, ISO 200
5. How to Photograph Landing and Takeoff
It may sound obvious that the concepts are same as that for flight photographs, but it is a different ball game. It is indeed much difficult to photograph takeoff or landing as oppose to just taking a flight photograph.
Points to consider for landing birds:
- The birds usually flap their wings much faster as they just land, which means you should have already achieved focus. Tracking the bird helps here.
- The background changes rapidly which makes it more difficult to expose. Aperture Priority helps here.
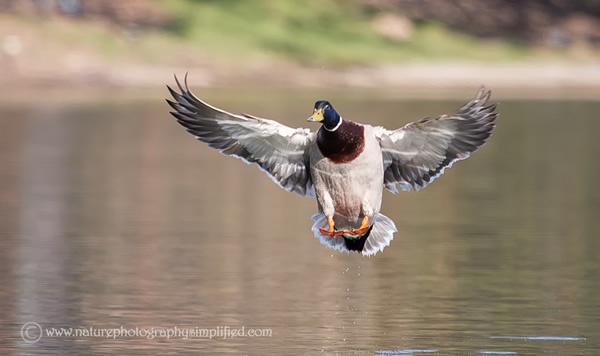
Canon 5D Mark III, 400mm, f/5.6, 1/1250 sec, ISO 640
Points to consider for Takeoff:
- You need to understand bird’s behavior. Every bird gives a subtle signal just before they decide to takeoff. Experience will teach you.
- Half press the shutter when there is a slight movement in the bird, track it and take multiple photographs
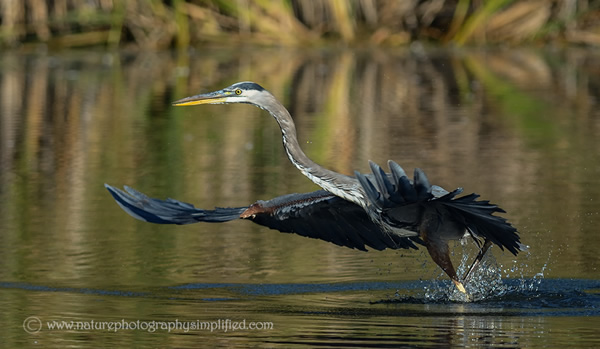
Nikon D7100, 300mm, f/4, 1/5000 sec, ISO 400
Remember that it takes lot of practice and also time to understand bird’s behavior. If you enjoy their landing and takeoff, you will surely get away with next best shot.
Maintain the 3 Ps of bird photography and you will Succeed.
6. Quality and Direction of Light Plays an Important Role
Early morning and late evening sunlight is the best due to following factors:
- You will get magic light just after sunrise and just before sunset
- You will get beautiful subtle colors on bird’s body
- You will get soft light 2 hours post Sunrise and 2 hours before Sunset.
Thankfully, the birds are most active during these times.
Always strive for front lighting on the birds, which means, Sun is behind you. There are obvious advantages to front lighting:
- It avoids any kind of shadow casts on the bird’s body
- It gives you much needed catch light in the Bird’s eye to bring life to the bird
- Helps to bring out subtle details
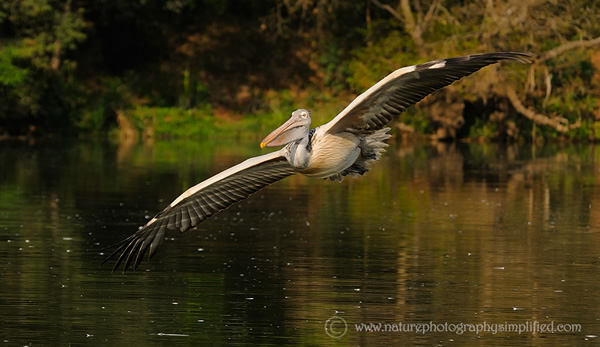
Nikon D300S, 110mm, f/5, 1/1250 sec, ISO 200
You can learn details on Lighting in my free eBook “15 Incredible Bird Photography Tips for Beginners”.
7. Give an Angel look with Back Lighting
Don’t be afraid to photograph backlit birds in flight. They look beautiful. The rim light around their wings and their translucent feathers give the bird an angel look.
In case of backlighting, the sun is behind the bird. If you expose for the background, then the bird goes completely dark. The key is to expose to the bird and let the background go slightly overexposed.
Use spot metering and expose to the bird.
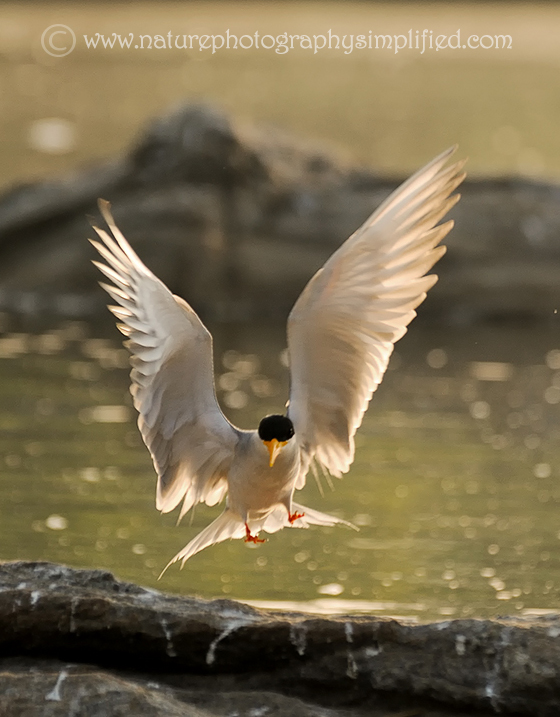
Nikon D300S, 195mm, f/5.3, 1/640 sec, ISO 200
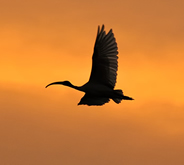
8. Get Creative with Silhouettes
Some bird photographers are experts in Silhouettes. Unfortunately, I haven’t had many chances to take silhouettes. But I love to those beautiful silhouette photographs.
To get a silhouette photograph of a bird in flight, just reverse the strategy of exposure.
Expose for the background! That’s it. Follow these steps to do it:
- Switch to Manual Mode
- Use spot metering mode to check the exposure needed for background. Select the shutter speed to expose perfectly for the background.
- If the bird occupies less than 25% space in the frame, then you can use evaluative or matrix metering mode since you will get the exposure very close to the background.
That’s easy…isn’t it?
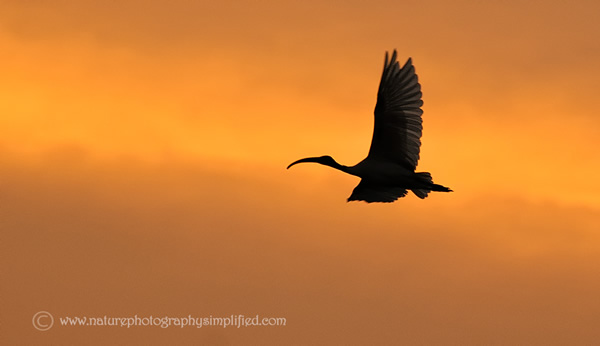
Nikon D300S, 220mm, f/5.3, 1/400 sec, ISO 400
9. Compose with Rule of Thirds
Compose with rule of thirds. Because…it is easy and makes more sense.
To know more, read The Rule of Thirds for Bird Photography. Also don’t miss to read 9 Bird Photography Composition Mistakes That You Should Avoid.
10. Practice with Common Birds or Big Birds
Consider that you know everything about photographing birds in flight. However, if you never practiced any technique because you are waiting to photograph only magnificent or rare birds, then you are procrastinating. There are many photographers like this today.
Stop dreaming about photographing only magnificent or rare birds. Remember that all the birds are unique, beautiful and magnificent in their own respect.
Take a look at all my photographs, they are mostly of the common birds. Didn’t you like them? All birds are beautiful and unique. Embrace them.
First and foremost, take the very idea out of your mind now, that you will become successful bird photographer only if you take photographs of magnificent or rare birds in flight.
The Secret is: A rare or unique photograph of a common bird will beat a common photograph of a magnificent or rare bird by length!”
Practicing with bigger birds like, Grey/Blue Heron, Egrets, Cranes, Pelicans, etc will be helpful since they usually are slow in flight. Also, you can make great photographs of these birds in flight just with 300mm lens.
Also, never underestimate photographing flights of common birds like ducks, geese, gulls, etc. You will get enough chances to master all the skills that you learnt. Also, you will have lot of fun.
Conclusion
Have fun while you take photographs. Don’t forget to beat the odds with whichever camera and lens you have today.
Strive to attain perfection by photographing common birds in flight. Who knows, you might end up getting the most unique photograph of a common bird which will get noticed everywhere.
I hope you will start with a new hope from now on. Good luck with your birds in flight photography.
Do let me know if this article was helpful. Let your friends know by sharing it.
I welcome your comments, critiques, or some more tips. Feel free to ask questions if you have any.
Enjoy!
About the Author
Prathap is the founder of Nature Photography Simplified blog. He is the Author of the eBook “15 Incredible Bird Photography Tips for Beginners”.
You can follow Prathap from below links:

