Prerequisite: Knowledge about RAW converter + Levels + Layer Masking
Step 1
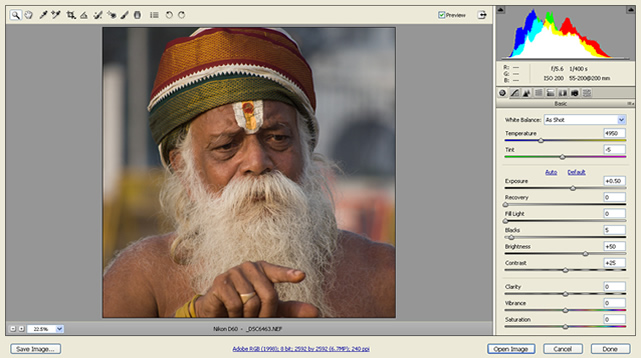
Well , Let’s start from RAW file (_DSC6463.NEF in case of Nikon) and opening it in Adobe RAW converter.
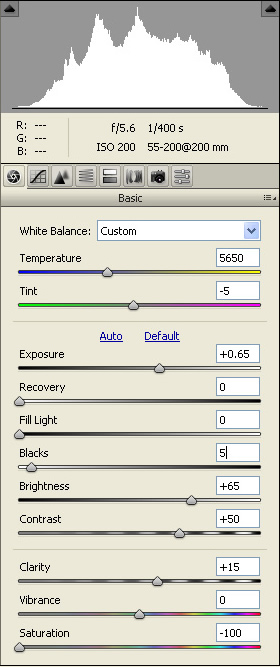
Step 2
Now follow it as shown in the figure below to get the black and white. I do prefer the 0% Saturation for my black and white conversion because it keeps the file in RGB mode.
Step 3
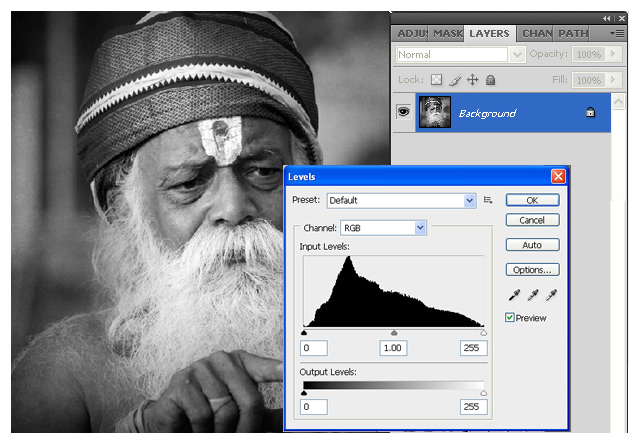
Duplicate the Layer and make some little adjustments on Levels as shown in the figure below.

Step 4
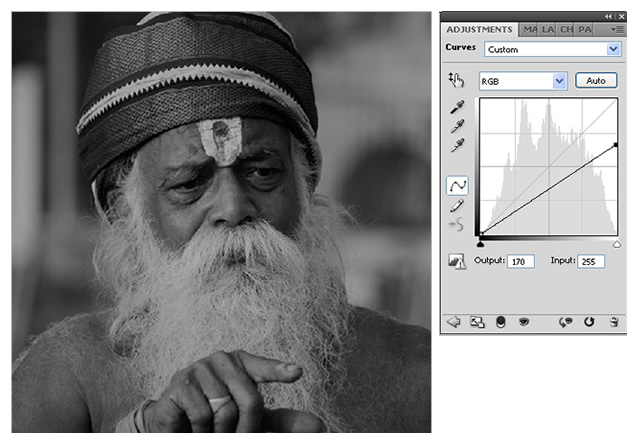
Curve + Mask. Select curve from the layer palette and reduce the output to 200 (you can vary from 210 to 170). You can go up to 150 depends up on the contrast and the background of the image. But make sure it should not cause the posterization effect on your image.
Step 5
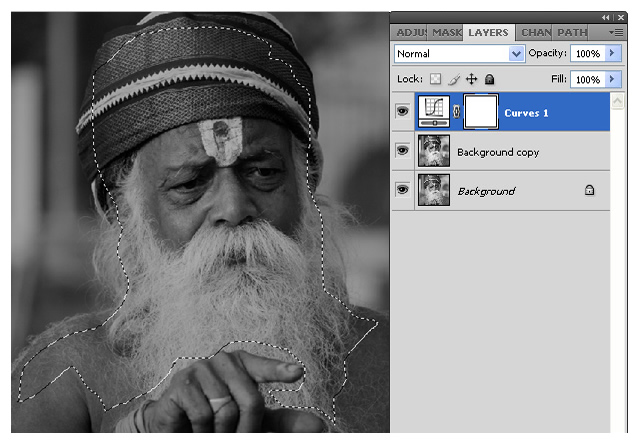
Now you can see your image is layered with gray.
Using Lasso Tool draw the boundary where we are going to apply the mask. Here I prefer the face and shoulder part as shown in the figure below.
Step 6
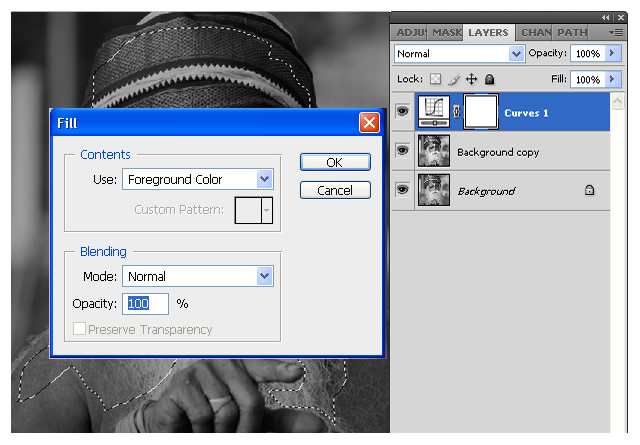
Make sure your foreground color is Black. Go to edit and fill the foreground color.
Step 7
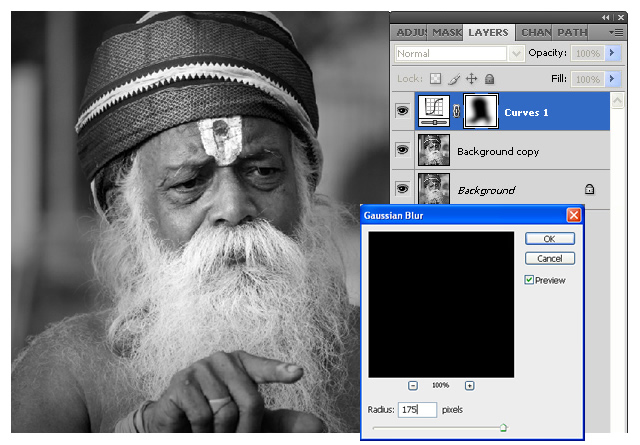
Go to Filter – Blur – Gaussian Blur use 150pixel to 175 pixels.
Note that more the pixel lesser the opacity of the mask and vice versa.
Step 8
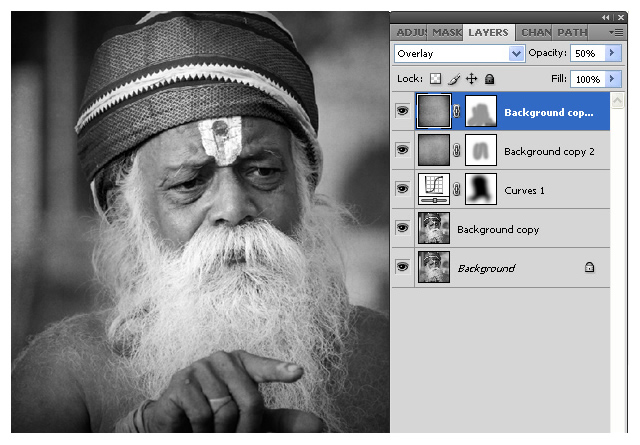
Now, the Black and White Conversion is done. Let’s add a Texture in this image. Open the texture and duplicate in such a way as it should reach the background layer of our image file. Re-size the texture and blend it as Overlay. Reduce the opacity to 50%. Now do the layer mask by using soft brush with opacity as 50% and paint on the image where we need the mask. Here again I prefer the face and shoulder portion.
Bring the same texture once again as background layer, now the texture is rotated by 90 degree and repeat the same masking procedure.

Step 9
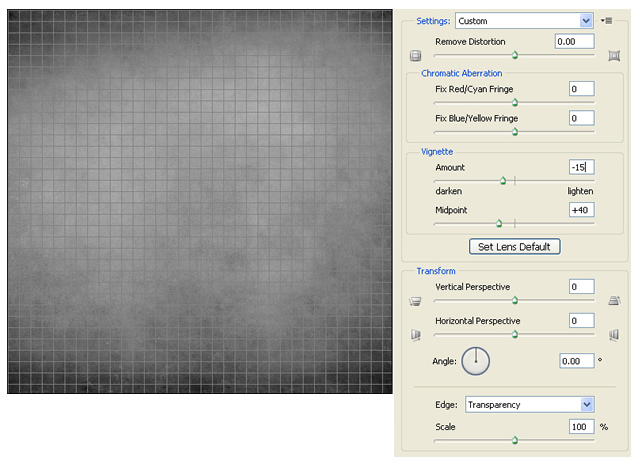
Now we can add some vignette effect to the texture, Go to Filter > Distort > Lens Correction, here you can decide the amount of vignette depends upon your texture and contrast.
Step 10
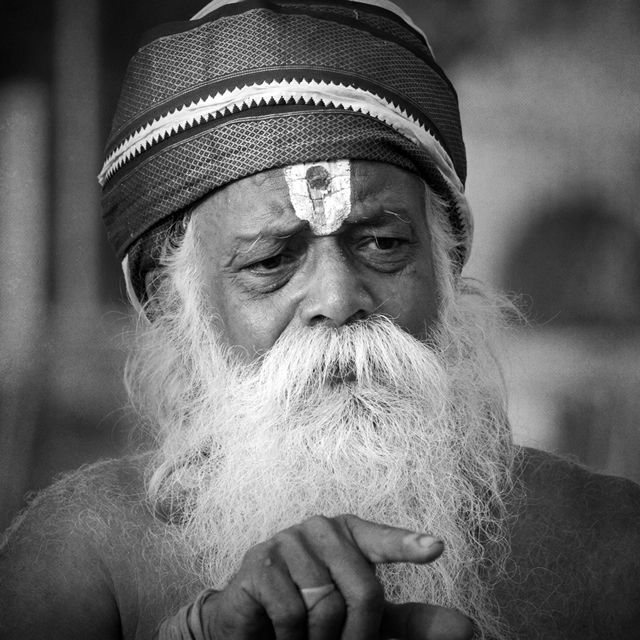
Finally Flatten the Image and you can still adjust the level if you want.
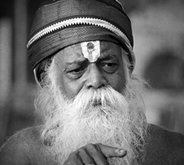
Final Image
Texture Courtesy by Mr.Jerry Jones. You can download the texture from here http://shadowhousecreations.blogspot.com
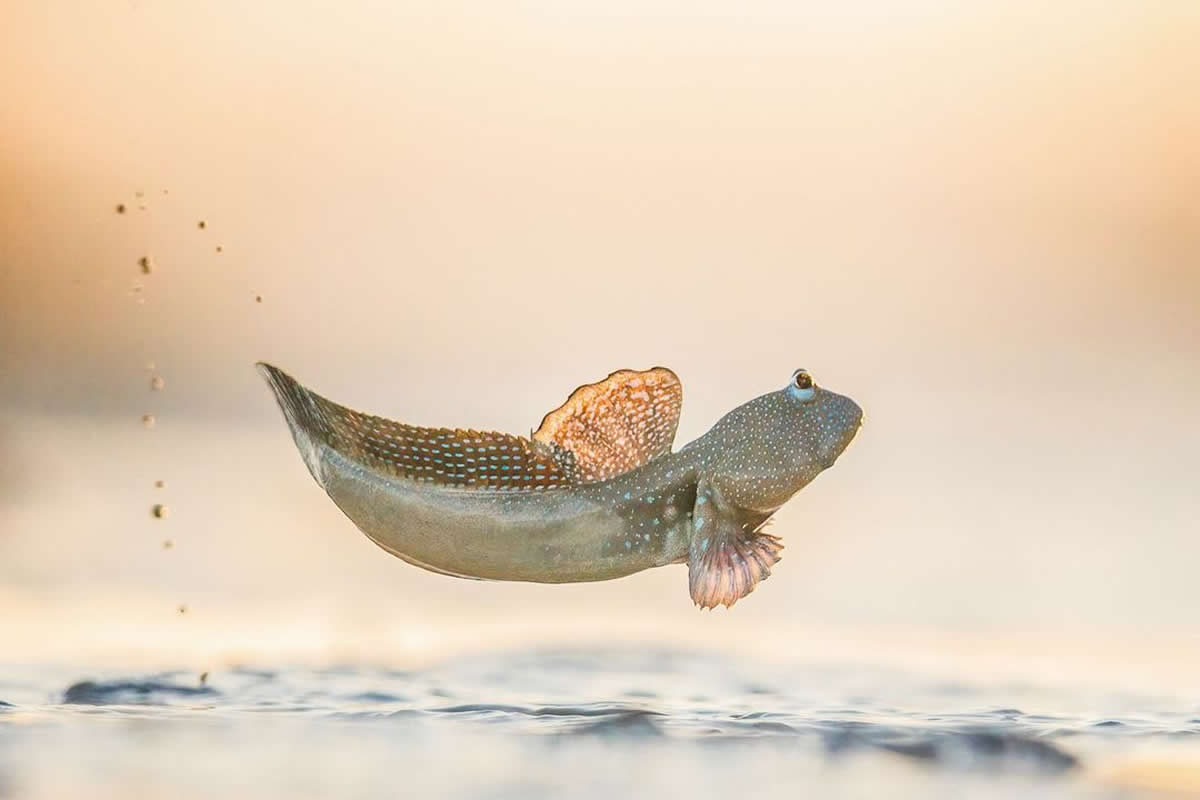
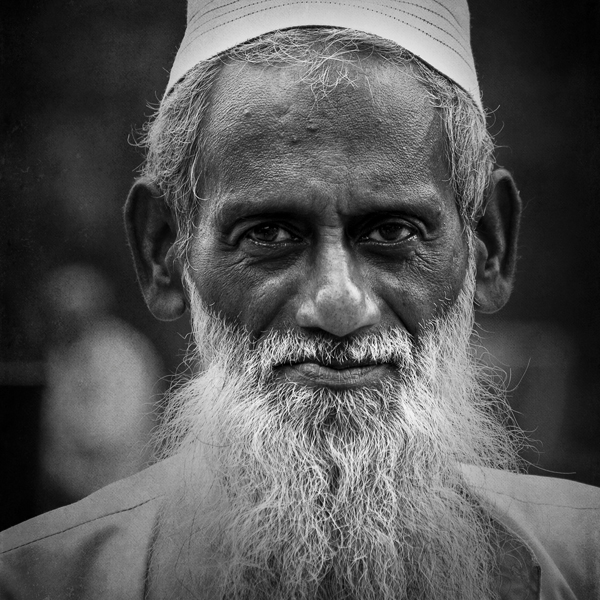
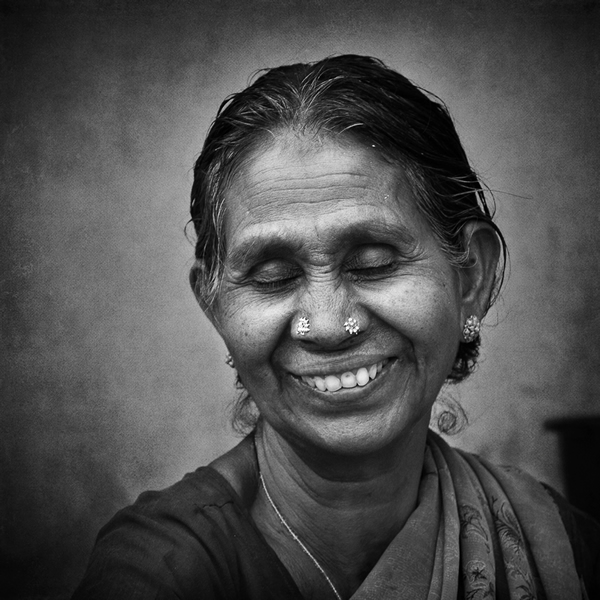
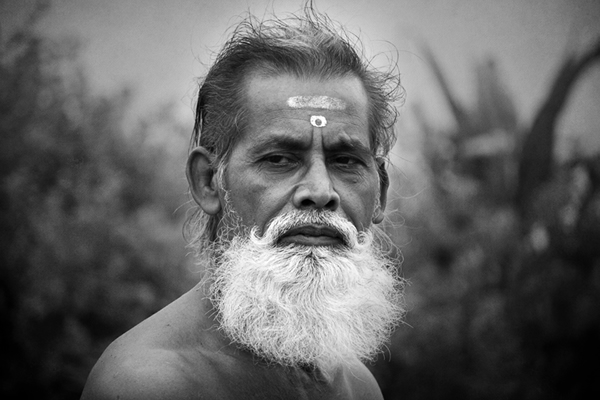
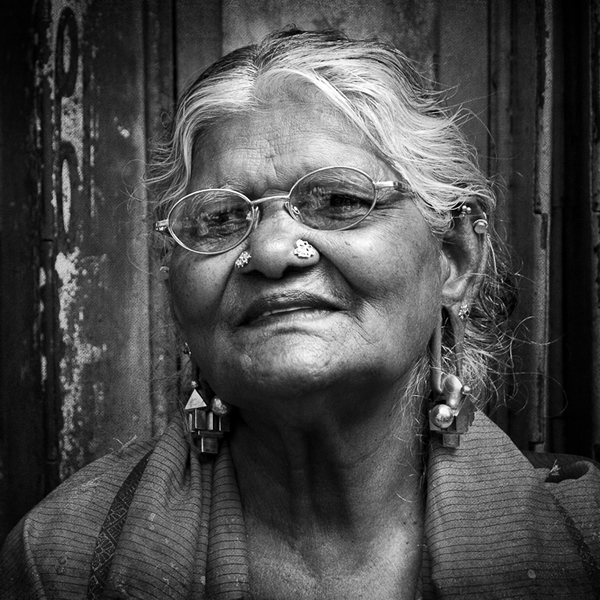
The below images are processed in the same way as mentioned above.


Like the article? Be sure to subscribe to our RSS feed, follow us on Twitter and Facebook to stay up on recent content.

