There’s a special kind of magic that happens when you leave your usual streets behind and step into a new city, with a camera over your shoulder and no idea what the light will do in the next hour. Travel photography is part adventure, part patience, and part logistics puzzle but when all of those align, you come home with images that feel like memories you can touch.
In this article, we’ll walk through how to plan a photography-focused trip so that you spend less time stressed about logistics and more time chasing light, whether you’re exploring one city or an entire region.
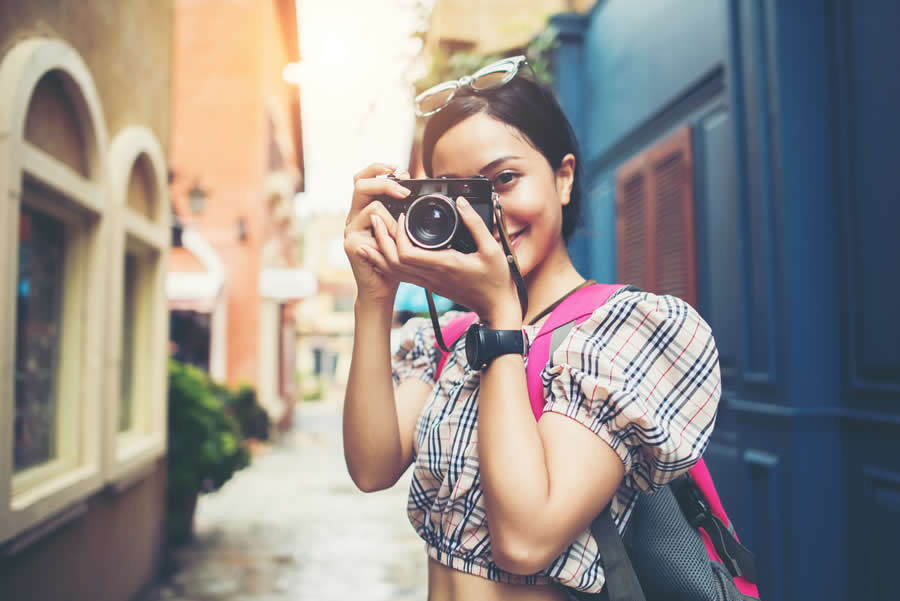
1. Start With Stories, Not Just Locations
Most photographers begin planning a trip with a list of places: landmarks, viewpoints, “must-see” streets. That’s useful, but if you stop there, you risk coming home with the same images everyone else already has.
Instead, ask yourself:
- What stories do I want to tell?
Daily life? Loneliness in big cities? Hidden details? Food culture? - What mood am I chasing?
Quiet and minimalist, or colorful and chaotic? - Who are the characters in my frame?
Locals, travelers, workers, street performers?
For group trips, workshops, or gear-heavy shoots, many photographers and organizers skip the stress of self-driving and use chauffeured services so they can review shots, plan the next location, or simply rest on the road. For example, companies like 8rental offer cars, minibuses, and buses with professional drivers across Europe, which can be especially handy when you’re moving a small team, multiple camera bags, and lighting equipment between cities without wanting to worry about parking, directions, or fatigue.
When you plan around stories, locations become tools rather than trophies. A market, a train station, a rainy street corner all can become the perfect “set” for your narrative.
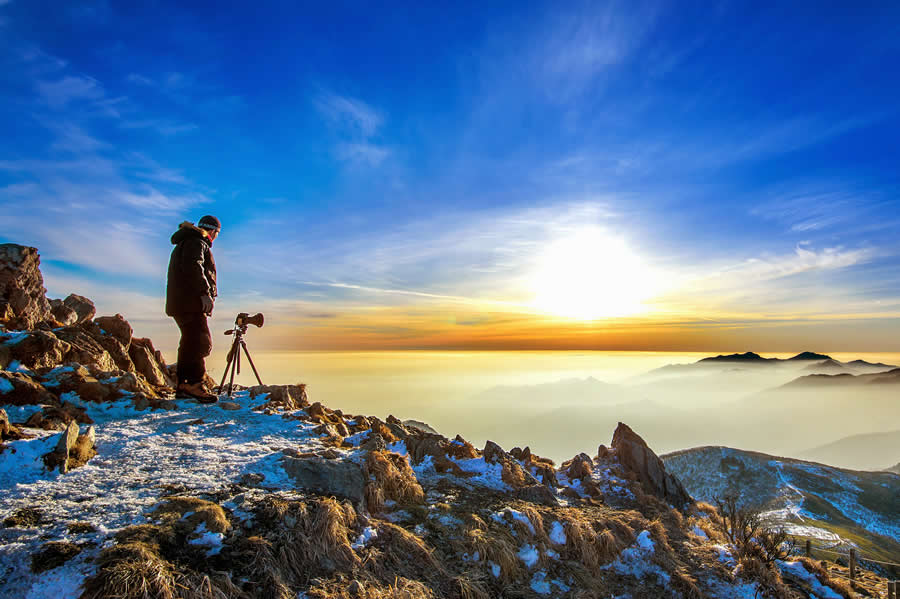
2. Research Light, Not Just Landmarks
The same place can look flat at noon and magical at 6:37 p.m.
Before your trip:
- Look up sunrise and sunset times for each day.
- Note the direction of light: Where will the sun rise and set relative to the main square, the cathedral, the bridge?
- Save reference photos, but also ask: What time of day was this shot taken? From what angle?
Plan at least a few sessions where you commit to one location just for light: sunrise on a bridge, blue hour in the old town, harsh midday light in a market for contrasty shadows.

3. Build a Flexible Photo-Oriented Itinerary
Over-scheduling kills creativity, but no plan at all can leave you wasting time.
Try this structure for each day:
- Morning Block (Golden Hour + 1–2 hours)
A main location or neighborhood you want in soft light. Minimal walking, maximum shooting. - Midday Block
- Interiors: museums, churches, cafés, markets.
- Detail hunting: textures, abstracts, shop windows, reflections.
- Backup: editing session in a café if the light is harsh or weather is bad.
- Late Afternoon / Golden Hour
Another “hero” location maybe high ground or a wide street. - Blue Hour & Night
City lights, long exposures, neon, silhouettes.
Leave at least one open block each day where you allow yourself to just wander. That’s often when your best unplanned images happen.

4. Pack Like You’ll Carry It All Day (Because You Will)
The biggest mistake many photographers make on the road: bringing everything they own “just in case”.
Ask yourself:
- Can I tell the stories I want with one body and two lenses?
- Do I really need a huge tripod, or will a small travel one (or a clamp) do?
- Is this lens a “must-have” or simply “nice to have”?
A classic minimal kit for travel:
- One main body
- A wide or wide-to-normal zoom (e.g., 24–70mm)
- A small prime (35mm or 50mm) for low light and shallow depth of field
- Filters: polarizer (for reflections/sky), ND if you’re into long exposures
- Compact tripod or mini support
Your back, your feet, and your creativity will thank you. The lighter your bag, the more likely you are to walk that extra street or climb that extra hill for the shot.
5. Think Like a Local: Move Slowly, Return Often
Great travel photographs rarely happen on the first walk through a place. If you can, choose fewer cities and more time in each.
Tips:
- Return to the same location at different times of day and in different weather.
- Watch how locals use the space: where they sit, queue, talk, smoke, play.
- Get used to the rhythms: when does the market wake up, when does the square get crowded, when does it empty?
You’ll start to anticipate moments instead of reacting to them. That’s when timing and composition truly come together.
6. Sort Out Transport So You’re Free to Focus on Shooting
Nothing kills a sunrise session faster than realizing the first bus arrives an hour too late, or that your train back is standing-room only and you’re stuck guarding your gear.
If your trip involves multiple cities or remote spots, treat transportation as part of your creative planning:
- Factor in travel times around golden hour, not just mid-day.
- Check how early/late public transport runs.
- Consider where you’ll safely store your gear while in transit.
The less brainpower you spend on traffic and timetables, the more you can invest in seeing light and composition.
7. Backup Like Your Photos Already Don’t Exist
On a trip, your memory cards are more precious than your suitcase.
Make backups a non-negotiable ritual:
- Two or more cards, rotated (never keep everything on one card).
- Daily backup to a laptop or tablet.
- Optional: small SSD + backup app, or a dedicated backup device if you travel without a computer.
- Keep cards and backup drive separate in transit.
And don’t forget the boring-but-essential items: extra batteries, chargers, plug adapters, microfiber cloths, and a small rain cover or plastic bag for unexpected downpours.
8. Photograph the In-Between Moments
Most people point their cameras only at the “big” things: famous squares, mountains, monuments. But often the most memorable images from a trip are the quiet, in-between moments:
- A reflection in a café window while you wait for your coffee.
- Hands exchanging tickets on a tram.
- A suitcase lying in soft light at a station.
- A fleeting expression on a stranger’s face in a narrow alley.
Keep your camera accessible on the move on a strap, not buried in a bag. The journey itself offers a constant stream of small stories that make your final set of images feel alive and honest.
9. Come Home With a Project, Not Just a Folder
Once you’re back, the real work begins.
Instead of dumping everything into one huge folder called “Trip”, try:
- Editing down to a tight selection that supports your main story.
- Grouping images by theme: color, mood, type of moment, or location.
- Creating a small photo essay or series rather than a random slideshow.
Ask yourself: If I could only show 20 images from this trip, which ones would they be?
That constraint forces you to think like an editor, not just a collector.
A great travel photography trip isn’t about ticking off landmarks; it’s about building a visual relationship with a place its light, its people, its rhythm. When you plan with stories, light, and logistics in mind, you give yourself the space to react, experiment, and be surprised.
Sort out your transport, keep your kit lean, be ruthless with your edits, and generous with your curiosity. The world is full of cities and roads waiting to be turned into contact sheets, and every journey is another chance to refine how you see.

