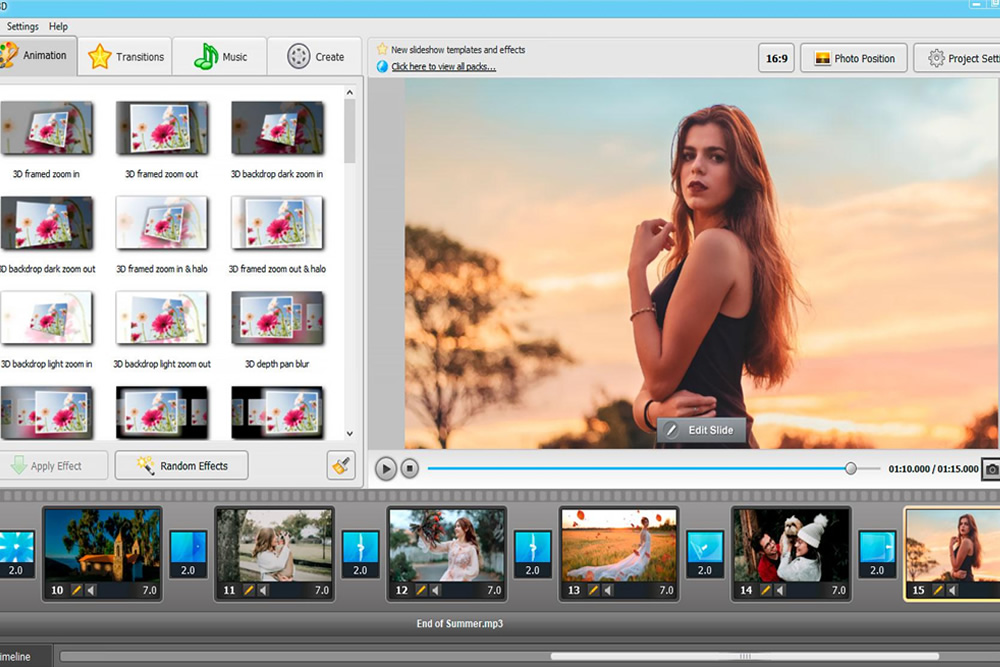
They say that a single picture is worth a thousand words. And what if you have dozens of truly worthy pictures? Can you imagine what story they could tell? That’s what a slideshow is in a nutshell – a visually stunning medium to tell a captivating story. Try SmartSHOW 3D, a powerful slideshow maker compatible with Windows 10, to turn your otherwise still pictures into bona fide storytellers.
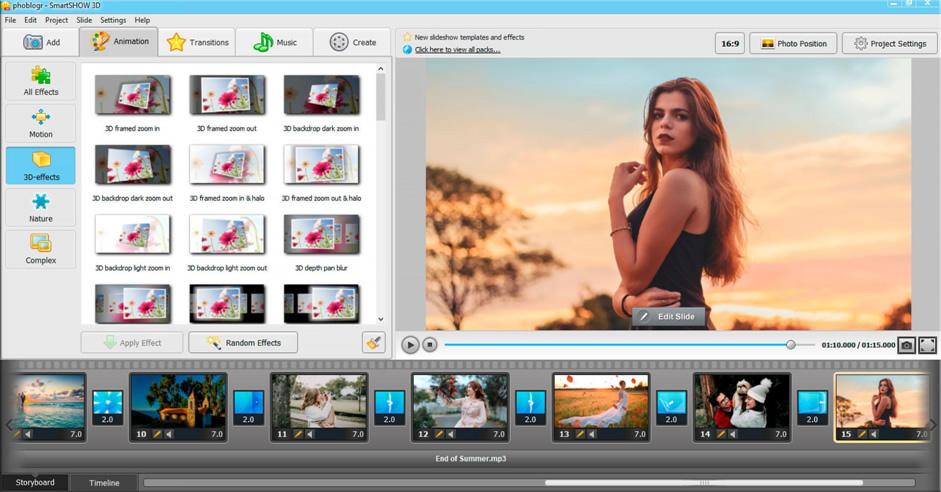
Making a slideshow is neither dull or tedious. This is the time when you can truly shine as a visionary, and SmartSHOW 3D is here to help you with its intuitive interface and a huge library of over 570 effects and templates. Learn how to make a slideshow on Windows 10 here:
1. Download and Start SmartSHOW 3D
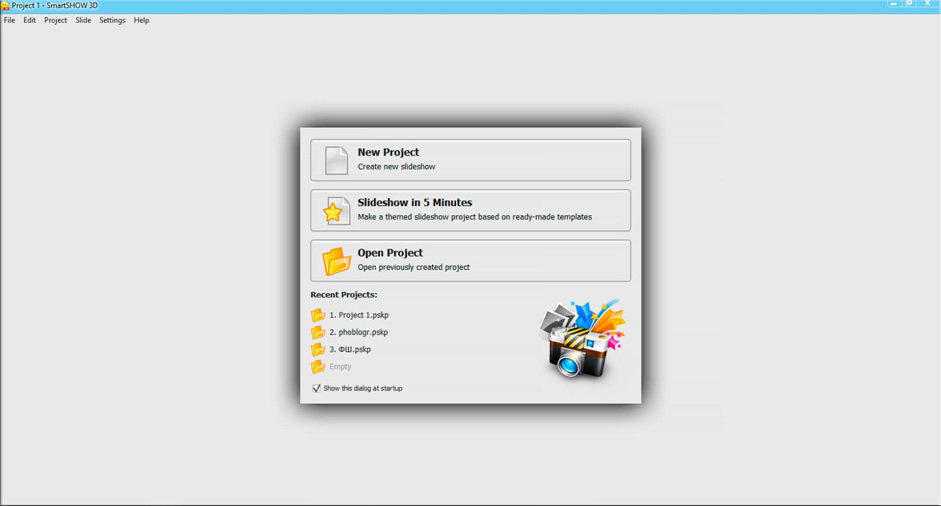
Run the software. Either pick a blank project if you feel like you are in for some creative work, or choose “Slideshow in 5 minutes” if you are pressed for time. Here you can pick one of the many themed templates for your slideshow.
2. Add Your Pictures or Videos
Pick the best photos to add to the slideshow. Keep in mind that SmartSHOW 3D allows you to work with videos as well. Rearrange or shuffle the pictures on the timeline. Add pre-designed title cards to your project.
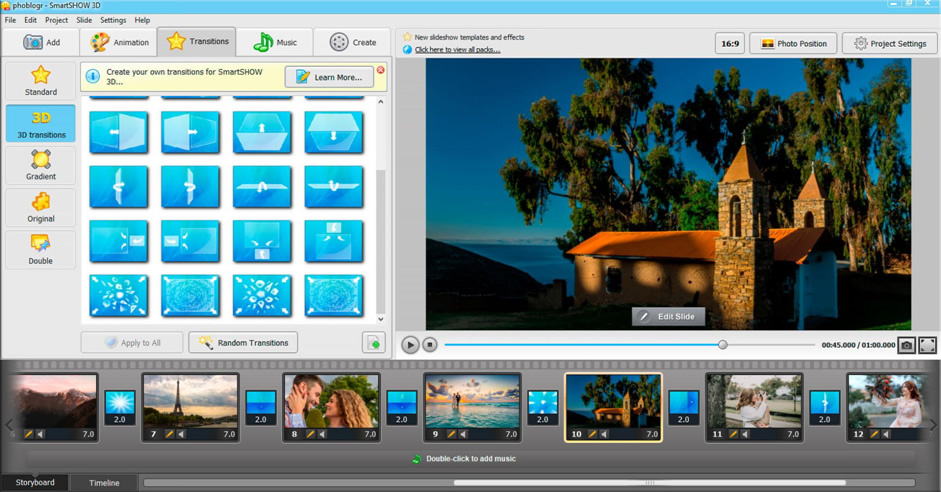
3. Play with Animation and Effects
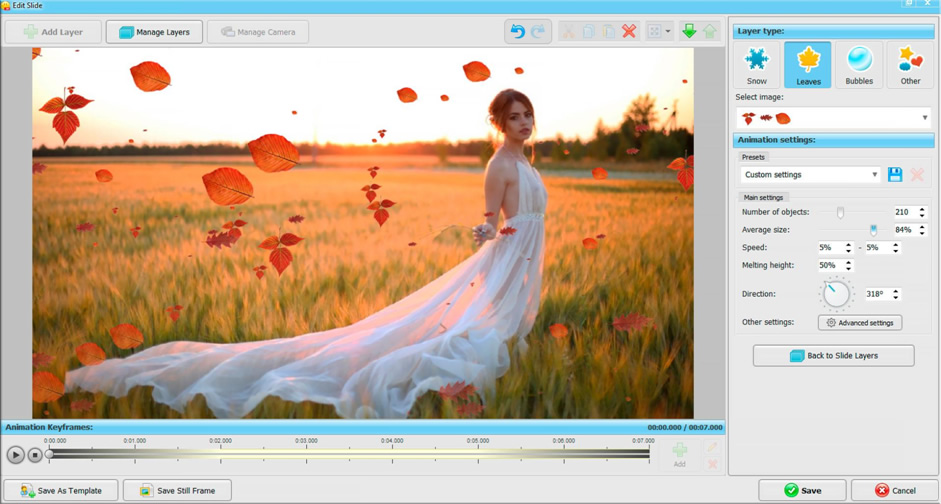
Here comes the fun part. This slideshow maker comes with an enormous library of animation effects and transitions that are just as easy to apply as they are cool to look at. But why limit yourself to preset effects, when you can go full-on artist and create slide animation of your own? SmartSHOW 3D allows you to experiment with slides’ moves, rotation, dissolve and opacity effects to your heart’s desire, navigating you all the way.
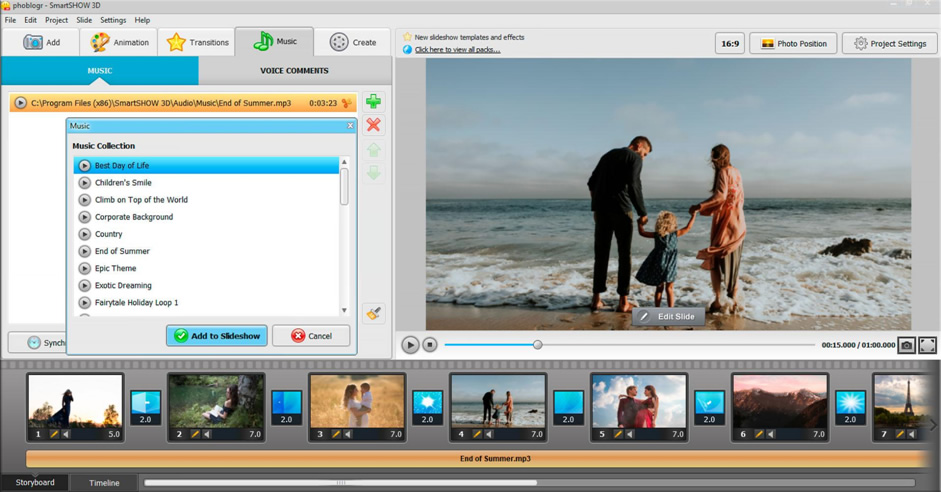
4. Add Some Tune or Voice Comments
The slideshow is hardly complete without a score. SmartSHOW 3D comes with a library of 200+ royalty-free tunes that can compliment a slideshow of any theme. If you have a certain track in mind – the one that fits the slideshow best – import it to your project. Add some voice comments if you have something to say.
5. Share Your Creation
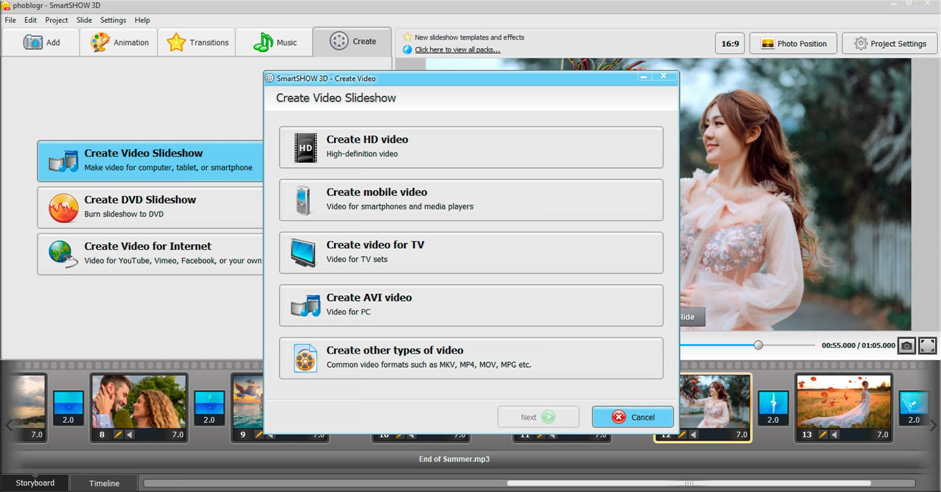
The pictures have been arranged, animation has been added, effects have been applied, and the mood has been set with music, that means your project is ready. Now it’s time to save the slideshow. Pick one of the presented formats depending on your needs – you can either choose the slideshow to be saved in HD, or as a video for a TV, a PC, or a mobile device. Otherwise, create a video to upload it straight to the Internet (for any major network).
Sounds too good and too easy to be true? Don’t worry, SmartSHOW 3D truly delivers on those promises and offers a trouble-free and fun experience. Follow those five easy steps to create a stunning slideshow and you’ll never go back to boring photo albums afterwards.
If photography is your trade, but you don’t feel fit to create a slideshow project of your own, use SmartSHOW 3D’s gorgeous predesigned templates. Whatever the theme is – a wedding, a baby shower, a Christmas celebration, or a memorable vacation – the software has got you covered. All you have to do is add your pictures, and in a flash you’ll have an astounding video collage that will please any client.
Whatever the purpose of your slideshow is – for business or merely for fun – SmartSHOW is here to be your best asset. As an easy-to-use, features-packed slideshow maker running on Windows 10, this software is the right choice when it comes to creating a visually stunning spectacle.
Don’t miss to check:

