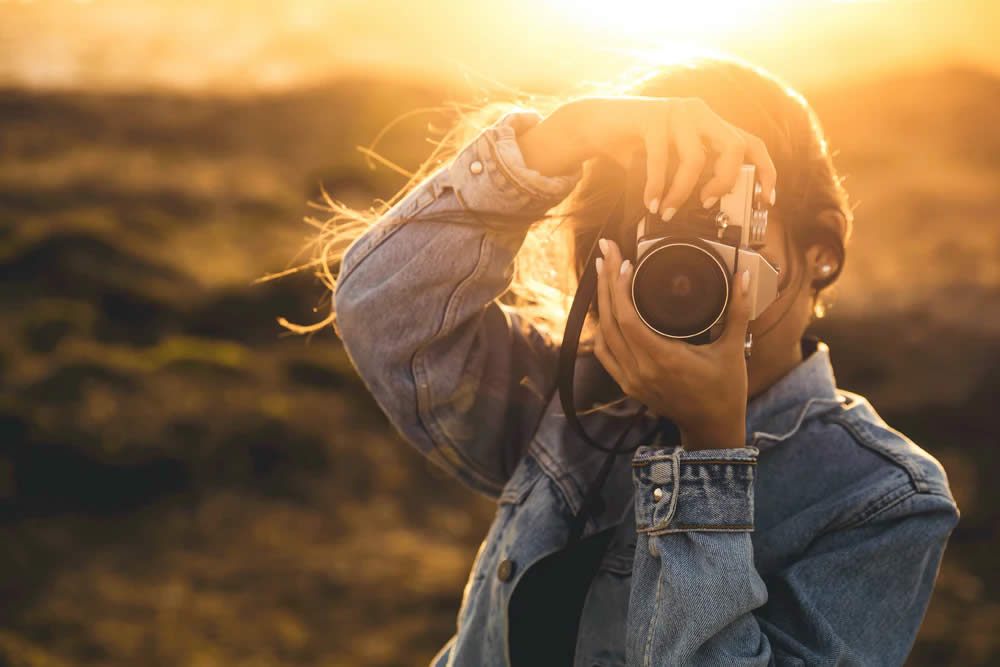
For a lot of new photographers or even more experienced photographers who want to learn more and grow in what they’re doing, the editing process can be the toughest part of it all.
Photo editing is by no means a new process. It’s something photographers have been doing long before the digital age. However, the digital era certainly has made it an easier process in many ways.
There are some key things you’ll need to start editing digital photos. You’ll need to make sure you have a high-quality monitor for photo editing. You’ll also need good editing software. Beyond that, you won’t need much else. It’s not necessarily the equipment that’s the biggest hurdle for a lot of photographers to overcome. It’s more the overwhelming nature of the learning curve that can come with digital photo editing.
The following are some tips and things to know to help you get started.
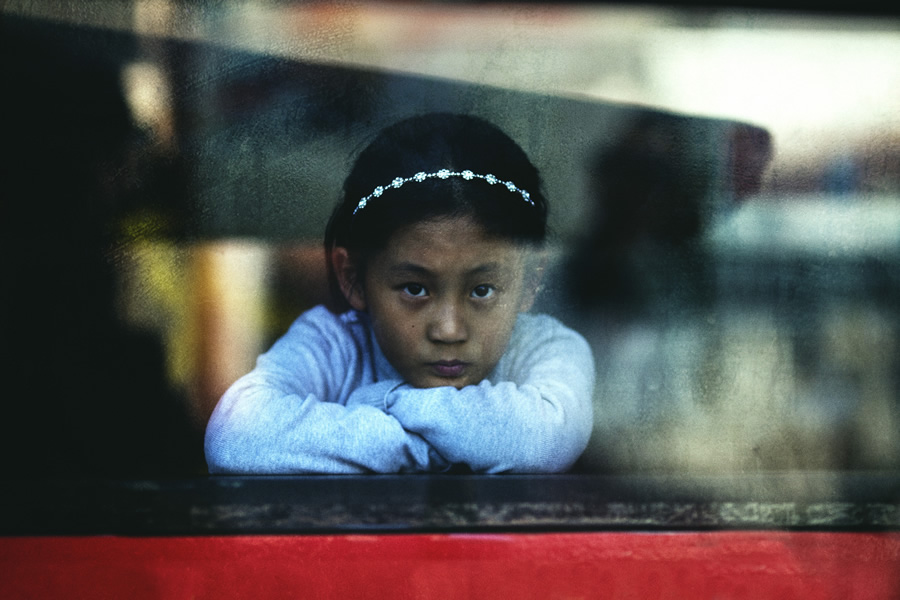
Photo By: Siddharthan Raman
Which Photo Editing Software Should You Use?
There are free and paid options available for photo editing software. There are options as simple as Picasa. Picasa is available from Google, and it lets you do some very basic editing on photos. You can make color adjustments, crop images, and adjust things like shadows and highlights on your images.
Of course, Picasa is just one example of many free options that are available.
Then, once you get to the paid options, you’re going to find they can range pretty significantly in price. You may be limited to one platform over another simply because of the price.
It’s probably pretty safe to say Adobe Photoshop is one of the most popular paid photo editing options out there and the consumer version is called Adobe Photoshop Elements. Elements is more budget-friendly, and it includes a lot of the primary features of Photoshop. There are also more quick-fix solutions with Elements. You might go with something like Elements if you’re new to editing, and you aren’t especially interested in graphic design but you want software that’s beyond the basics offered with free platforms.
If budget isn’t an issue, then you might go with something like Macromedia Fireworks. Fireworks features animation tools in addition to photo editing capabilities. If you’re just starting out with editing, you’re probably not going to go with something as expensive and advanced as Macromedia Fireworks though.
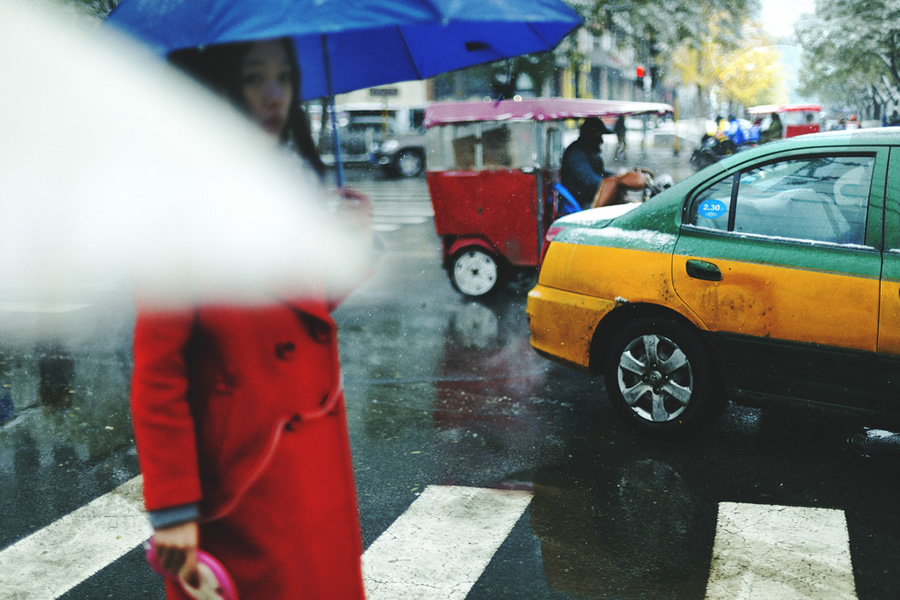
Photo By: Siddharthan Raman
Photo Editing Apps
Maybe you’re not going to edit your photos with a software platform. Maybe you’re instead going to use an app. There are apps that allow you to edit your photos directly on your phone so that you don’t have to move them back and forth from your device (if that’s what you use to take photos) and your desktop.
An app is probably going to be something you go with if you’re primarily a photographer for Instagram or something similar.
If you’re working to be a professional or you want to go beyond taking Instagram pictures, a photo editing app may not have all the features and functionality you’re looking for.
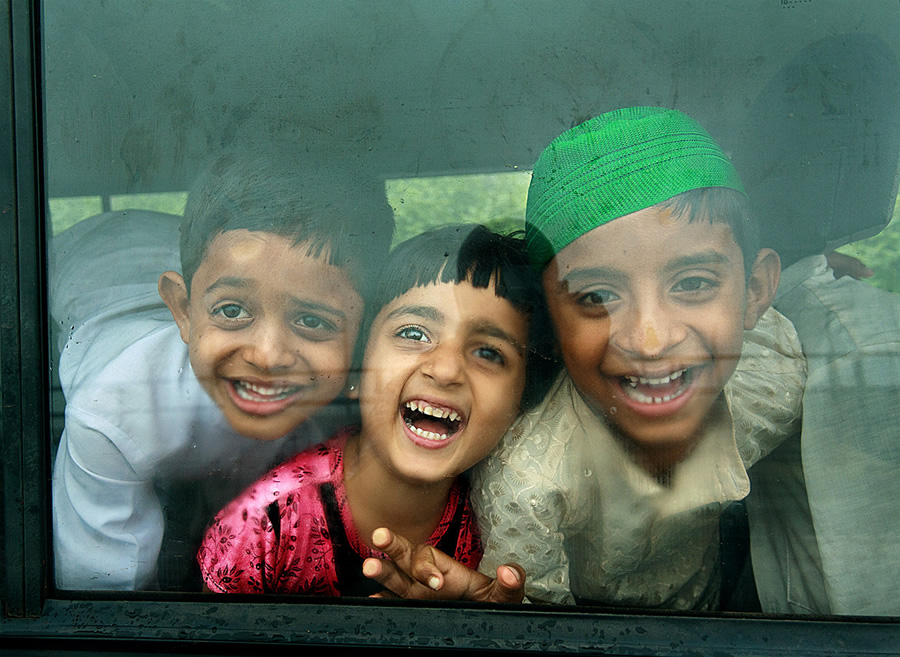
Photo By: Siddharthan Raman
Start with Brightness and Contrast
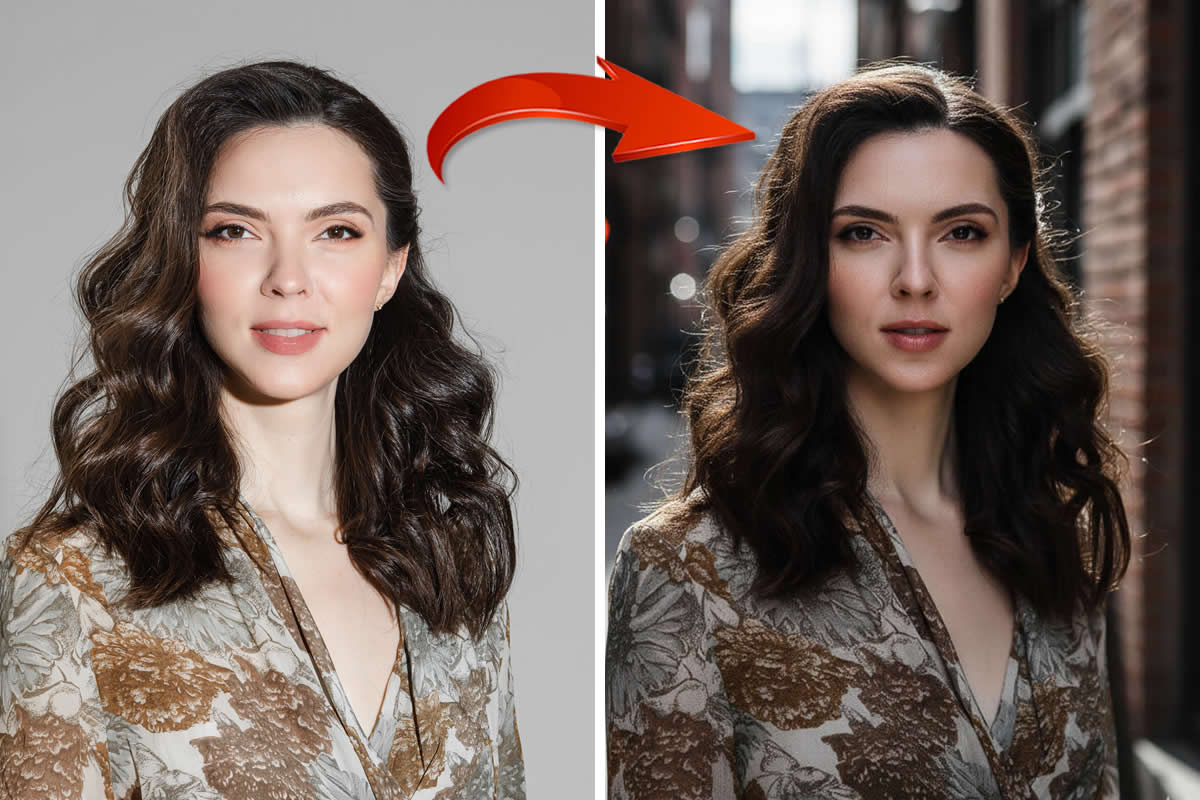
A good starting point for anyone who’s new to photo editing is to work with brightness and contrast. You can significantly improve any photos that you take if you make them lighter or darker.
You can also change the contrast, and it’s possible that in making these relatively small changes you can make your photos quite a bit better.
Beyond that, other relatively quick and easy fixes usually involve changing colors. If you’ve taken a photo in artificial light, it might show that in the image, so make some changes there and you could see drastic improvements in the impact of your image.
To give an overview of what to know here—you can auto adjust your exposure in a lot of editing tools, or you can change it with a slider in some cases. When you change your brightness, you’re changing your exposure. Highlights can change the brightness of tones making them either brighter or darker.
Shadows will make your dark tones brighter or darker, and contrast will make adjustments between light and dark tones in an image.
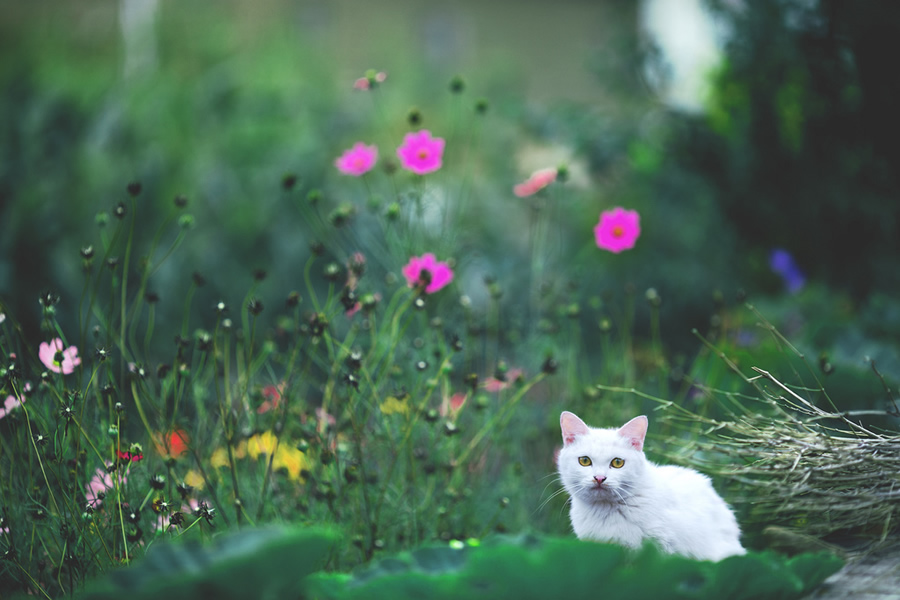
Photo By: Siddharthan Raman
Other Terms to Know
Some other key terms to know include saturation and sharpen. Saturation refers to the intensity of colors in an image. You can change the saturation level to make an image brighter and more vivid. You can also make it appear washed out based on your saturation level.
Finally, if you want to make the details of an image pop, you can do so with sharpening. Be careful with sharpening though. Over-sharpening an image when you’re editing it can make it look grainy.

Photo By: Siddharthan Raman
Don’t miss to check:

