In an age of endless digital images, a photograph with a cinematic quality stands out by telling a story, not just showing a scene. It’s an intentional approach that transforms a simple snapshot into a single frame from a compelling narrative. Cinematic storytelling in photography is the art of using lighting, composition, and mood to evoke emotion and atmosphere, much like a film director would. This method moves beyond simple documentation, allowing you to create images that have a deeper emotional resonance and invite the viewer to imagine what happens next.
This guide will show you how to master the visual language of cinema, making your photos look more like a carefully crafted movie still. By understanding key principles like dramatic light, thoughtful composition, and strategic color, you can learn to create images that don’t just capture a moment, but tell a powerful and unforgettable story. Whether you’re a beginner or an experienced photographer, these techniques will help you elevate your craft and find your unique voice behind the lens.
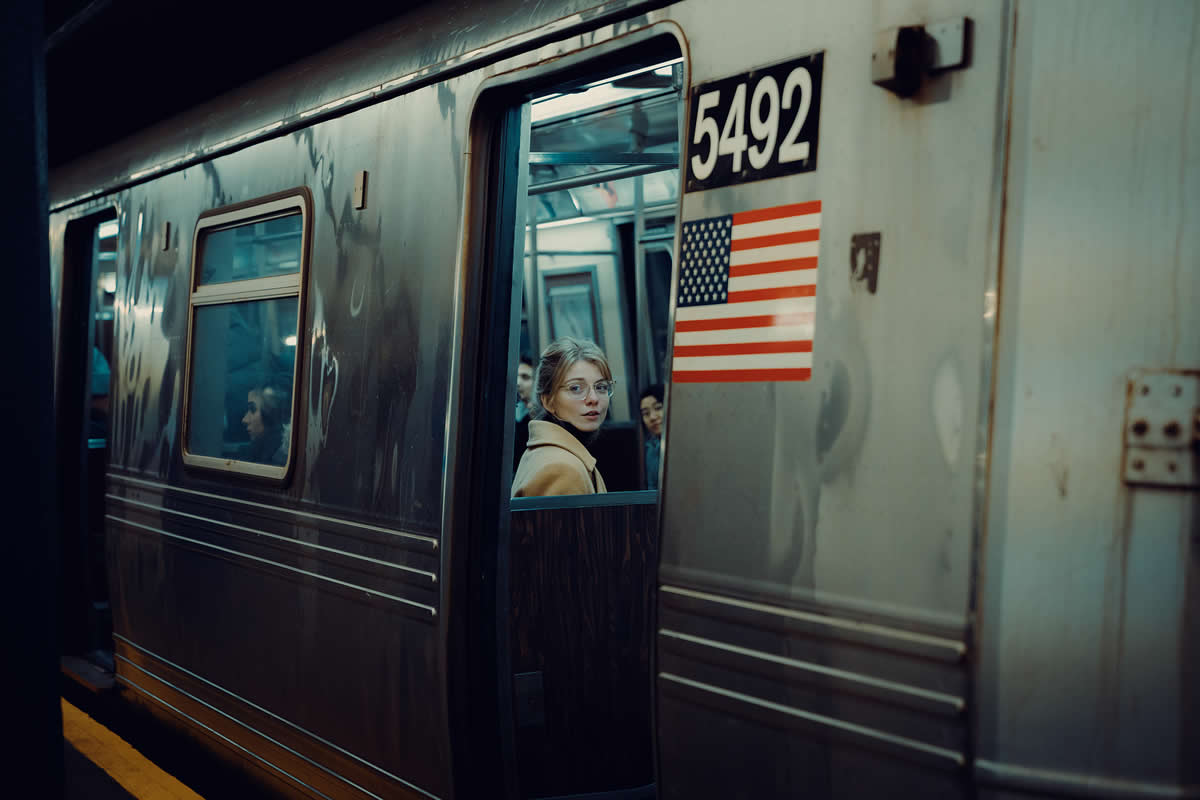
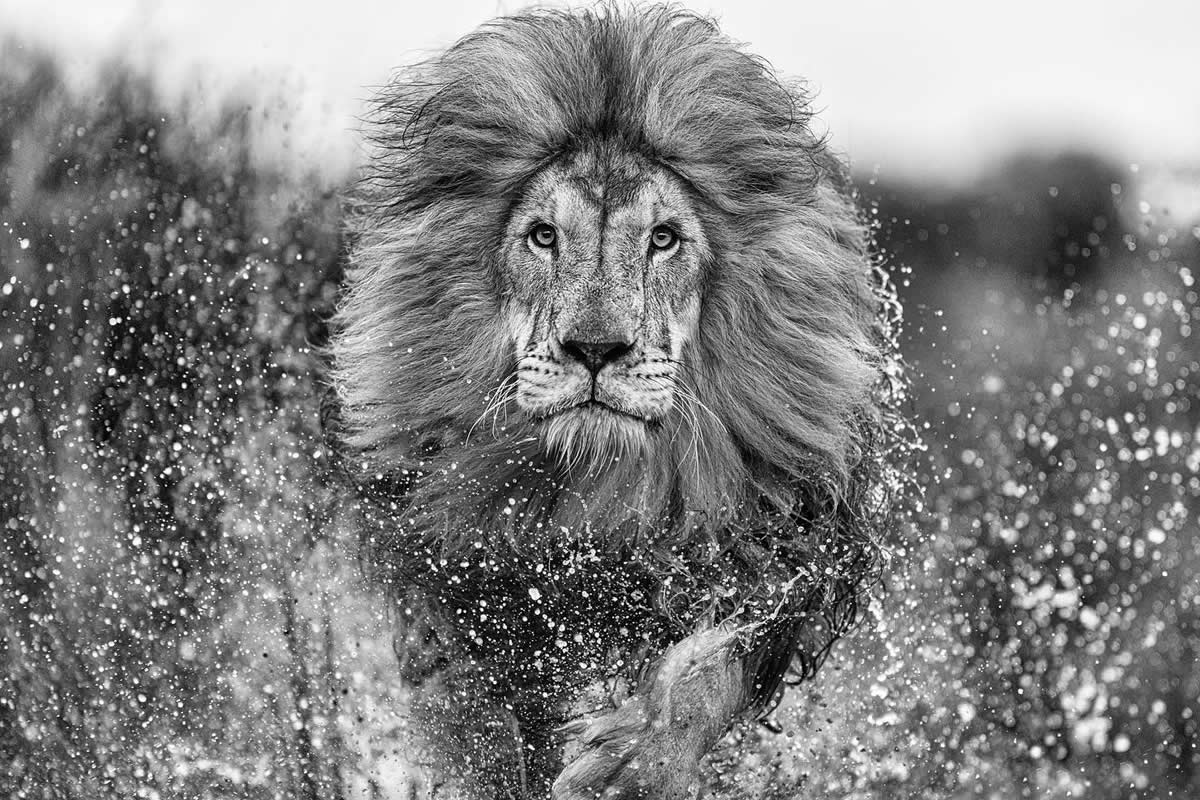
Photo by: Monaris
Table of Contents:
- The Story Comes First
- The Golden Hour & Blue Hour Magic
- Mastering Negative Space
- Cinematic Color Grading
- Wide Aspect Ratio
- Subject Isolation with Aperture
- Strategic Composition (The Rule of Thirds)
- Dramatic & Motivated Lighting
- Capturing Subtle Emotions
- Adding Visual Effects (Lens Flare & Grain)
1. The Story Comes First
Before you even touch your camera, your primary focus should be on the story. Every powerful cinematic image is a single frame from a larger narrative. By defining your story—whether it’s one of suspense, romance, or solitude—you can make every creative decision serve a purpose.
- Define a clear narrative before shooting.
- Ask yourself what feeling you want to evoke.
- Imagine the "before" and "after" of the moment.
- Plan your shoot around a specific theme.
- Focus on capturing the emotion, not just the subject.
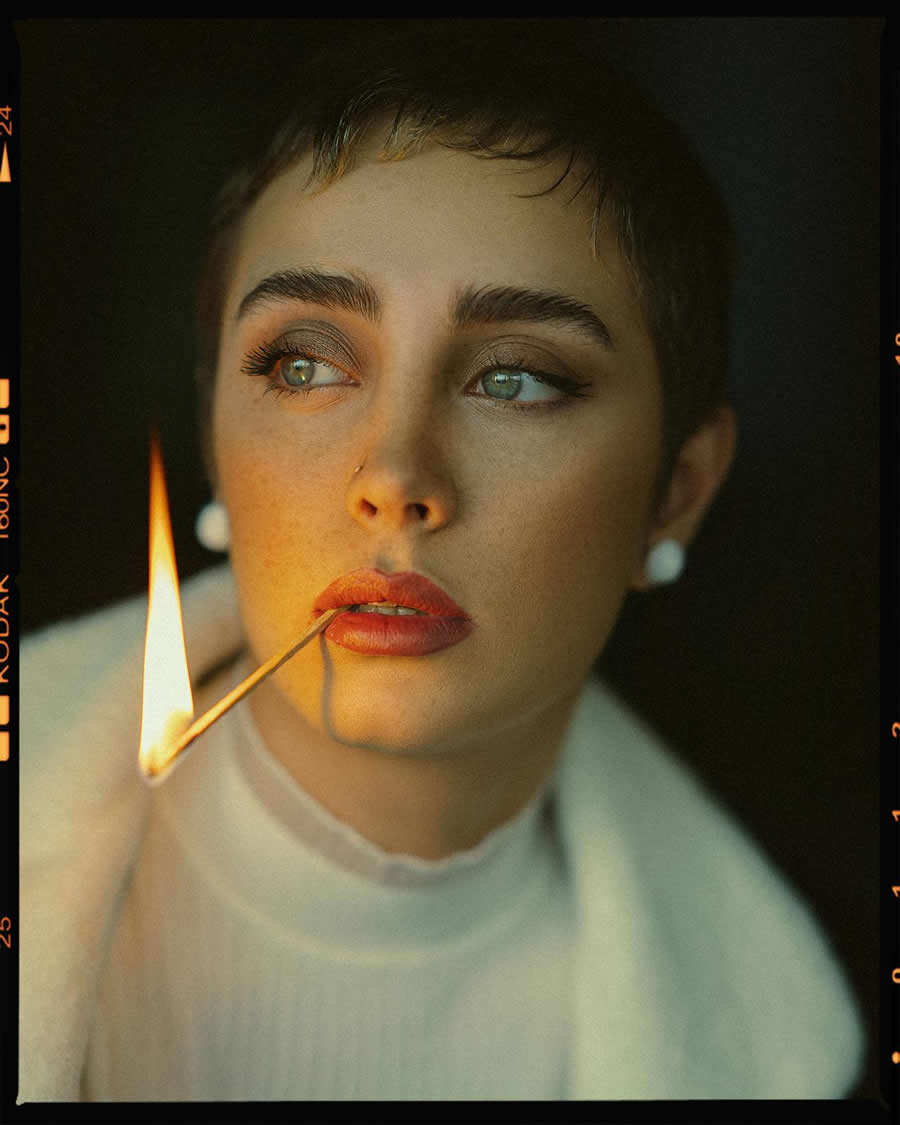
Photo by: Mahdi Chaghari
2. The Golden Hour & Blue Hour Magic
Light is the most critical element in cinematic photography. The golden hour, with its warm, soft tones, and the blue hour, known for its cool, dramatic light, are filmmakers’ favorites for a reason. These periods provide natural, directional light that adds depth, texture, and a powerful sense of mood to your scene.
- Shoot during sunrise or sunset for warm light.
- Use the hour after sunset for cool, moody tones.
- Look for rim light to outline your subject.
- Position your subject to catch the side-light.
- Use shadows to add drama and mystery.
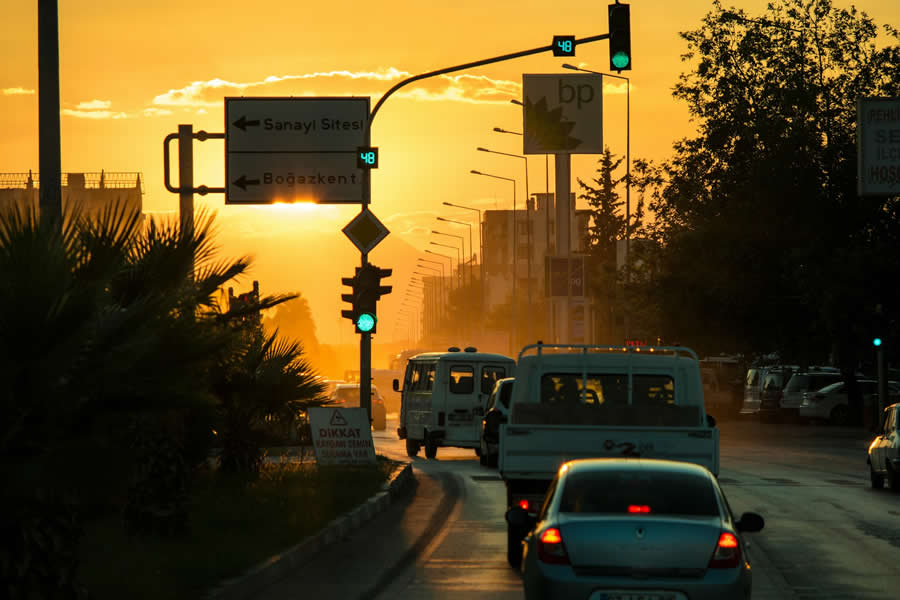
Photo by: Bas van den Eijkhof
3. Mastering Negative Space
Negative space—the empty area around your subject—is a powerful tool for visual storytelling. By including it in your frame, you can make your subject feel isolated, small, or insignificant within a vast environment. It draws attention to your subject and gives the image a clean, minimalist, and deliberate feel.
- Place your subject off-center for visual interest.
- Use open skies or empty walls as negative space.
- Create a sense of scale and vastness.
- Allow your main subject room to "breathe."
- Avoid cluttering the frame with unnecessary elements.
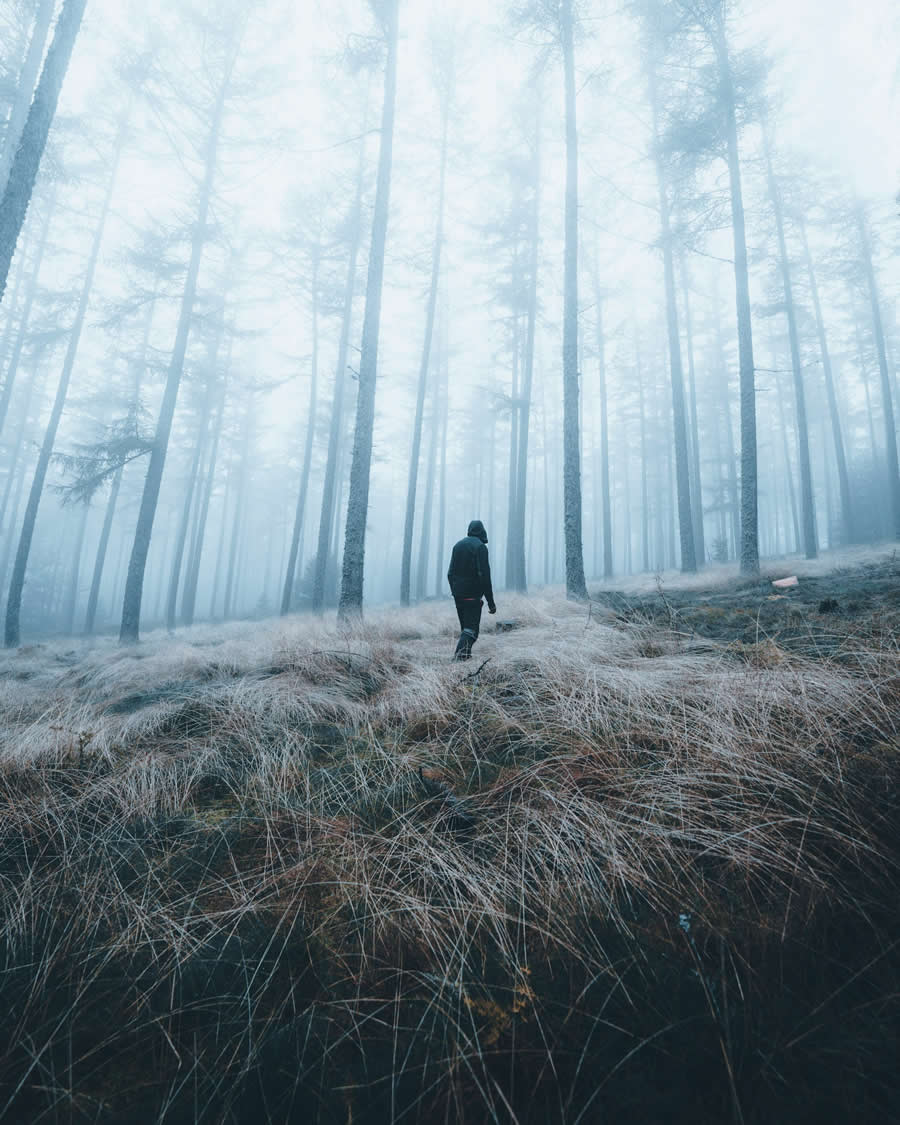
Photo by: Enzo B
4. Cinematic Color Grading
A film’s visual identity is often defined by its color palette. By adjusting colors in post-production, you can create a specific emotional tone for your photo. Common cinematic palettes, like the popular teal and orange, are used to create a clear and stylized visual contrast that makes a photo instantly recognizable.
- Use a consistent color palette for your series.
- Adjust saturation to enhance or mute colors.
- Utilize color theory to evoke specific feelings.
- Experiment with complementary color schemes.
- Match your colors to the mood of the story.
Photo by: Luciann Photography
5. Wide Aspect Ratio
The widescreen look is synonymous with cinema. Cropping your photos to a wider aspect ratio, such as 2.35:1, immediately makes them feel grand and epic. This format allows you to show more of the environment, placing your subject within a larger context and drawing the viewer into the scene’s world.
- Crop your photos to a 2.35:1 aspect ratio.
- Shoot with the wider frame in mind.
- Use the extra space to include more of the setting.
- Emphasize horizontal lines and landscapes.
- Create a sense of grand scale and proportion.
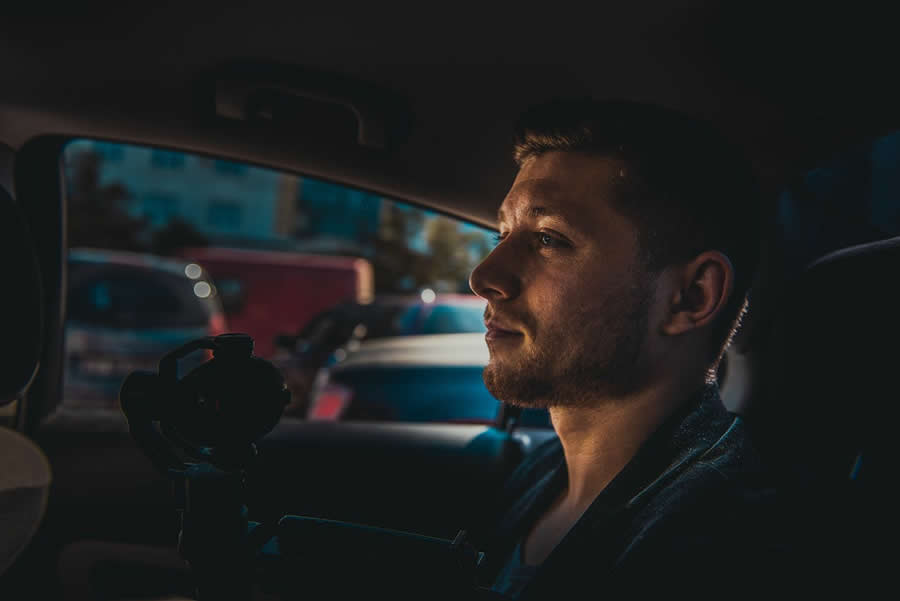
Photo by: Alex Vivat
6. Subject Isolation with Aperture
Filmmakers often use a shallow depth of field to keep the audience focused on the main subject. You can achieve this with a wide aperture (low f-stop number), which creates a beautiful blur or bokeh in the background. This technique separates your subject from their surroundings and eliminates distractions.
- Shoot with a wide aperture (e.g., f/1.8 or f/2.8).
- Create a soft, blurred background.
- Use it to make your subject "pop."
- Ensure your subject is in sharp focus.
- Isolate the main point of interest.
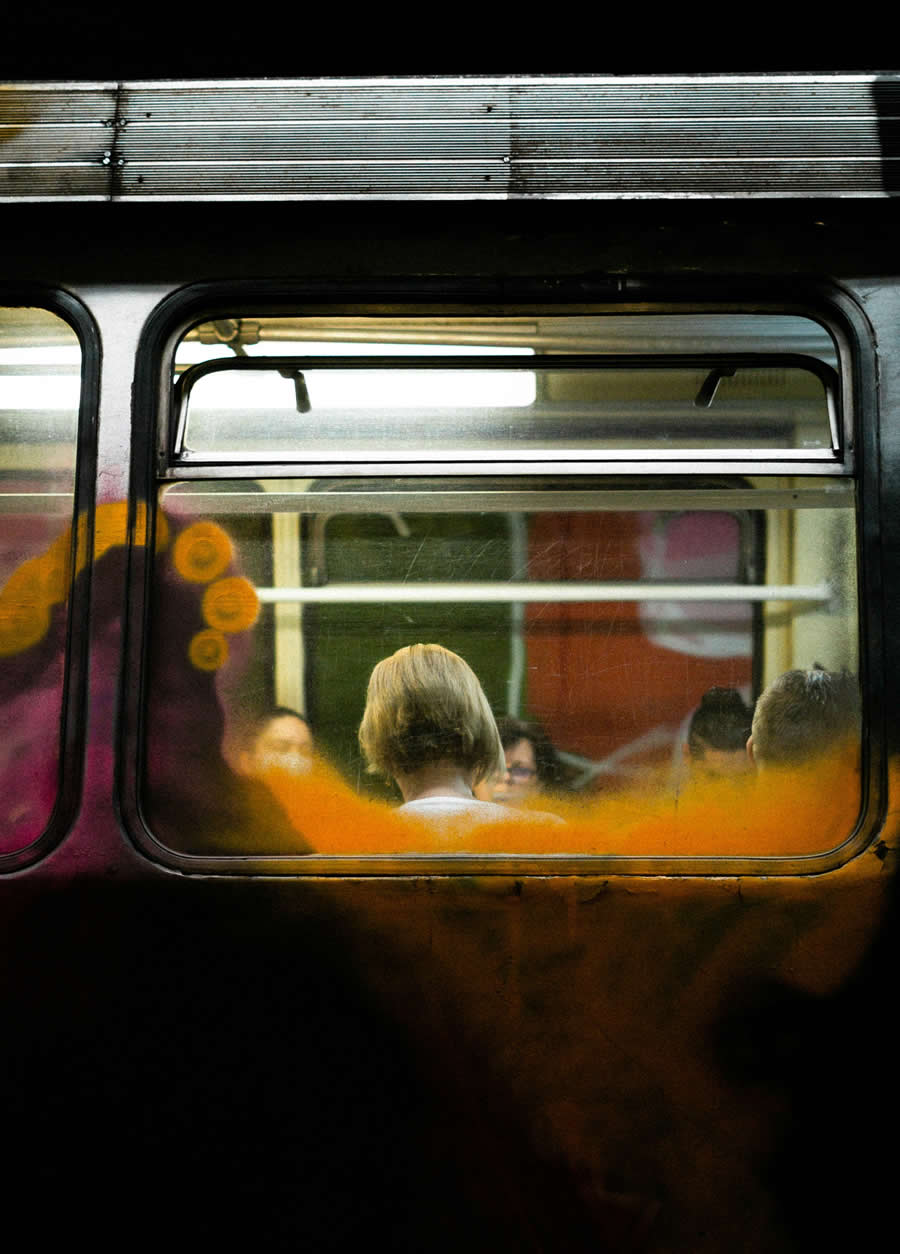
Photo by: Andrei Stan
7. Strategic Composition (The Rule of Thirds)
While a basic principle, the Rule of Thirds is fundamental to dynamic cinematic composition. Placing your subject or key elements on the intersecting lines or points makes your image more engaging and balanced. It encourages the viewer’s eye to move across the frame, following the story you’ve set up.
- Place subjects on the intersecting lines.
- Align horizons with the top or bottom line.s
- Create balance by offsetting your subject.
- Look for leading lines to guide the eye.
- Use foreground, middle ground, and background.
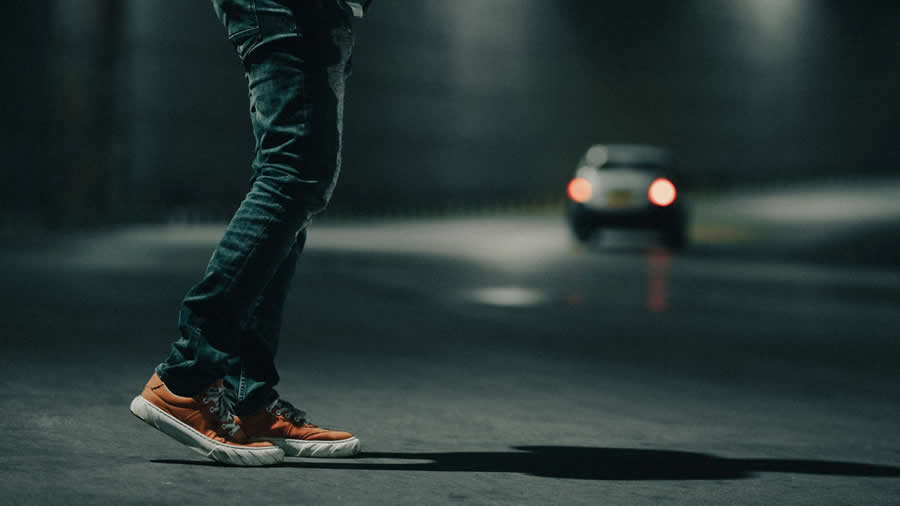
Photo by: Kittu Naturoclickz
8. Dramatic & Motivated Lighting
In a movie, a light source always has a purpose, whether it’s a glowing screen, a streetlight, or a window. This is motivated lighting. Recreating this technique in your photos, using a single, strong light source from the side or back, adds high-contrast shadows and a sense of realism and drama to the scene.
- Use natural light from a single source (e.g., a window).
- Avoid flat, direct light.
- Create strong shadows for drama.
- Use rim lighting to highlight your subject’s shape.
- Look for pockets of light in a dark setting.
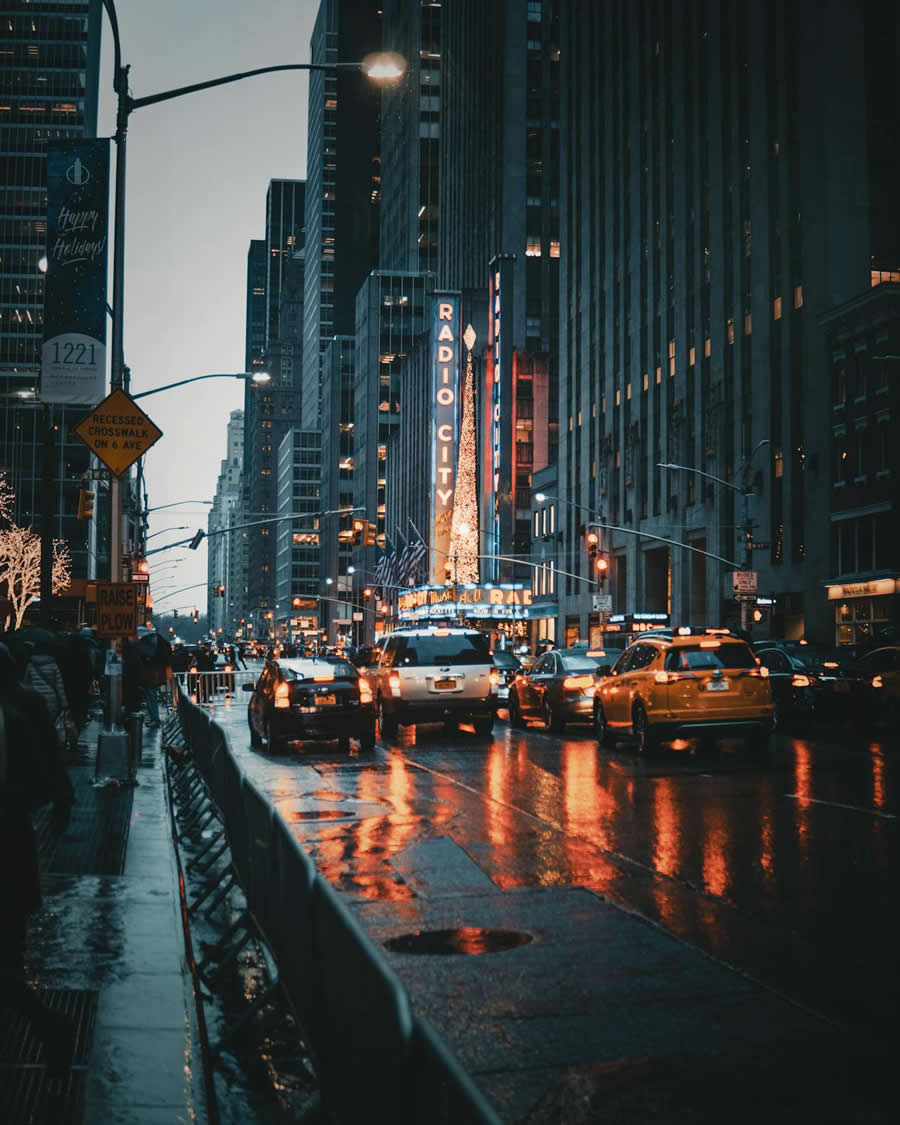
Photo by: Josh Hild
9. Capturing Subtle Emotions
Cinematic storytelling often happens in the quiet, unspoken moments. The most powerful photos aren’t always about action, but about the subtle human emotions they capture. Focus on expressions, body language, and the look in someone’s eyes. These intimate details are the heart of any compelling visual narrative.
- Focus on candid, unposed moments.
- Capture genuine expressions and body language.
- Look for moments of quiet introspection.
- Tell a story with a single glance.
- Avoid forced smiles or poses.
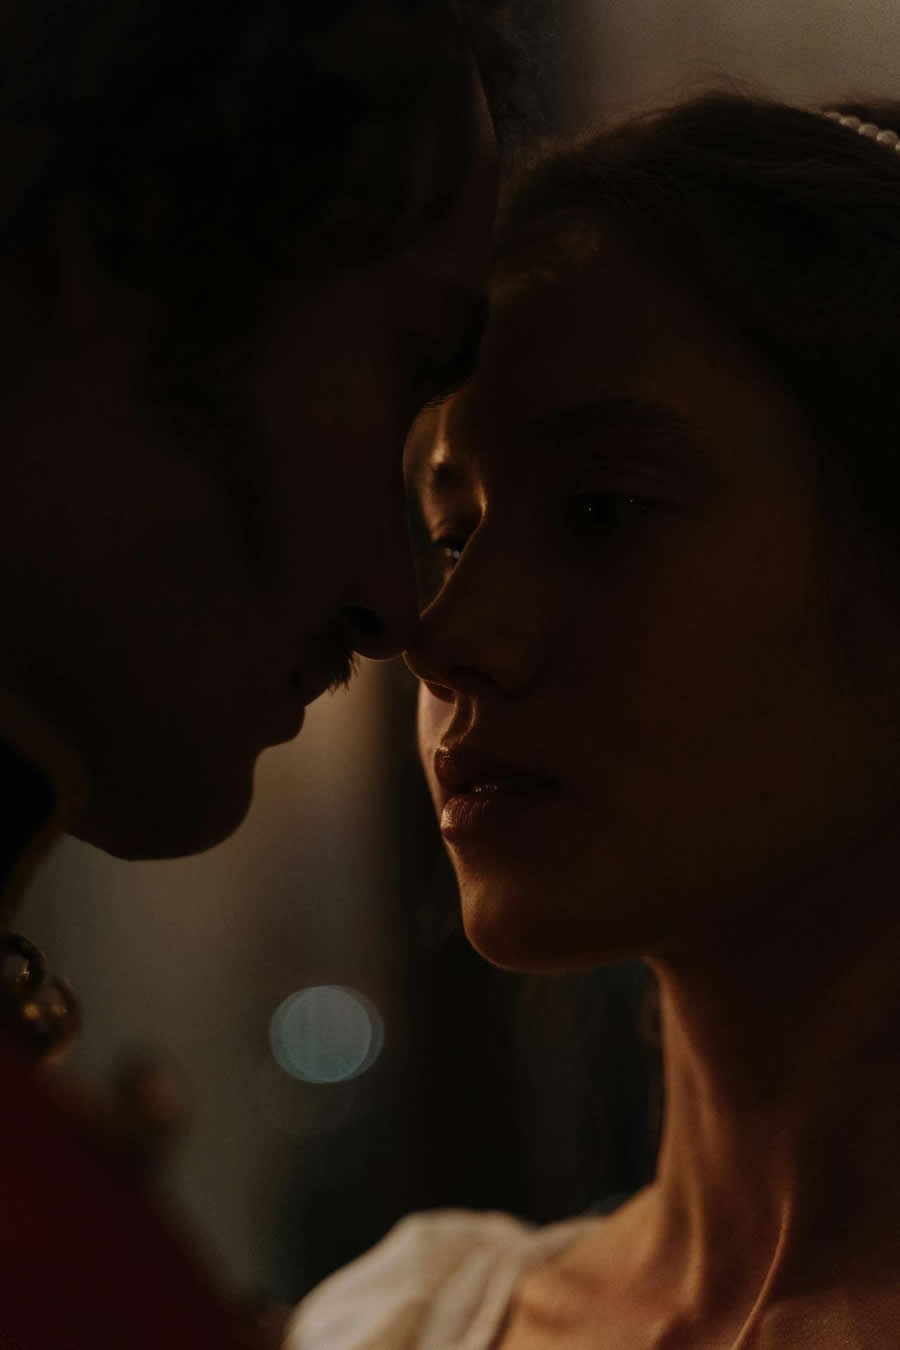
Photo by: Cottonbro Studio
10. Adding Visual Effects (Lens Flare & Grain)
Small, intentional details can give a digital photo the authentic feel of a film. Post-production effects like lens flare and film grain add texture, atmosphere, and a touch of realism to your images. When used thoughtfully, these effects can mimic the look of a vintage camera and enhance the emotional tone of your story.
- Add a subtle lens flare in post-production.
- Use film grain to add texture and realism.
- Replicate dust and scratches for a vintage feel.
- Adjust sharpness to create a softer focus.
- Match your effects to the specific story you’re telling.

Photo by: Chester wade
Conclusion
Creating cinematic photos is a process that begins in your imagination and ends in your editing software. It requires you to think like a director, a writer, and a painter, all at once. By focusing on story, light, composition, and mood, you can elevate your photography from documentation to art. These techniques are not rigid rules, but creative guidelines that encourage you to see the world with a storyteller’s eye. So go ahead, find your scene, cast your subject, and start creating images that don’t just show a moment, but tell a timeless tale.


