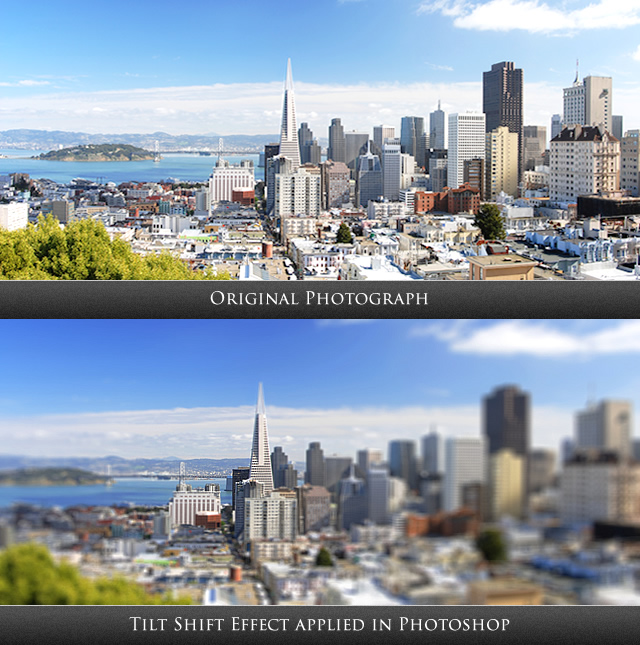
Tilt-shift photography refers to the use of camera movements on small- and medium-format cameras, and sometimes specifically refers to the use of tilt for selective focus, often for simulating a miniature scene. Sometimes the term is used when the shallow depth of field is simulated with digital post processing; the name may derive from the tilt-shift lens normally required when the effect is produced optically.
Tilt-shift actually encompasses two different types of movements: rotation of the lens plane relative to the image plane, called tilt, and movement of the lens parallel to the image plane, called shift. Tilt is used to control the orientation of the plane of focus (PoF), and hence the part of an image that appears sharp; it makes use of the Scheimpflug principle. Shift is used to adjust the position of the subject in the image area without moving the camera back; this is often helpful in avoiding the convergence of parallel lines, as when photographing tall buildings.
What are Tilt-Shift Miniatures?
Tilt-shift style miniature photos are simply photos of real life scenes that are made to look like miniature scale models. This is done using either a special camera lens (one with tilt capability), or with software, instead of a special lens. These photos are sometimes called “fake” miniatures, because they are pictures of real-life scenes. Additionally, the simulated depth-of-field method in software and TiltShiftMaker can be called “fake tilt-shift”, as the resulting photos were not taken with a real tilt/shift lens.
Tilt Shift SLR Camera Lenses
Click here for more lens from Amazon.com
Tilt Shift Photoshop Tutorial
Here is Photoshop tutorial for creating fake tilt shift photos.
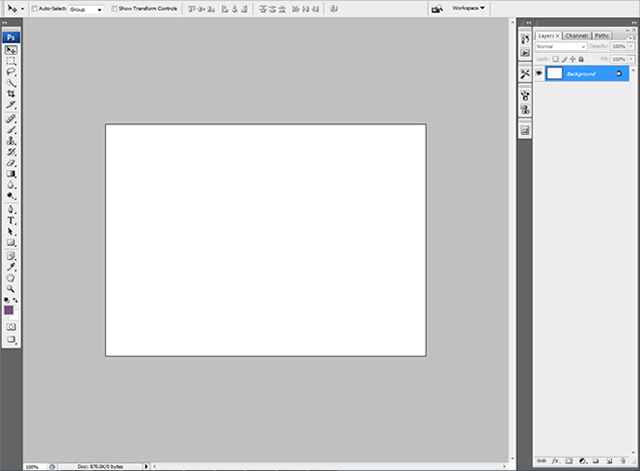
Step 1 : Open Adobe Photoshop and create a new document.
Step 2 : Import the selected photo into the workspace.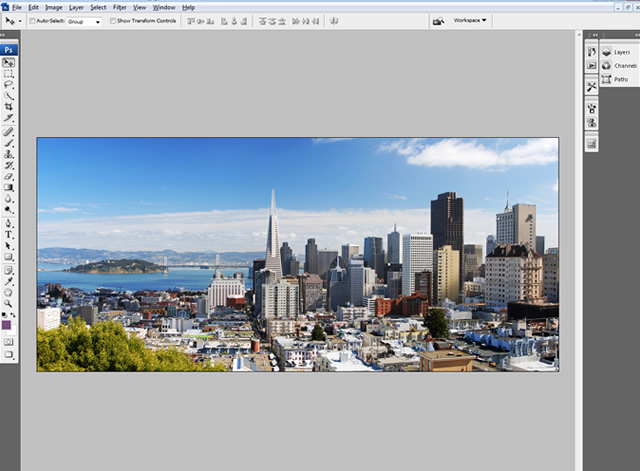
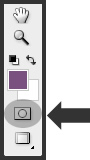
Step 3 : Click on to the “Quick Mask Mode”
Step 4 : Select the “Gradient Tool”
Step5 : Select the “Radial Gradient ”
![]()
Step 6 : Draw vertically upwards from where you want the point of focus to be up the screen to the top of the window, and release the mouse button. A red transparent line should appear.

Step 7 : Go back to the “Standard Mask Mode”

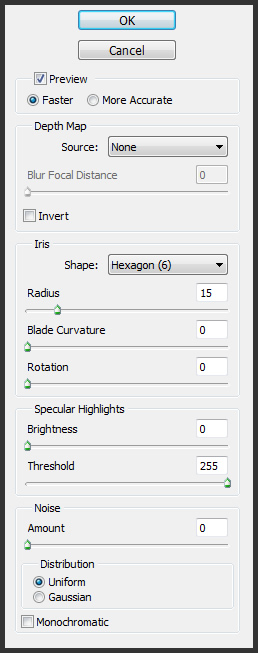
Step 8: Now, Open Filter > Blur > LensBlur. Then select the amount of blur you would like to apply your photo. Just play with other options for better output.
Step 9 : Now you can experiment with Hue, Saturation and Curves from Image Adjustments for better output.
Step 10 : Output

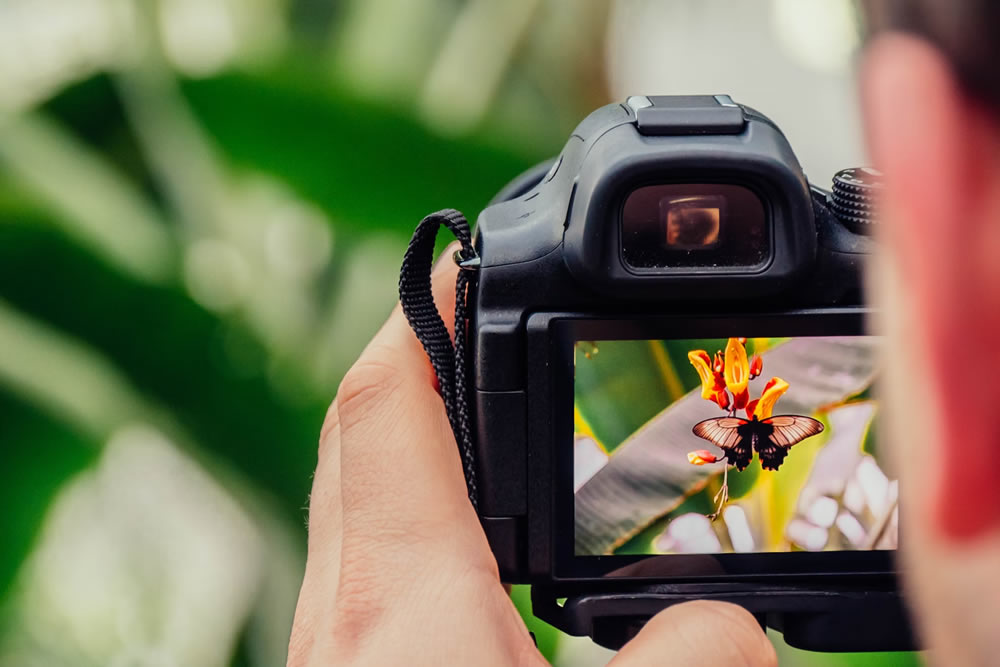
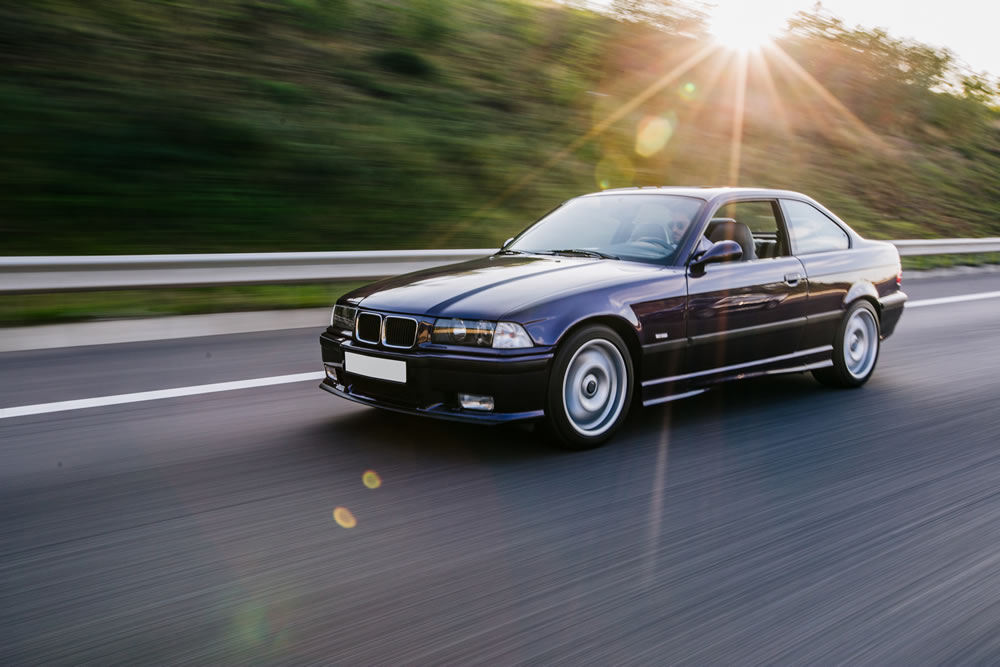
Examples of Tilt Shift Photography

Photo By : Dutchb0y

Photo By : 27147

Photo By : Livingonimpulse

Photo By : Roevin

Photo By : Pattagon

Photo By : Toshio

Photo By : Roywkw

Photo By : Californiabirdy

Photo By : Pattagon

Photo By : Thechannelc
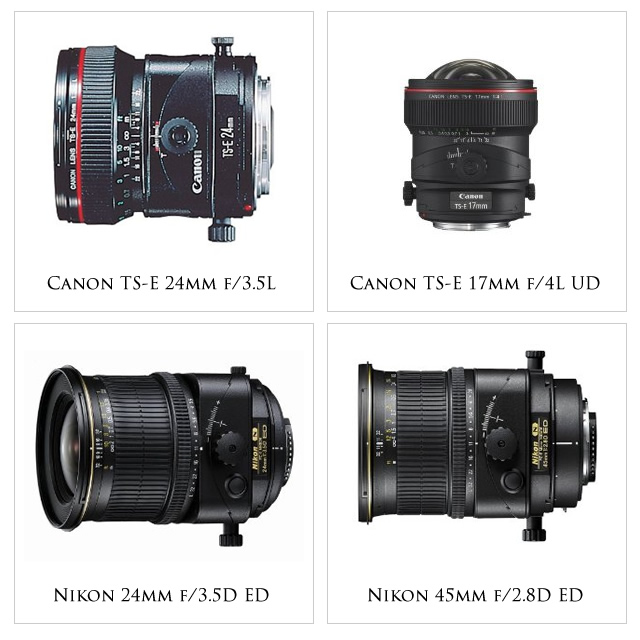
Some Popular Tilt Shift SLR Camera Lenses
Canon TSE2435L 24mm f/3.5 Tilt & Shift Lens – Filter Size – 72mm
Canon TSE4528 45mm f/2.8 Tilt & Shift Lens
Canon TSE9028 90mm f/2.8 Tilt & Shift Lens – Filter Size – 58mm
Nikon 24mm f/3.5D ED PC-E Nikkor Ultra-Wide Angle Lens
Nikon 45mm f/2.8D ED PC-E Micro Nikkor Lens
Nikon 85mm f/2.8D PC-E Micro Nikkor Lens
Tilt Shift Photography Video Tutorials
Weekend Project : Tilt Shift Photography
Photography : Using a Tilt Shift Lens
Nikon 24mm Tilt/Shift lens
Donald Norris Teaches: Tilt-Shift Photography
Photoshopping Tilt Shift – Photoshop Tutorial
Tilt shift lens effect on Photoshop
Tilt Shift Photoshop Effect Fake Miniature Models – Tutorial

6 comments
Very nice. tutorial and pics. thanks!
Thanks for this great tutorial. its very much interesting.
Thanks for sharing. good one.
I didn’t know about Tilt Shift Photography… This article is very helpful and interesting photos too. Thanks!!
Thanks… interesting article. Will try!!
All of these look like toys somehow! Interesting tip though…