Photo Credit : Andre Arment
Light is the photographer’s chief resource. The word ‘photography’ derives from Greek, and literally means ‘light drawing’. From the brightest light of the midday sun to the fuzzy glow of a streetlamp at twilight, the light falling on the subject of your photograph is what determines the mood of the final image.
The way light falls on a subject totally dictates the physical appearance, how much texture and detail are revealed, the strength and neutrality of its colors and whether it looks flat or three-dimensional. This in turn influences the mood of your picture and the way people respond to it emotionally, so to get the most out of your photograph you must have a thorough understanding of light and how you can use it to your advantage.
Natural Light

Photo Credit : Mathilde Guillemot
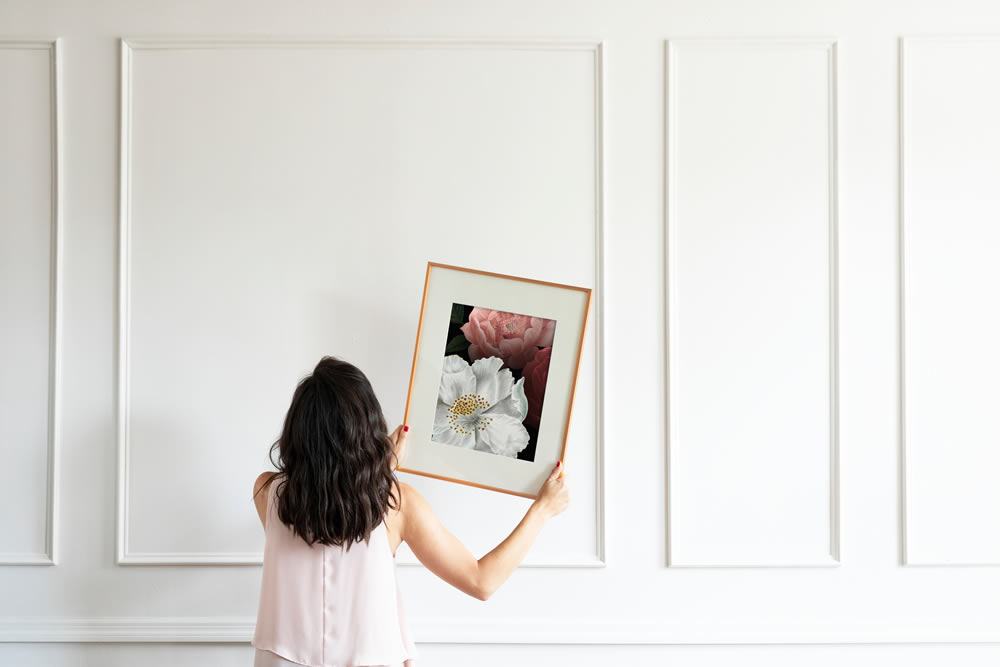
Natural subjects have more visual appeal when they are photographed in certain kinds of light. You need to know what is good light or not-so-good-light given a specific set of circumstances and you must match the subject matter with the right light. For example, a grand scenic photograph might look absolutely spectacular in the early morning, but at any other time of day, the same landscape could appear dull and drab, lifeless and totally uninspiring — all depending on the light.
Low and Night Light

Photo Credit : Wilson Lee
Twilight, nighttime and low light offer some of the best opportunities to shoot dramatic images. You can photograph such diversity as clouds bathed in a blaze of color just after sunset, a city skyline at dusk, or the dark interior of a historical building. Many photographers purposely seek the light that occurs the first hour of dusk — there’s no need to pack up your camera just because the sun has gone down. Whether you’re shooting outdoors in the evening or indoors in a low-light situation, chances are that you’ll make long exposures. This requires use of a tripod and a cable release to avoid shaking the camera when it’s set for several seconds or on a bulb (B) setting. You also want to carefully meter your exposures, as there may be sources of light that appear in the frame that can fool your camera’s meter. Bracket your exposures and shoot lots of images.
Flash

Photo Credit : Ole Condrup
In most cameras—whether point-and-shoot or SLR—have a built-in flash. Like reflectors, a flash provides you with a way to control the light in your scene.
When you shoot a picture using your flash, many things happen in a short amount of time. First, the camera opens its shutter and begins exposing the image sensor according to the settings defined by you or your camera’s light meter. Then the camera turns on the lamp in its flash unit. With the lamp on, the camera begins measuring the flash illumination that is bouncing off the subject and returning to the camera. In this way, the camera can meter the light of the flash while it is flashing. When it has decided that the flash has cast enough illumination, it shuts off the flash, finishes the exposure, and closes the shutter.
There are basically two types of flash available for digital cameras: the flash that is built into almost all cameras, and more powerful and versatile accessory units that mount on top of the camera. Both types of flash have their uses and their advantages. Accessory flashes are more powerful and more versatile than built-in flash.
Studio Light

Photo Credit : Claire McAdams
Studio lighting is, of course, a huge topic and one that could fill many books—and we’ve listed some of the tutorials and articles in below post:
You can find some extraordinary books about Photography Lighting in Amazon.com
Like the article? Be sure to subscribe to our RSS feed, follow us on Twitter and Facebook to stay up on recent content.